
Start with your basic crumb coated cake.

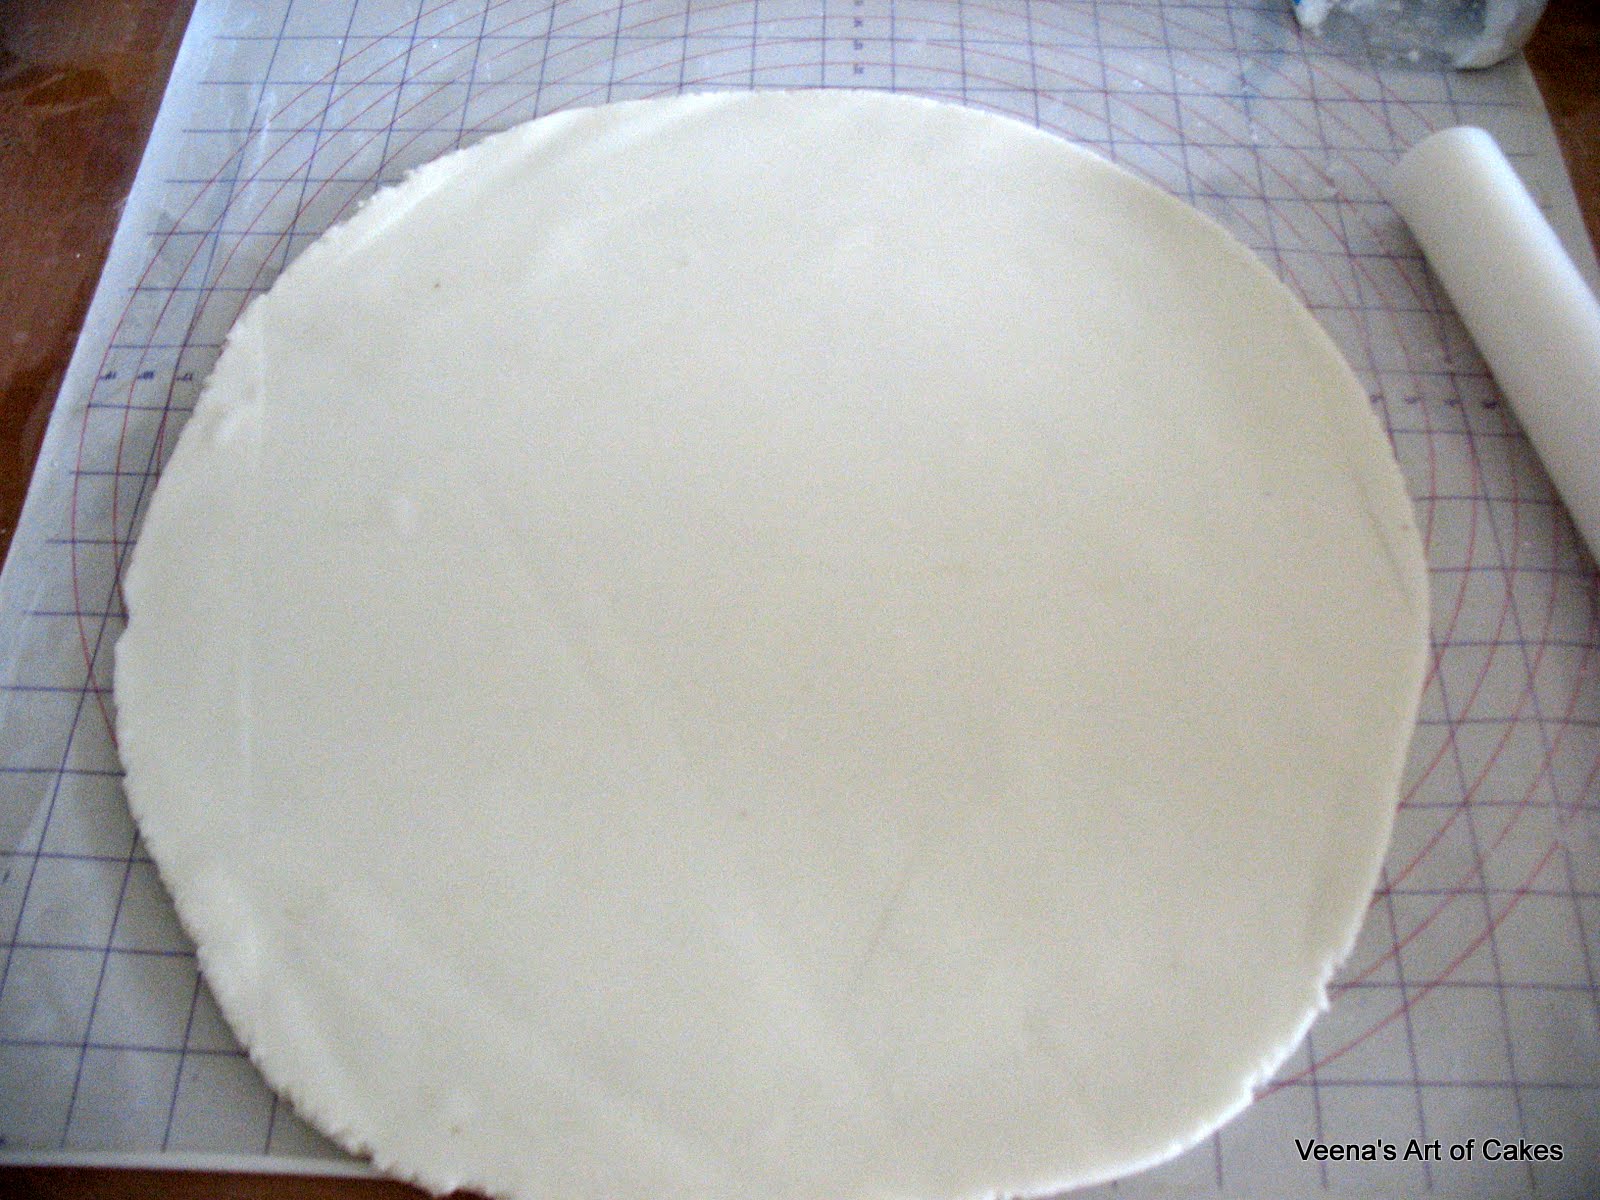
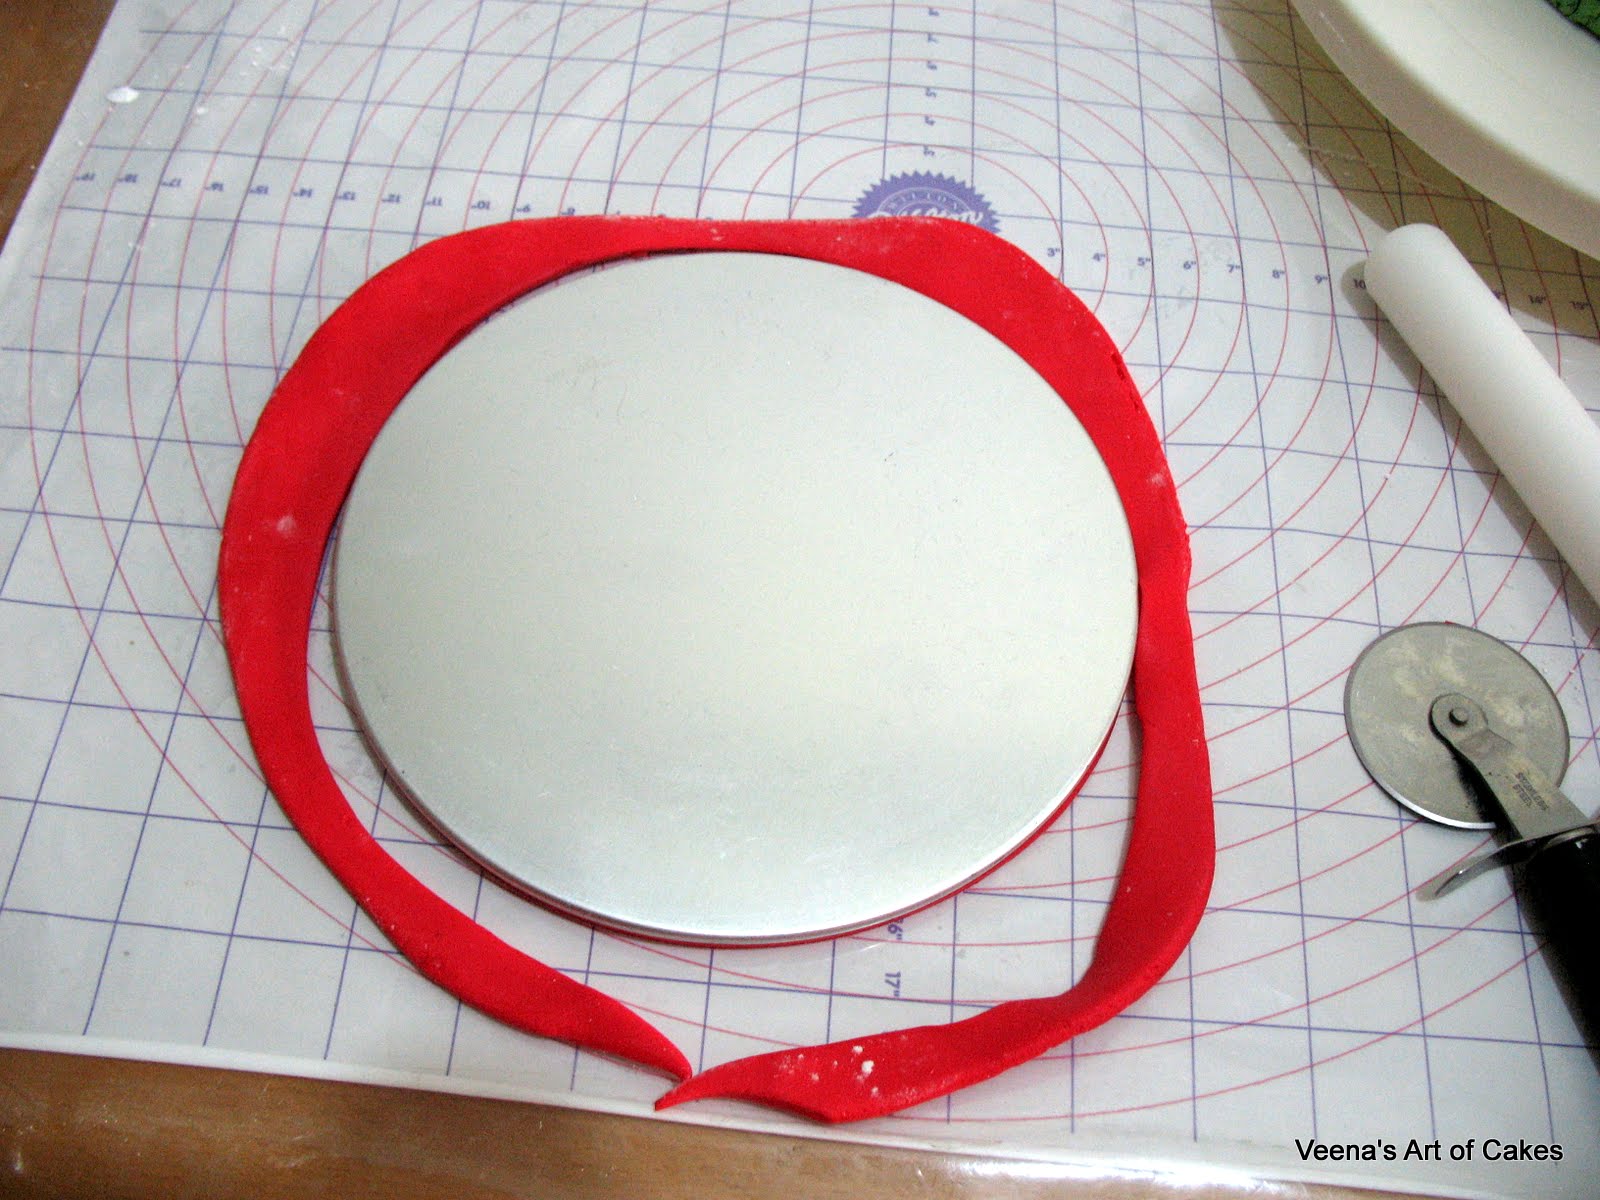
Then roll your fondant.
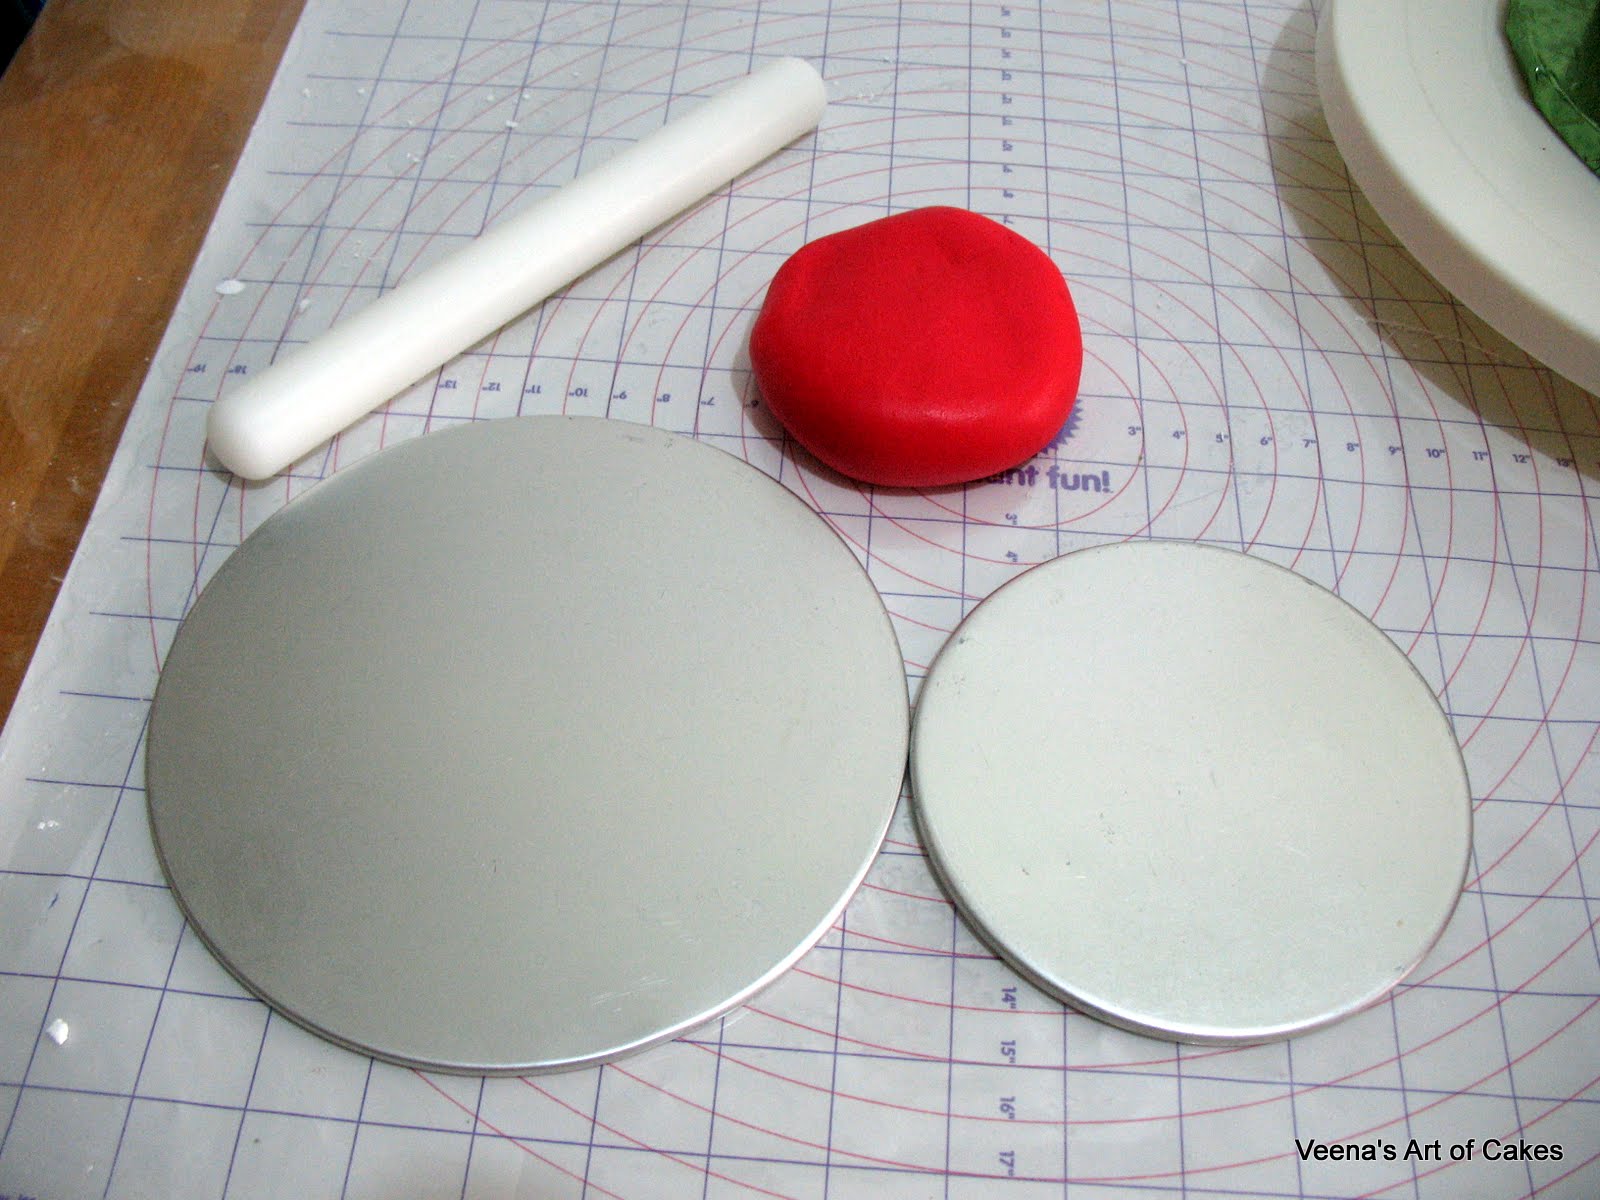
This is a 6 inch cake and once you add buttercream and fondant the top measure is about 61/2 inches or more. So I have here a 6 inch cake pan bottom and an 9 inch cake pan bottom. I do not want my lid to be too big (may be about an inch) as my cake is only 4 inches tall.

When you place it in the fridge,
- The fondant firms up a bit so it doesn't stretch while your pick it up and work on it. You can move it up and around working easily until you get the desired effect.
- You do not need to add water to stick. The condensation that happen after you take it out from the fridge is good enough to stick the lid to the base as well as avoid any air pockets.
- Since you do not need to add water to stick, using two strong contrasting colors such as these do not bleed while you are working. (ask me how I know?)

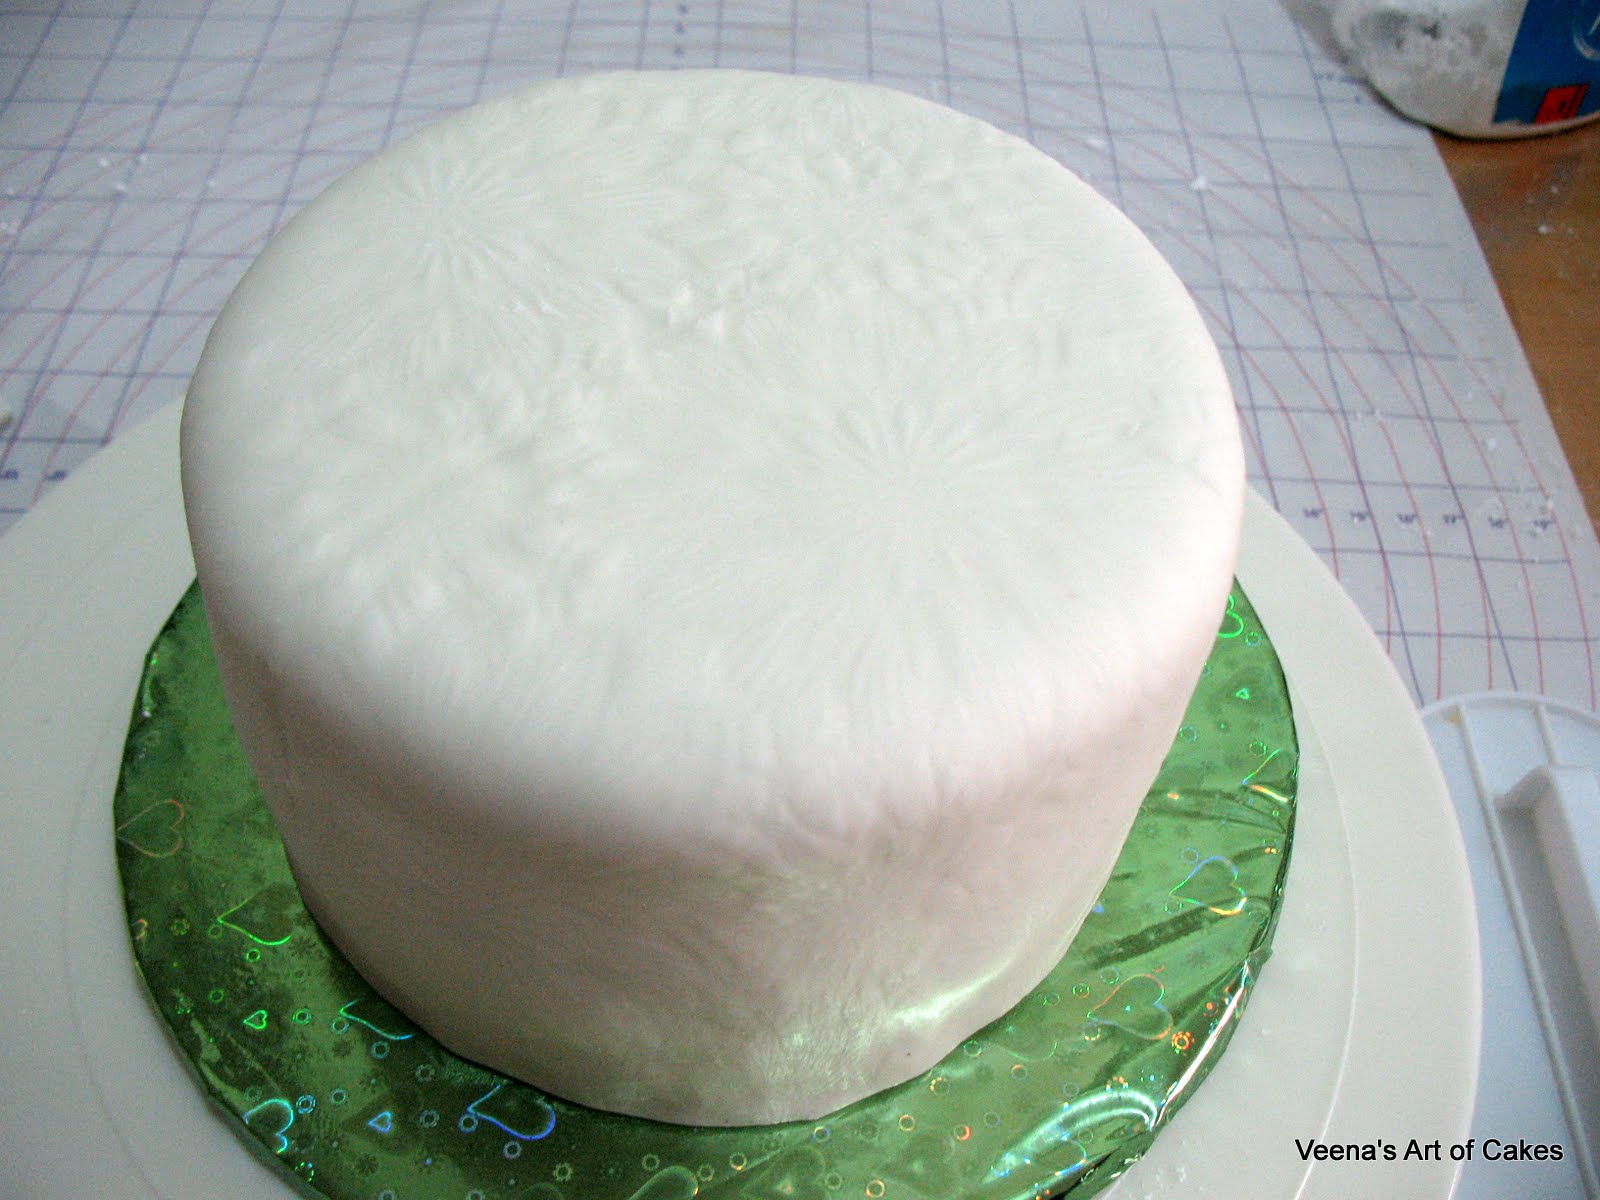
Note - my above impressions is more pronounced because I wanted to ensure that the camera catches it, but the impressions you make should be very light only to serve you as a guide such that once you smooth it over it should disappear.
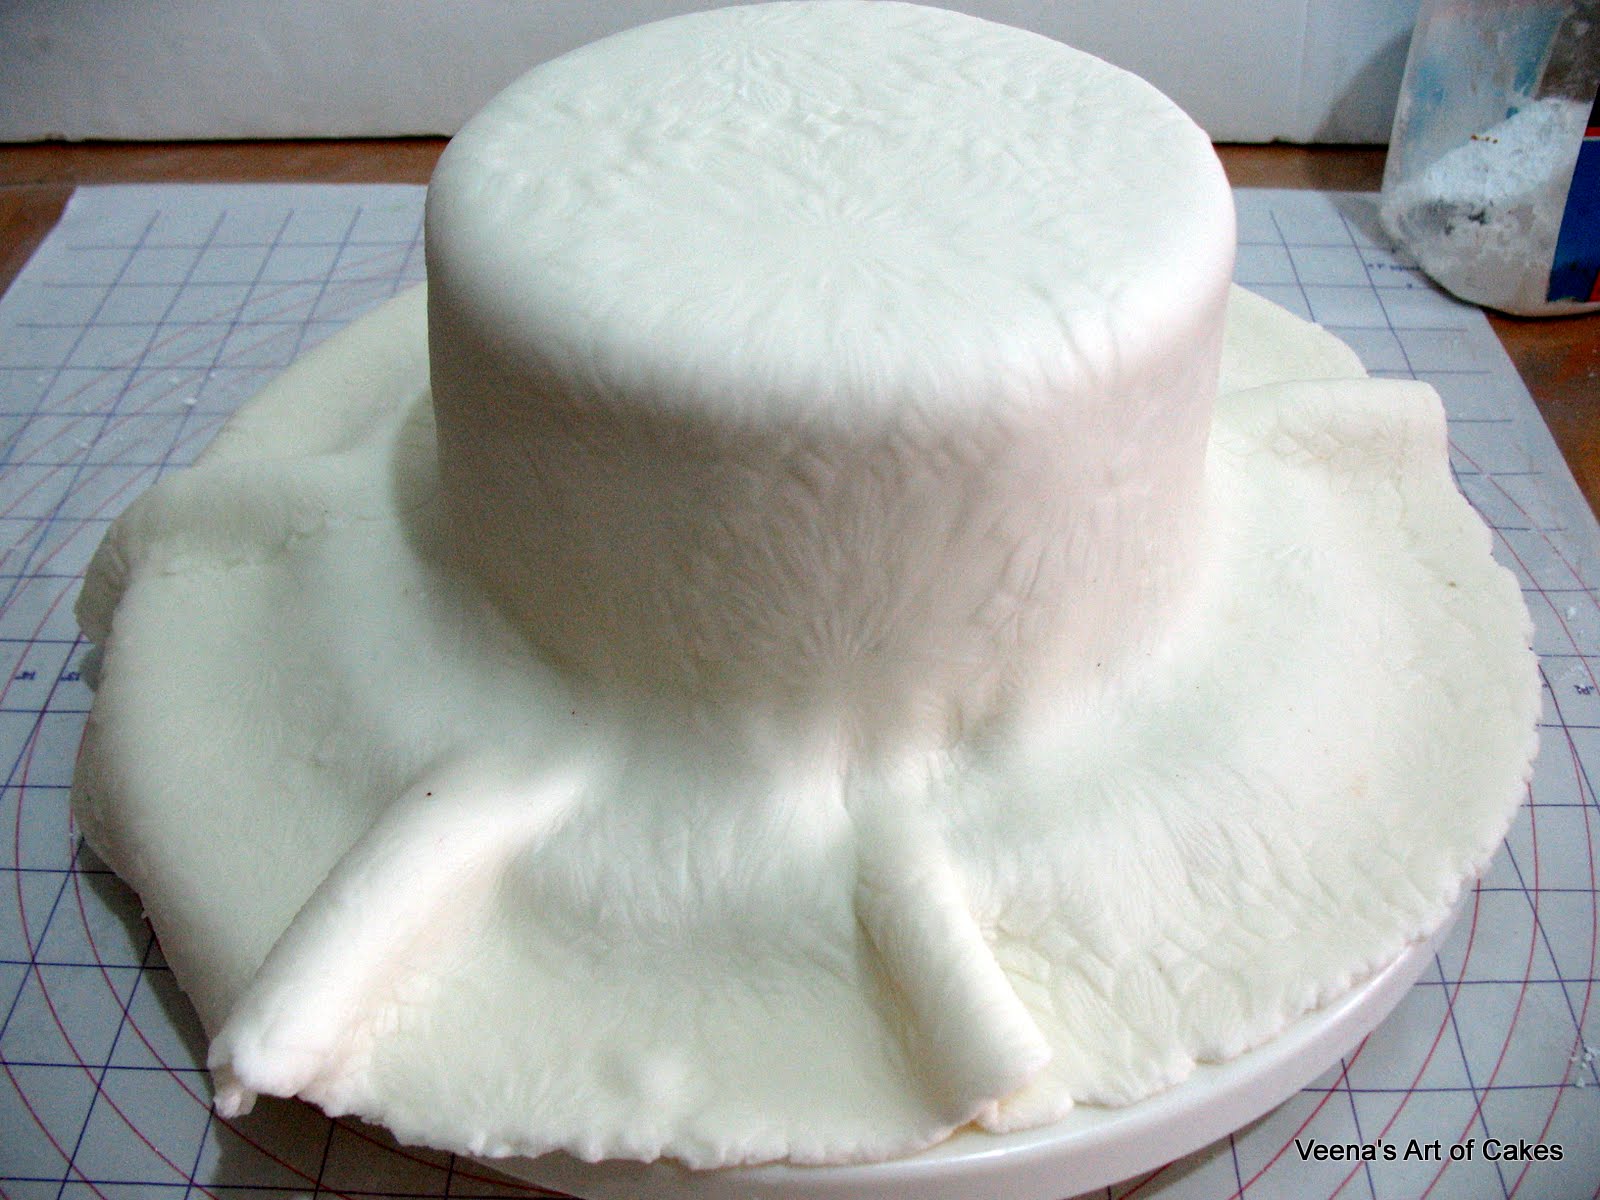
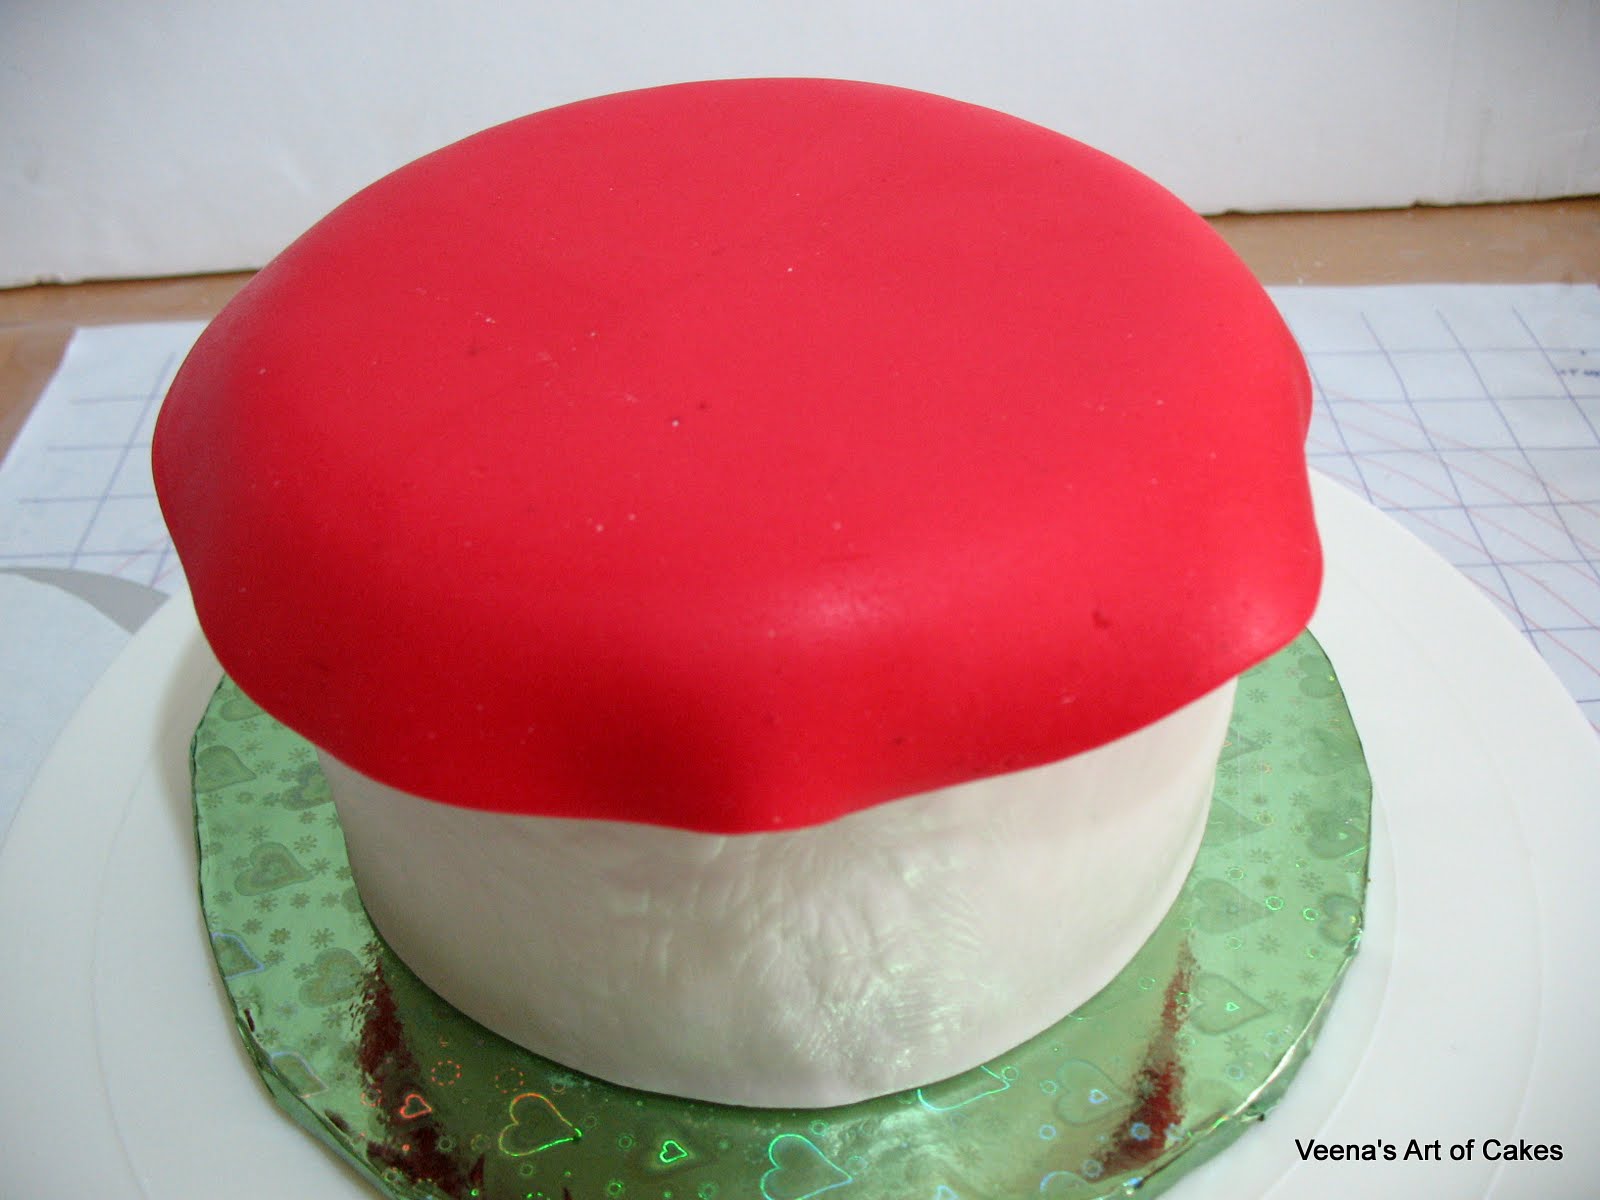
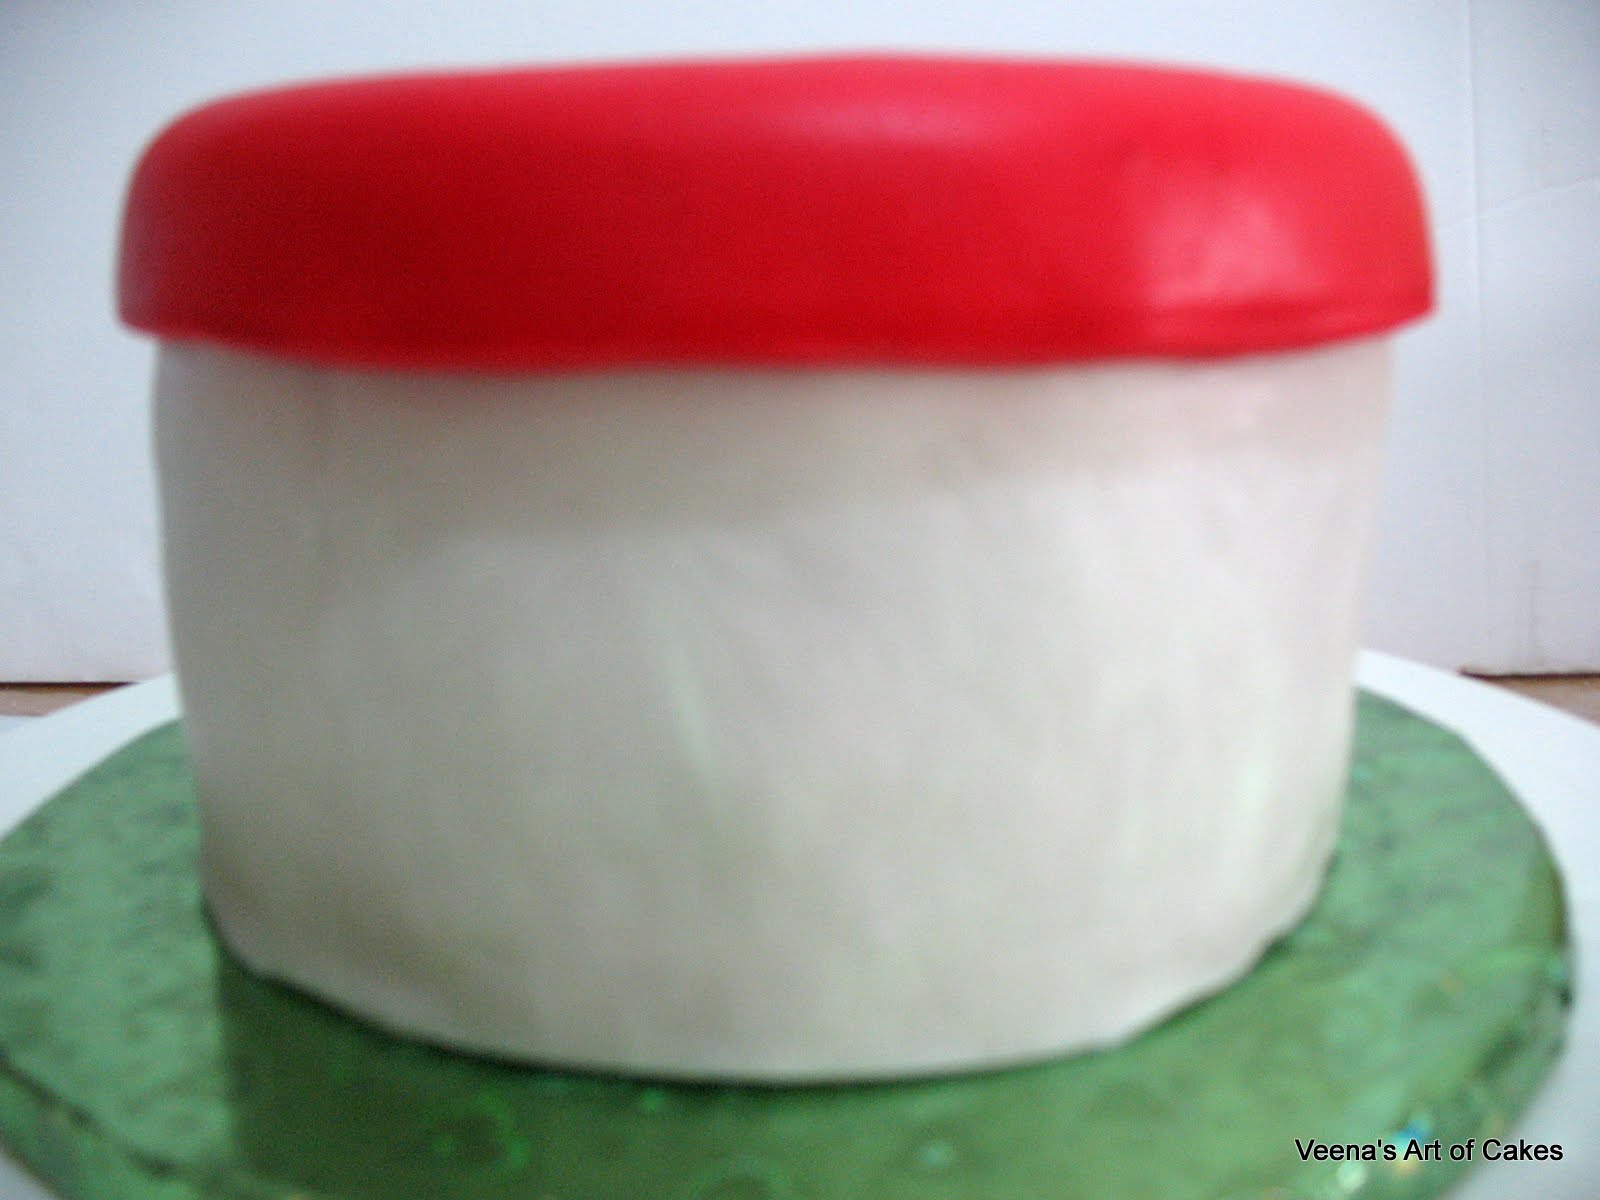
Now Place it on the Cake. Try to center impressions as best you can.
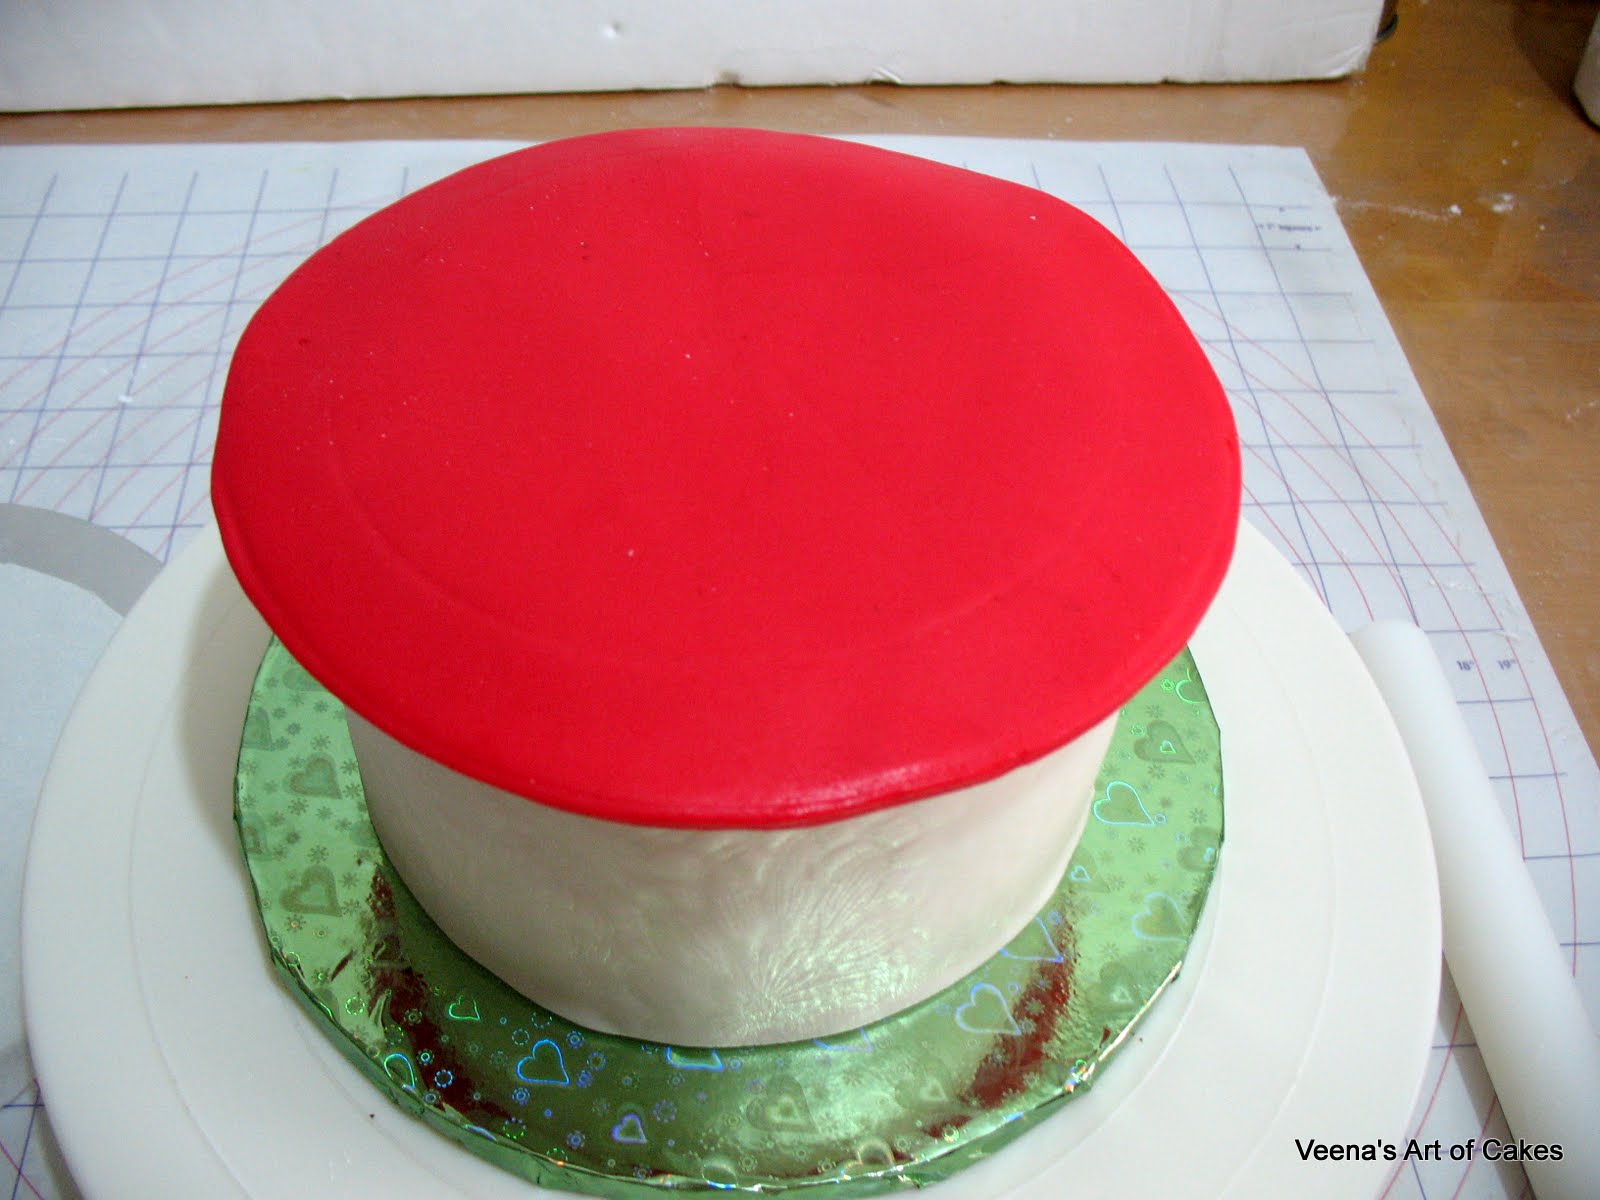
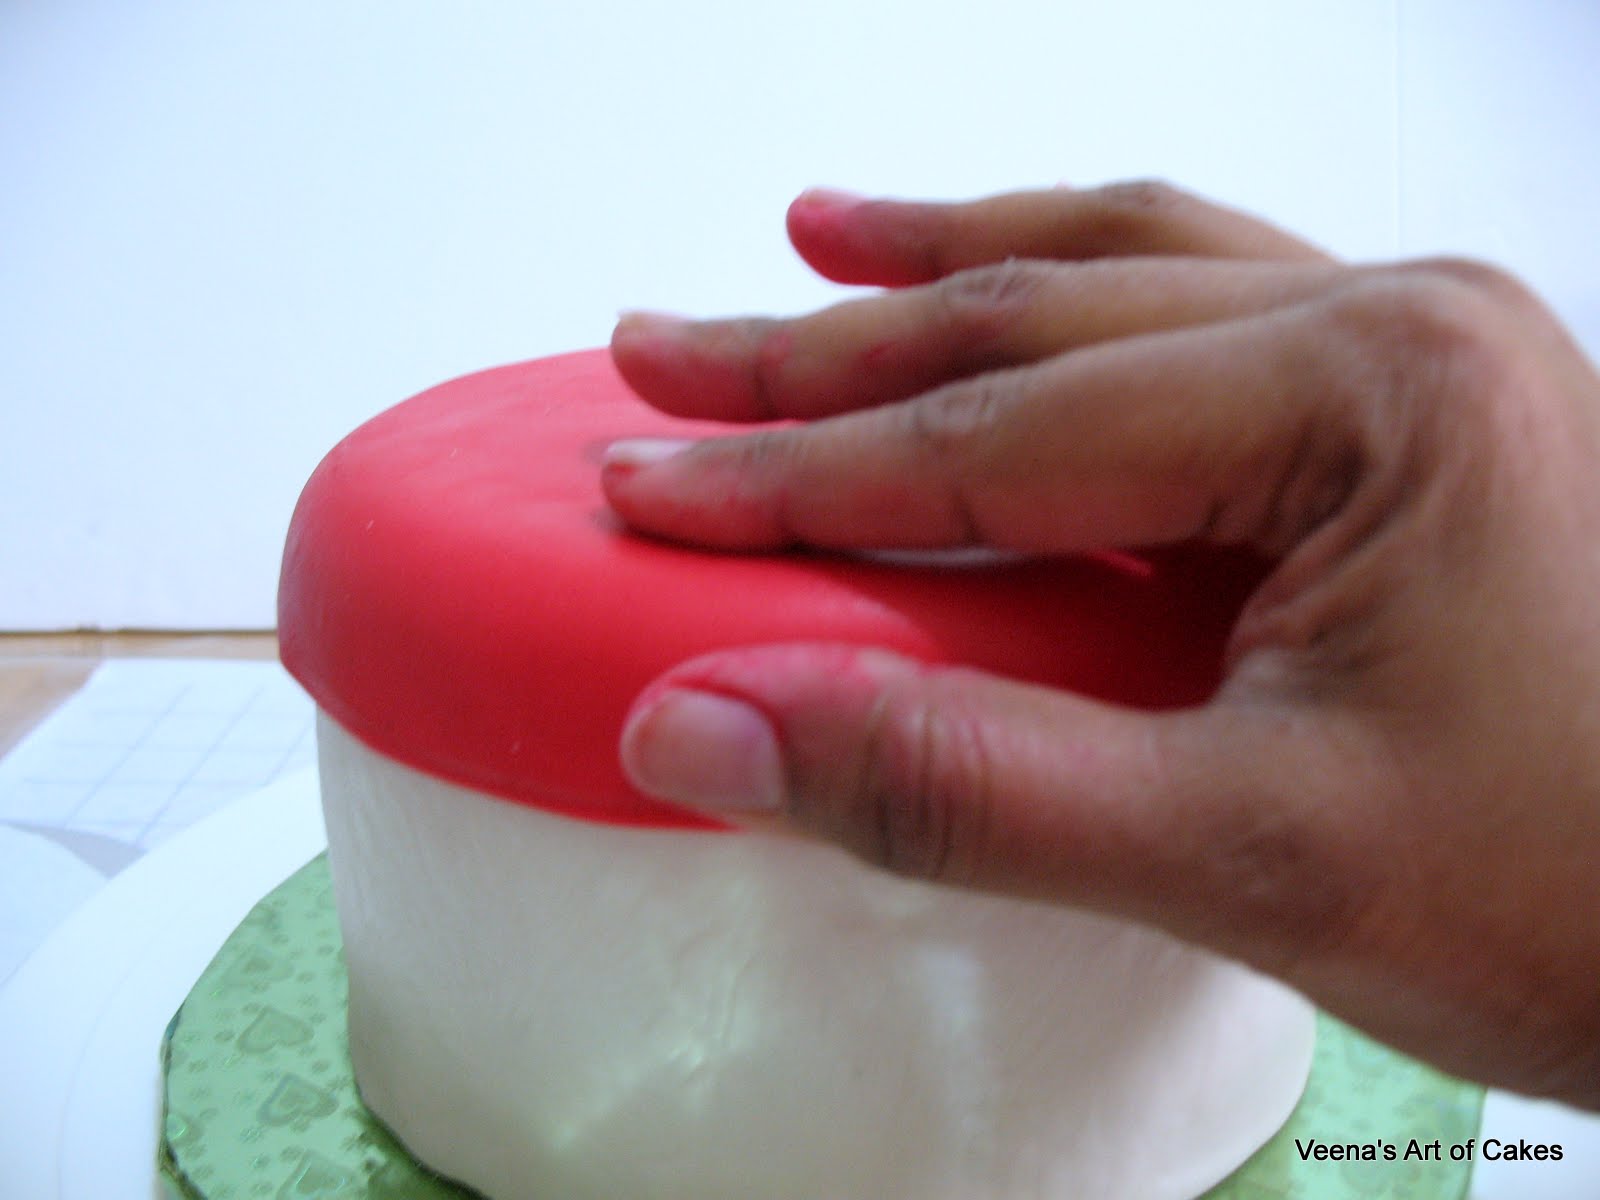
As the fondant softens you will slowly easy the sides.

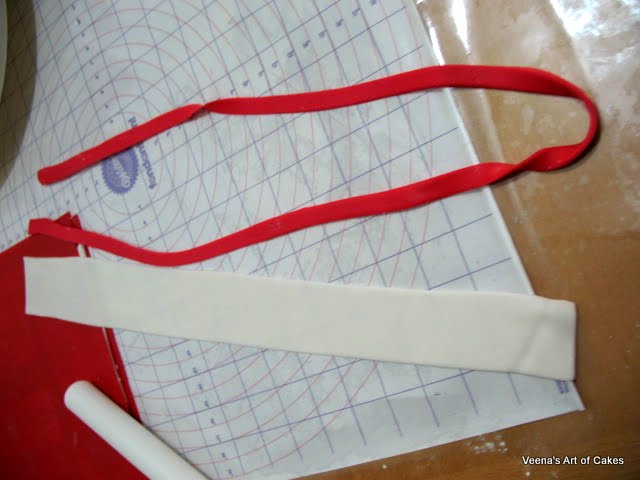
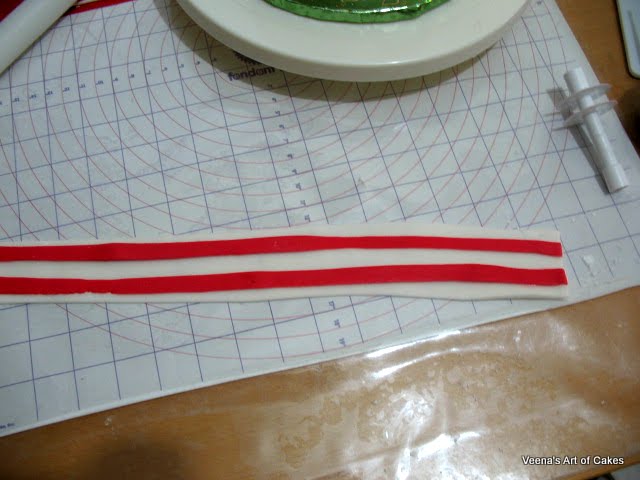
Next, work on your ribbon. You can use a simple strip of the base color. I am making a striped one here. You could also use a design or fondant cut outs on it.
Roll a strip of white and a very thin long strip of red like so..
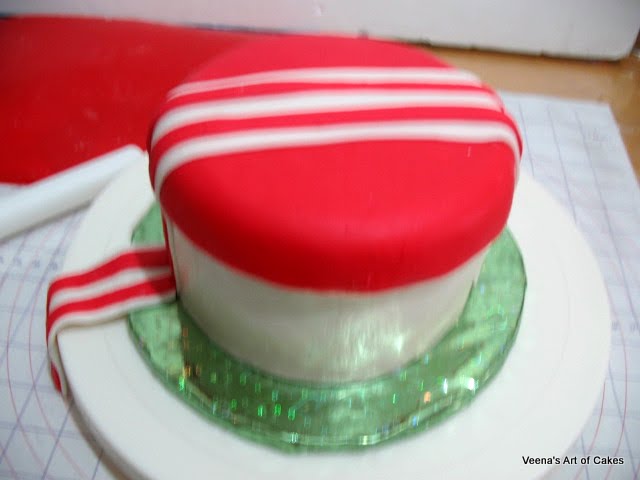
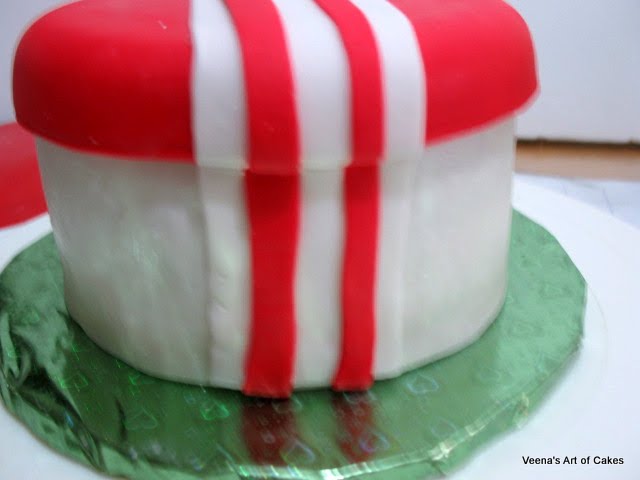
Here is my finished cake.

Until next time. Happy cake decorating.
Veena.
If you liked this post please consider subscribing to my blog and sharing this post with your friends.
Veena Azmanov
Veena's Art of Cakes
Unforgettable Cakes for memorable occasions
Website - www.veenaartofcakes.com
Blog - http://veenaartofcakes.blogspot.com/
You tube channel - http://www.youtube.com/user/veenamiranda?feature=mhee
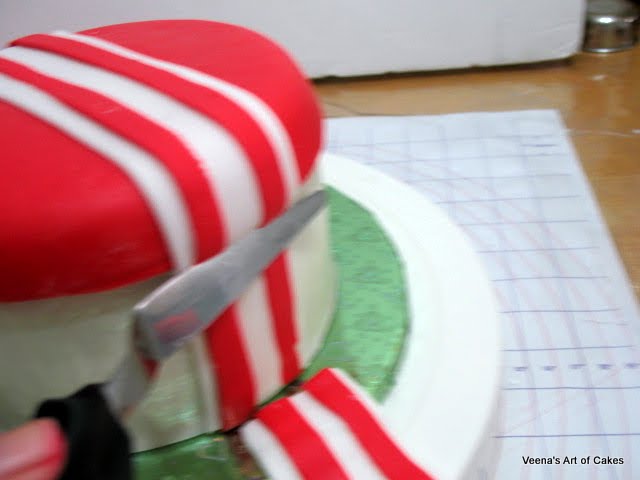
This is the best method to make a box cake. I tried it yesterday. Turned out perfectly. I always place the lid on top and then cut around with an a sharp knife. Have to be very careful with stretching as well as cutting the fondant below. Yesterday i did a black and white and I was amazed that the color did not bleed. Thanks so much for this tutorial.
ReplyDeleteHi Veena,
ReplyDeleteJust found your blog. I am new to cake decorating and I do mostly as a hobby for my family and friends.
I am so happy to find your blog. Almost every post is a tutorial.
God will bless you for taking the trouble to share all this information with you. You have a very special gift not only of cake decorting but teaching. Thanks
Archana from Nigeria
Great tutorial. Thanks so much,
ReplyDeleteOne question. If I had to do the cover in the same color would I do the same or i don't need a separate piece? I want to make a Tiffany box but round.
Thanks for you help.
Crystal
Hi Veena,
ReplyDeleteGreat Blog. Love your work, you are so talented. Love how well you explain everything. I'm not new but like coming to your blog because you always do things differently. Like this tutorial as well as your Gerber Daisy tutorial. Thanks for the amazing work.
Roxaanne.
Well done about the best tutorial on making a cake gift box. thanx a lot.
ReplyDeleteHey Veena you r doing an awesome job. Thanks for sharing the tips with us. You are really god gifted. Keep up the good work!!!
ReplyDeleteThanks for the comment Nilu. Appreciate the support and encouragement. Glad you like my work.
DeleteVeena
I like your work. You explained each process step by step. I am a beginner decorator, self taught and your tips helped me a lot. THANKS.
ReplyDeleteHey Veena Have u ever tried an open cake box? Would really like to know how it is done.
ReplyDeleteBrilliant! Thanks for all the great shares.
ReplyDelete