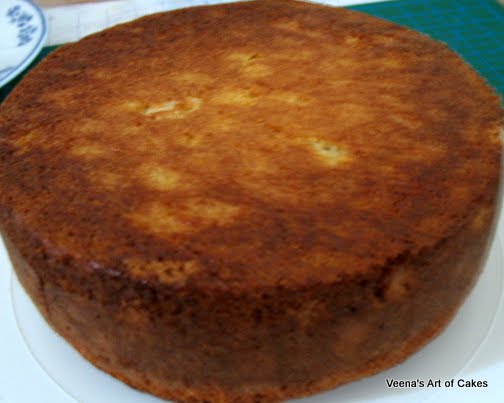
First, start by leveling your cake. Check out my post on how to level your cake (I've shown two easy methods)
Flip your cake on your cake board.
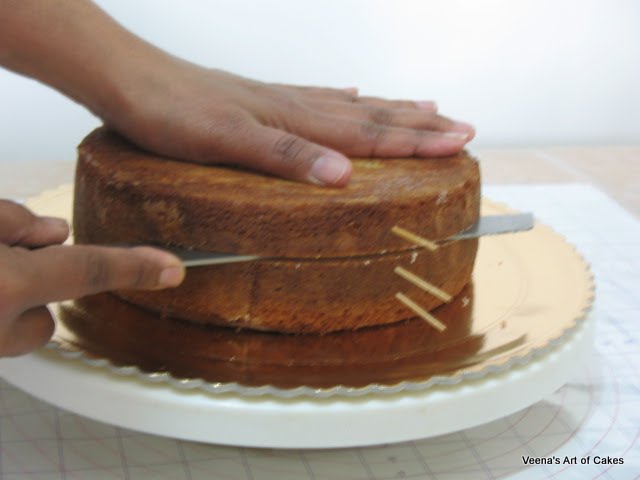
Next I start by first deciding how many layers I need for the cake. I usually make three layers with just a crumb coat for my fondant covered cakes.
Then place toothpicks at equal heights (approximately) like so...

Now cut right between the toothpicks. Hold your hand on the cake top, anchor you knife and start turning the cake moving your knife every so lightly. The turn table will help guide you. You can try to be as straight as possible, but if you can't don't worry too much.
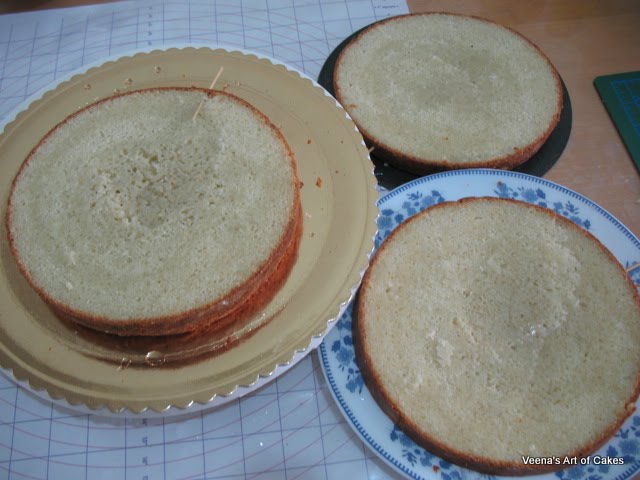
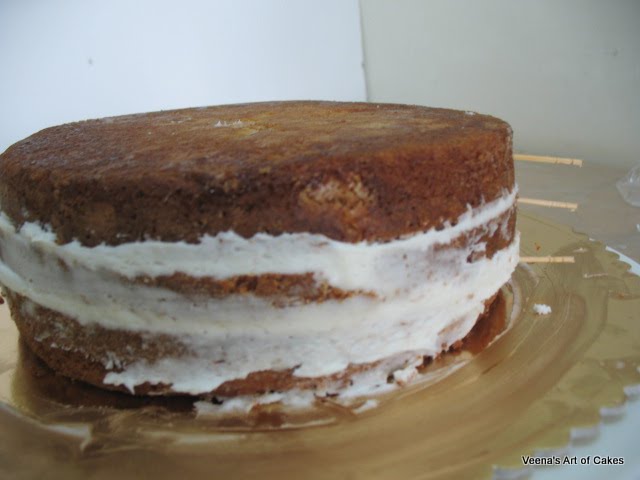
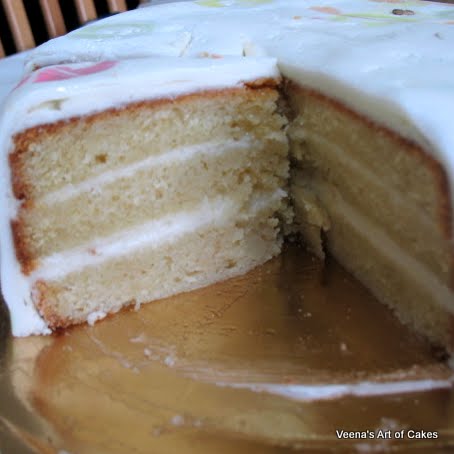
Here, I think you can see that I have cut three very uneven layers of cake. This is a sponge cake and I have drizzled some simple syrup on them.
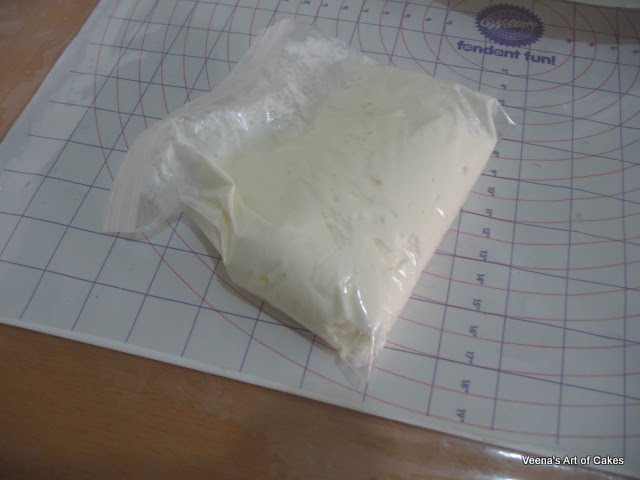
I use a zip-lock bag like this, cut a hole at one edge and use that to make a border, once done i just throw it out. (saves me the hassle of cleaning a piping bag)
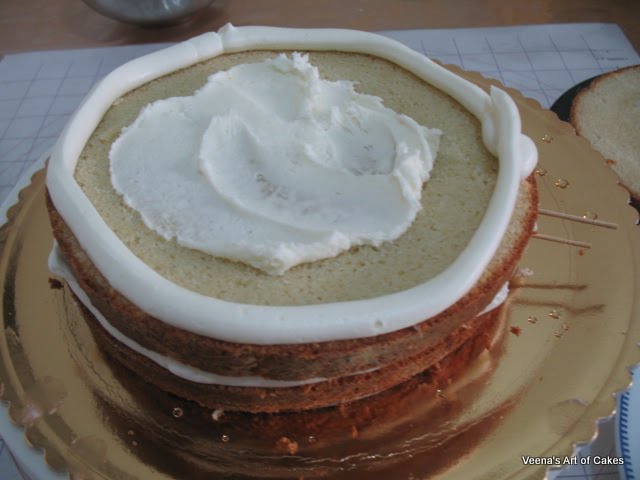
The buttercream border helps keep the filling from dripping the sides of your cake. Very important if your filling involves jam, mousse etc.

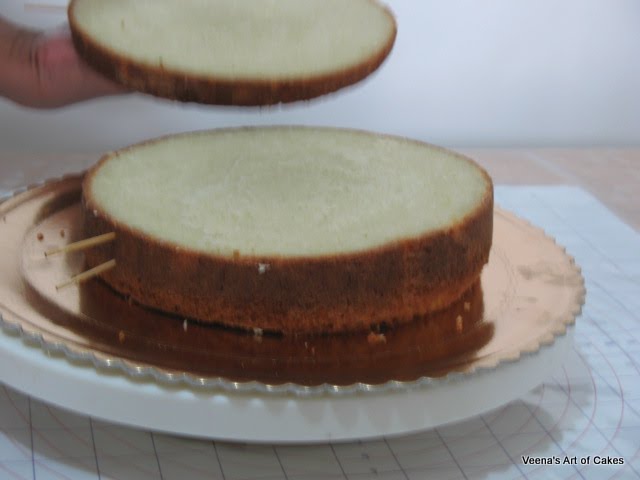
There goes the last layer. Note that once the toothpicks are aligned again the uneven cake layers stack back to an even cake.
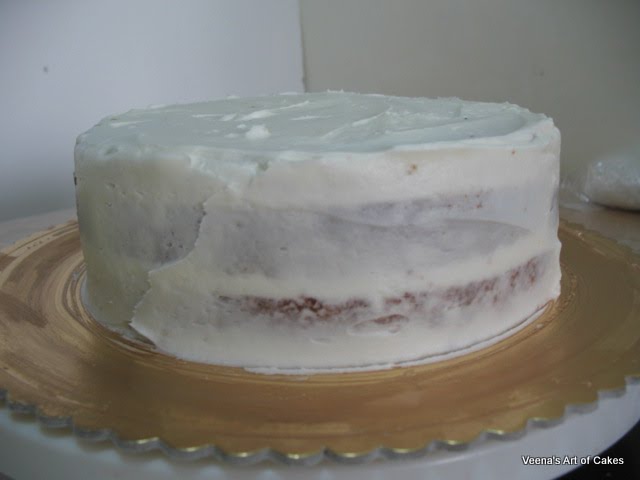
Below is the same cake that was cut later. (this was my family's Christmas cake) As you can see the uneven layers don't show..
I hope you learned something. Happy cake decorating.
Veena
If you liked this post please consider subscribing to my blog, and sharing it with your friends.
Veena Azmanov
Veena's Art of Cakes Unforgettable Cakes for memorable occasions
Website - www.veenaartofcakes.com
Blog - http://veenaartofcakes.blogspot.com/
You tube channel - http://www.youtube.com/user/veenamiranda?feature=mhee
What an excellent article and what a great technique! I've never done anything like this so even though you described it clearly, I wouldn't have understood without the wonderful photos. Between the written and visual you answered all my questions and have given me the confidence to try it myself. Thanks!
ReplyDeleteOh my! Ur damn creative n hats off to ur ideas! I've surfed many blogs but I guess yours s amazing! Very simple m easy methods Verna.
ReplyDeleteThank you once again.
Poornima
Thanks a lot for your excellent instructions. God bless you for teaching such an excellent way.
ReplyDeletegeetha