I already posted How to make a Fondant Gift Box Cake 1, where I made the lid with a different color.
Making a Gift Box cake all in one color is a lot more simple, but I see from the emails that some of you are making it a lot more complicated than it really is.
Here is what I do, simple and easy.

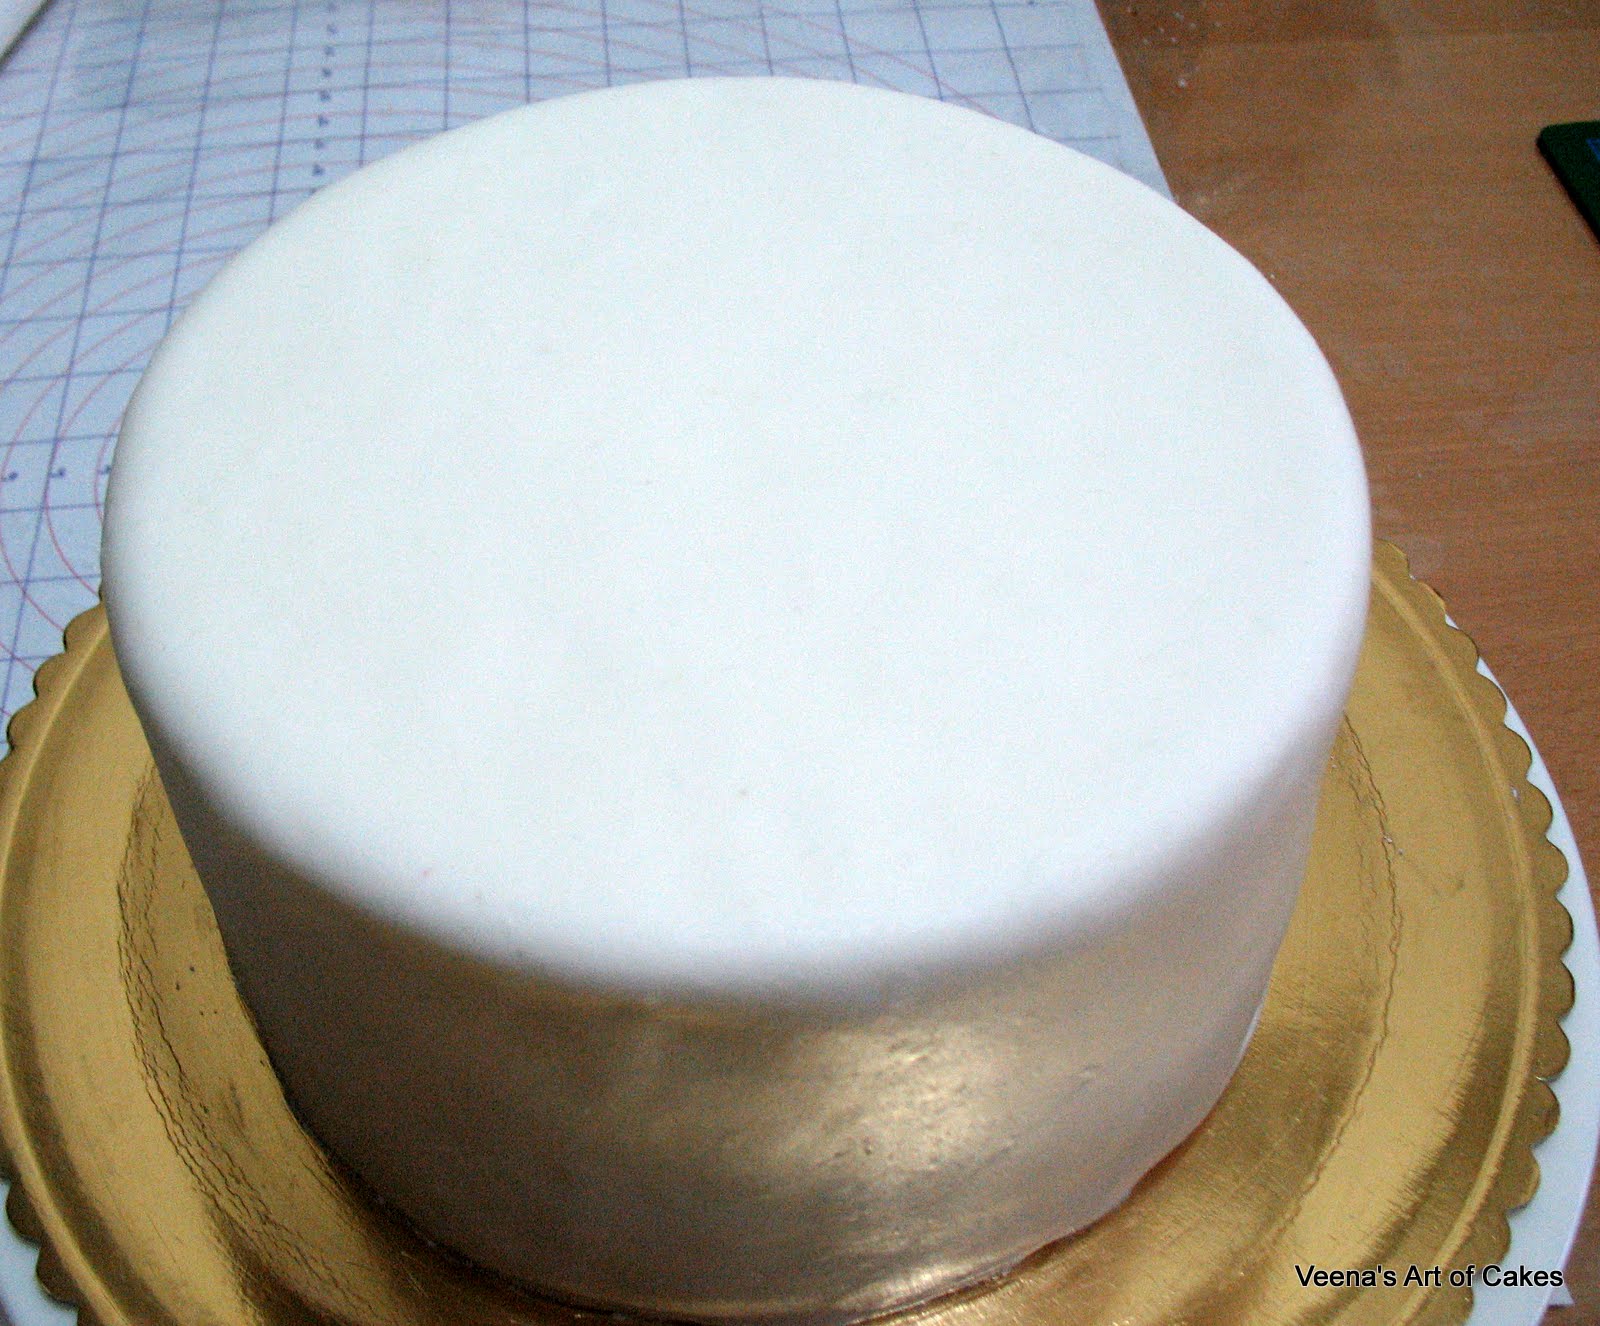
OK. Fondant covered cake it is..
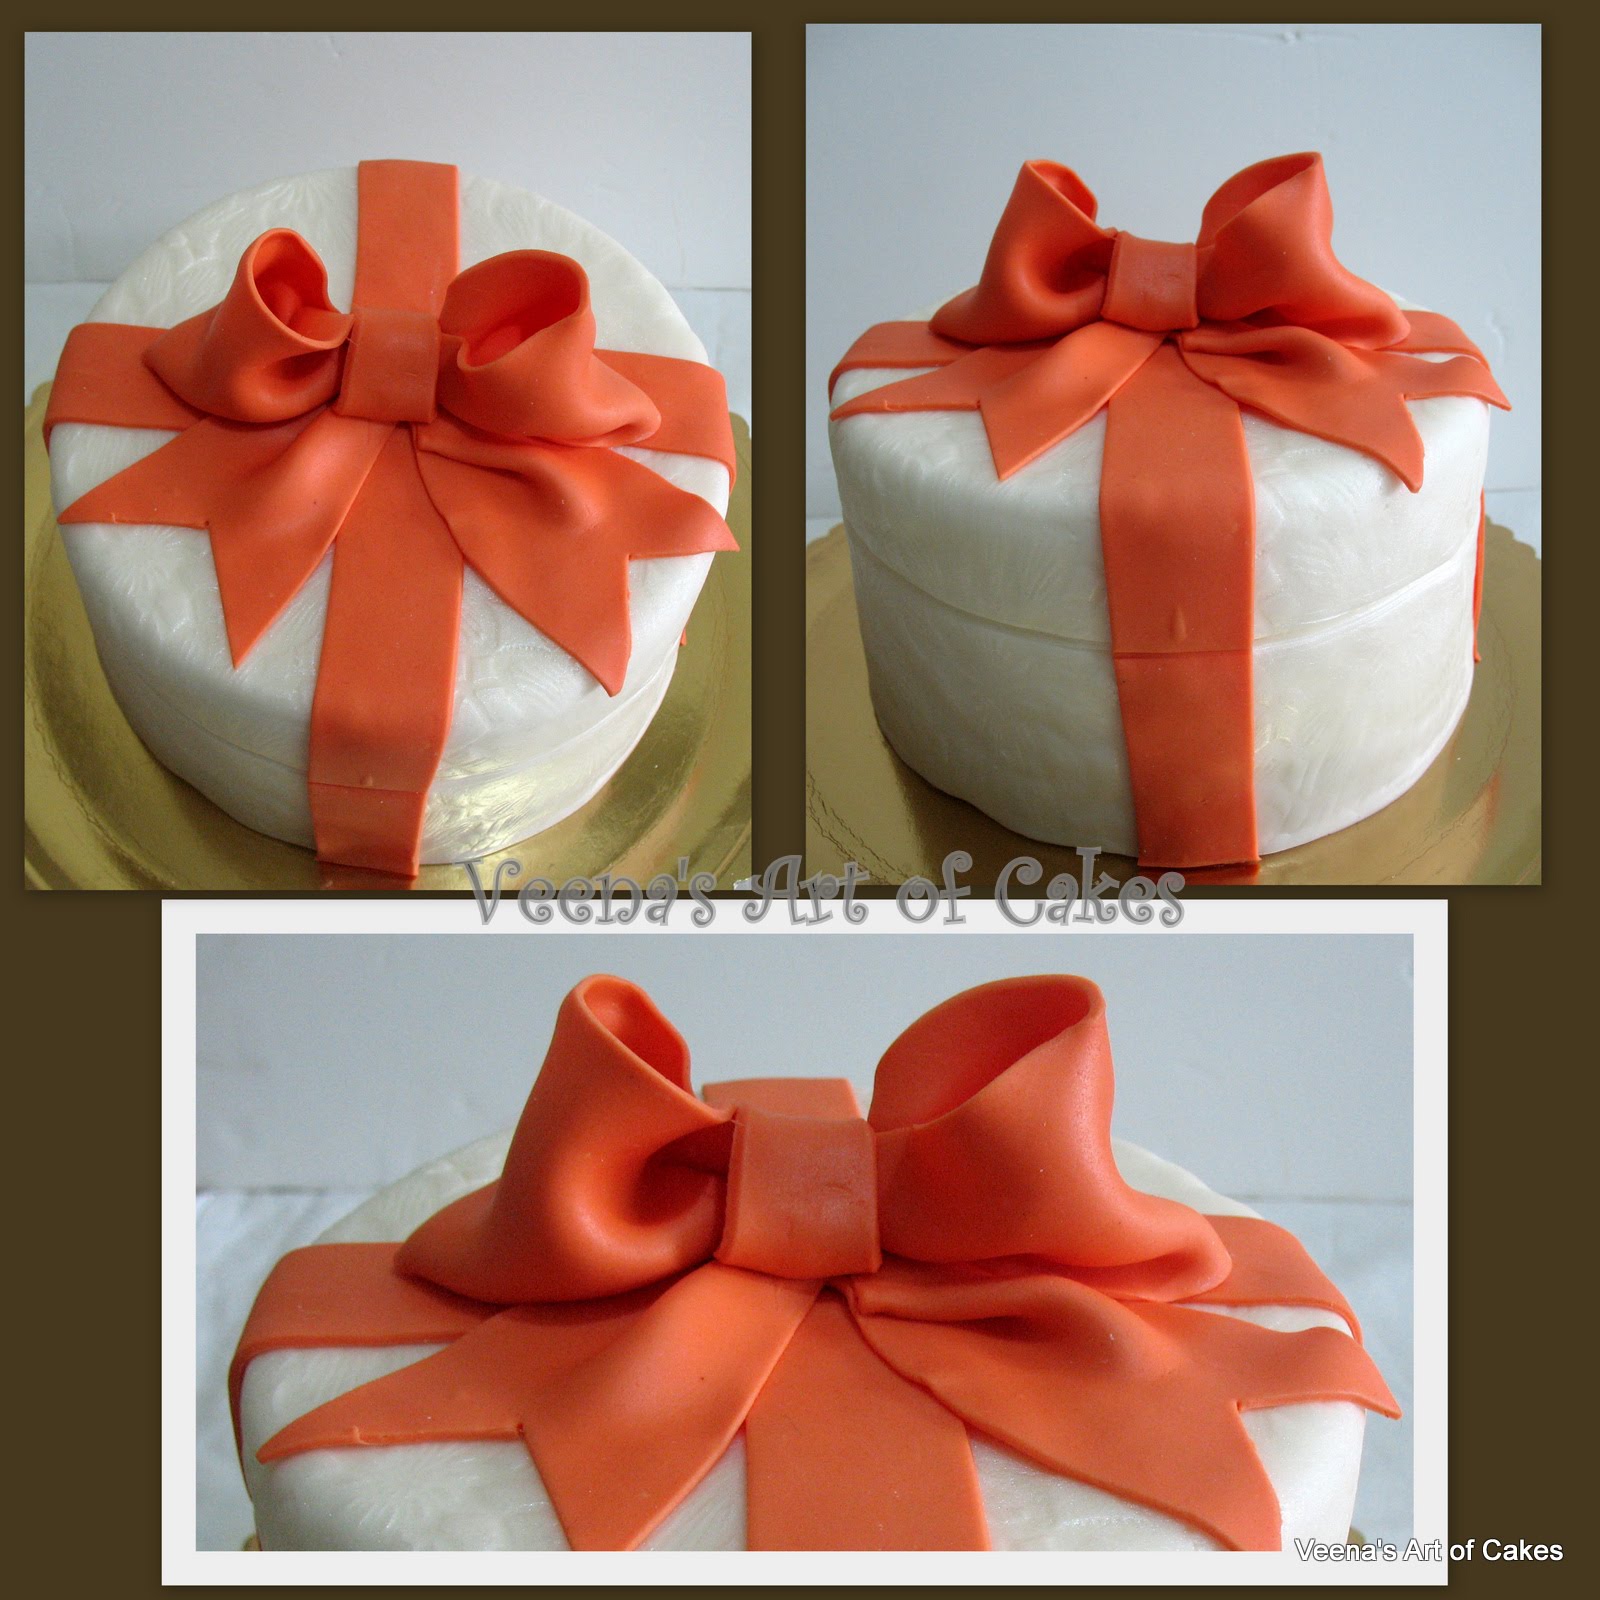
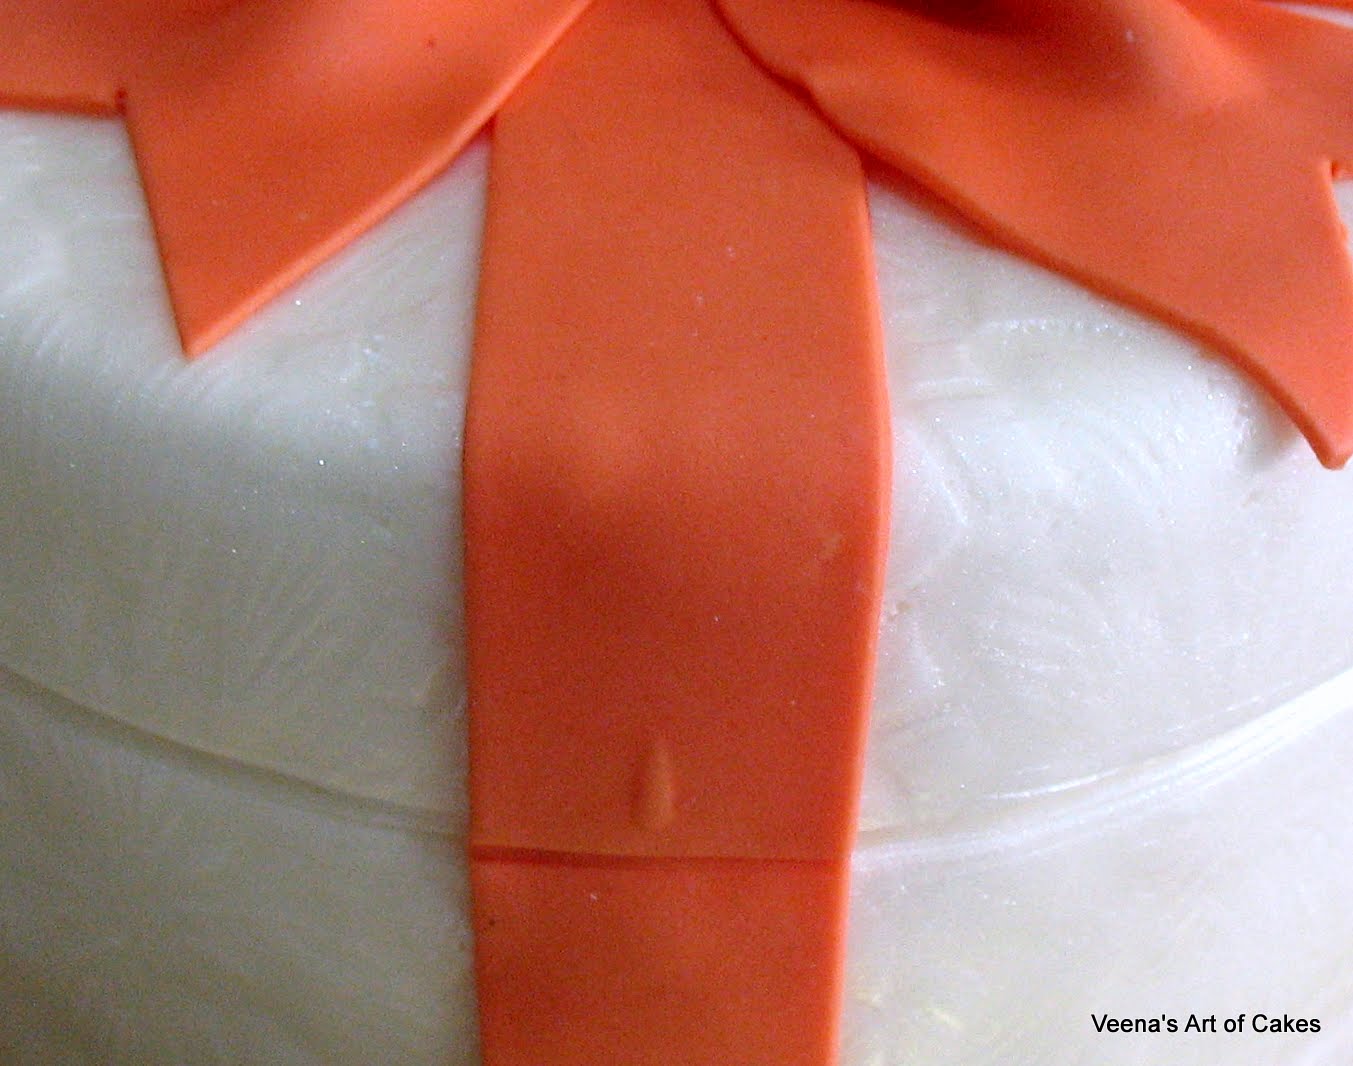
I ran out of fondant and had to use store bought fondant. I hate store bought fondant and as you can see I did not do a good job with it. So pretend you don't see my shabby fondant job.
This is an 8 inch 2 layer Double Chocolate Cake Recipe with Chocolate Ganache.
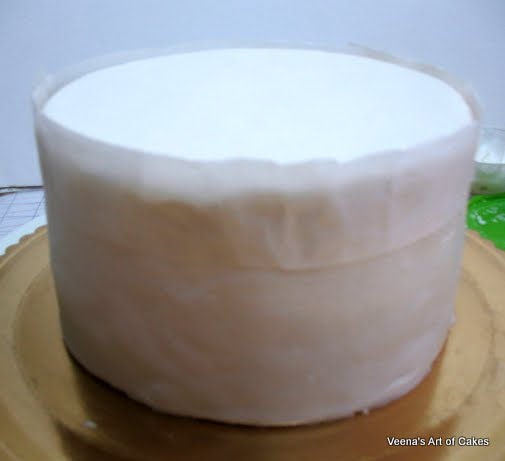
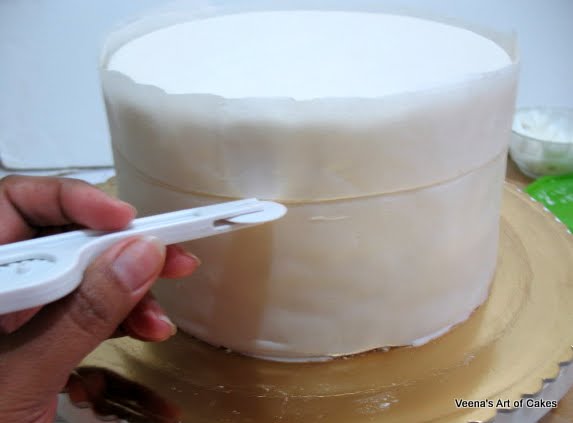
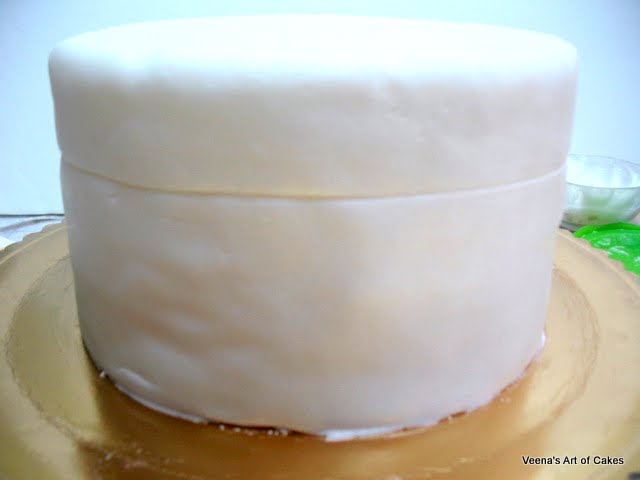
You can see here I cut it to about 2 inches but later pulled it up a bit as I changed my mind.
Just make sure it is straight and not slanting or else you will have a slanted lid!

The quilted pattern is not sharp on purpose. I wanted it like this.
Remember, I told you I wasn't happy with how I covered the cake in fondant earlier? The quilted pattern was to mask the not so smooth sides. Some times you have to work around your mistakes and do the best you can.
I will show you how I do the quilting in another post. It's easier than it looks.This one I did free hand without any tools just that wheel tool I used to score the line.I don't have the impression mat or patchwork cutter either.
When you're on a budge, If your not selective with what tools you buy, you end up spending on things that are less important. I'd rather spend on flower cutters and mold. That's my opinion, not judging anyone.
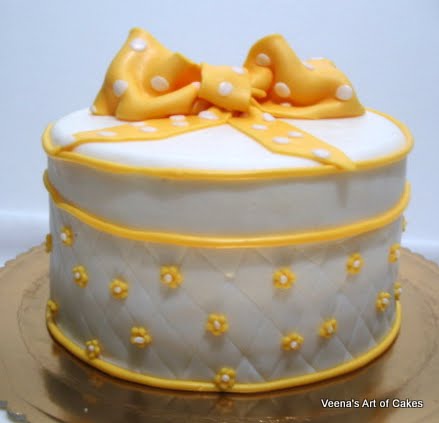
This bow and flowers are only fondant (customer does not like gum paste). You can see the bow is a lot softer but has a very fabric look to it.
Now I did not add the ribbon all around the cake as in this cake below.
I hope you enjoyed this post. Until next time.
Happy cake decorating.

HI Veena, I love the way you simplify things. I was very aftraid to do the gift box cake but thanks to you it turned out so easy.
ReplyDeleteI want to do the gift box cake with the lid separate, with some flowers added between the lid. I saw that your post is titled Gift Box cake 1, 2. Is there a 3? Would that be the one i'm waiting for? Love you work and love your blog. Thanks for sharing.
Hi Samantha,
DeleteThanks for your comment and compliments.
You are very right that my number 3 is for the gift box cake with a separate lid. I have an other for that in March, I will try to do a tutorial then. But I can't promise.
Thanks.
Veena
Nice work you have done!!Thanks for sharing....
ReplyDelete