If you are a fan on my
Facebook page, you probably already saw this..
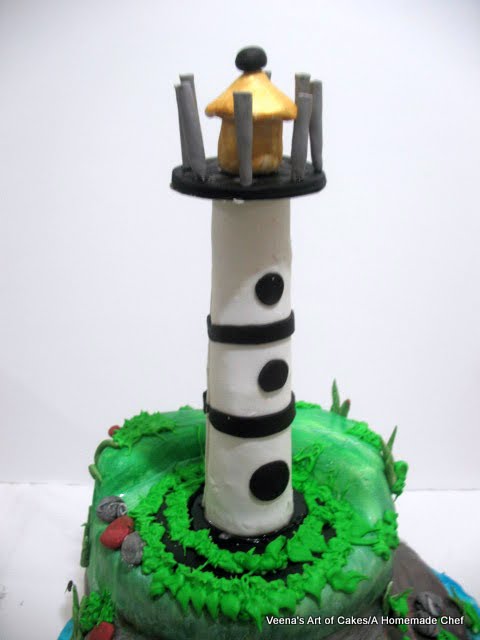
This is my first corporate cake order. It was for an office farewell party. The Light house is the company logo.
This is my Signature Chocolate Cake with
Vanilla Buttercream and
Home made sugar paste.
Here are a few progress pictures for you to see.... However, you can use this same carving method for many different designs. Often I get people who send me emails asking help with carving a specific cake. The truth is that it is very difficult to explain in words how to carve a specific cake.
For example - I would use this exact cake and similar method with very little change if I had to make a Mermaid cake.
So use this as a guide and don't worry if you change your mind a couple of times - It's just cake.
Let's get started:
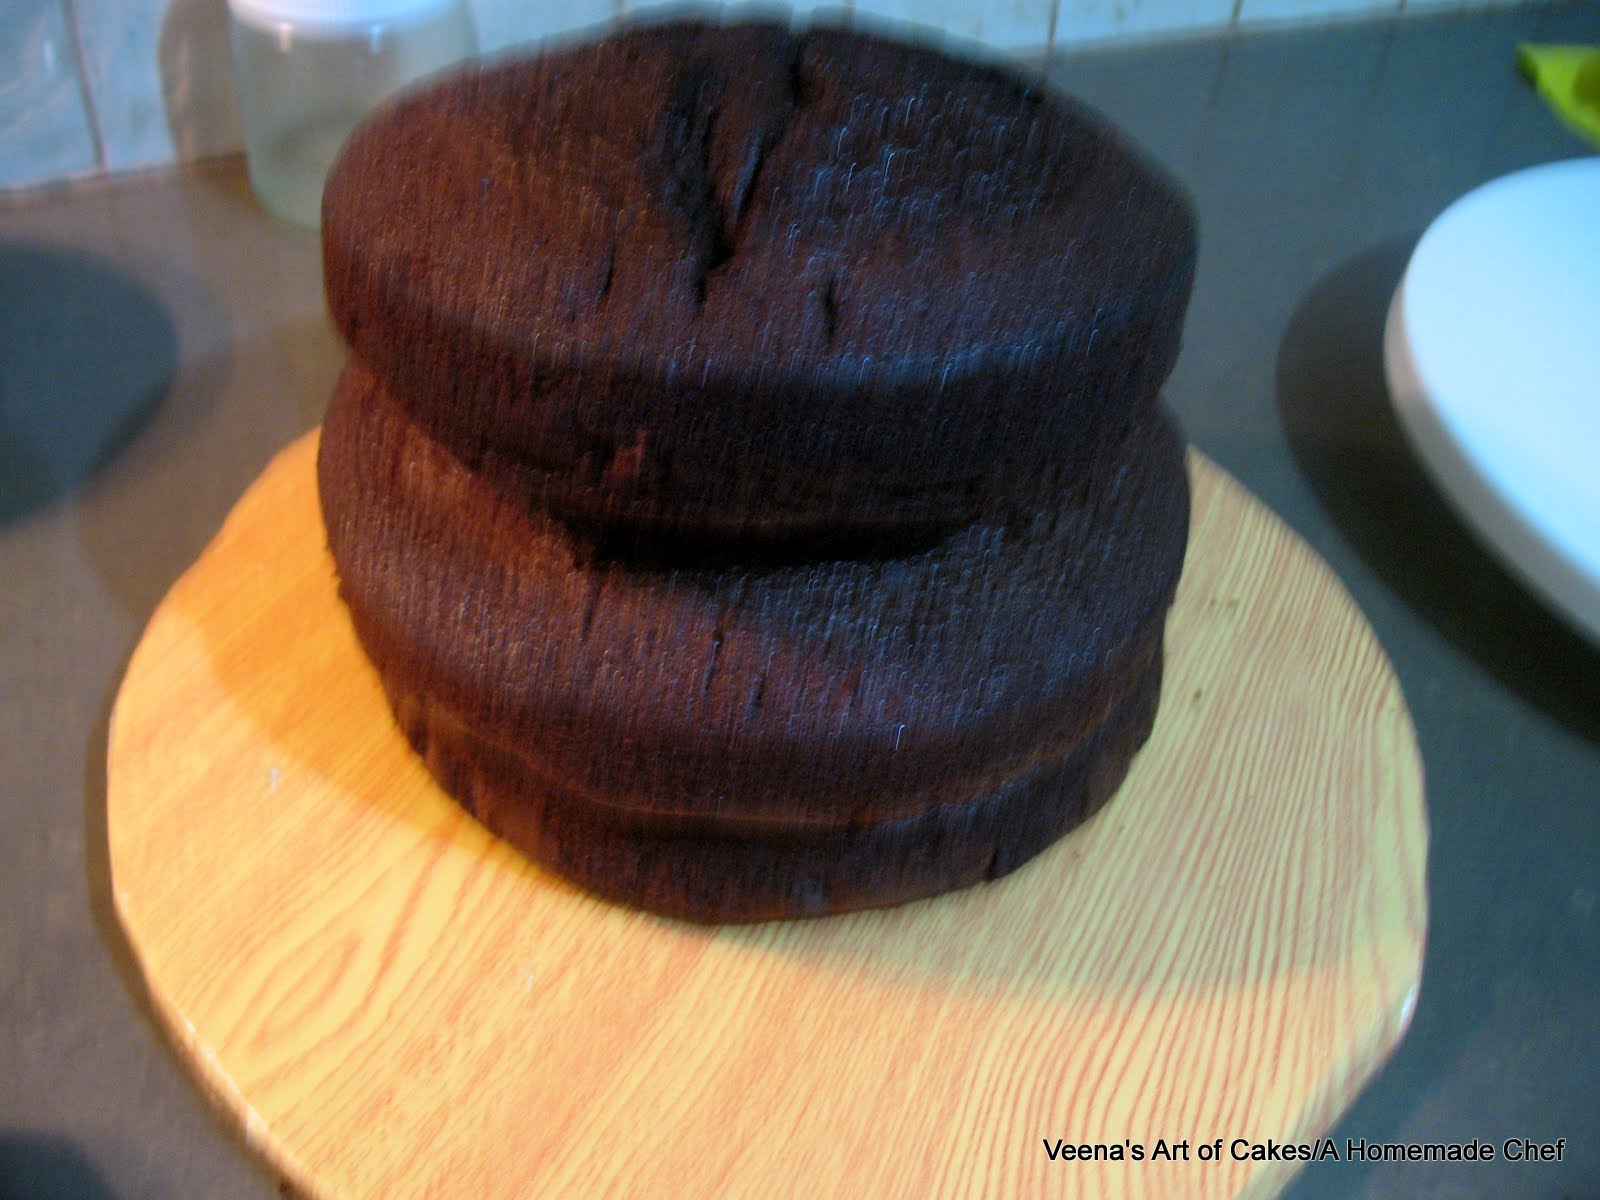
I started with two seven inch round cakes.
There's the first seven inch round. See the cut?
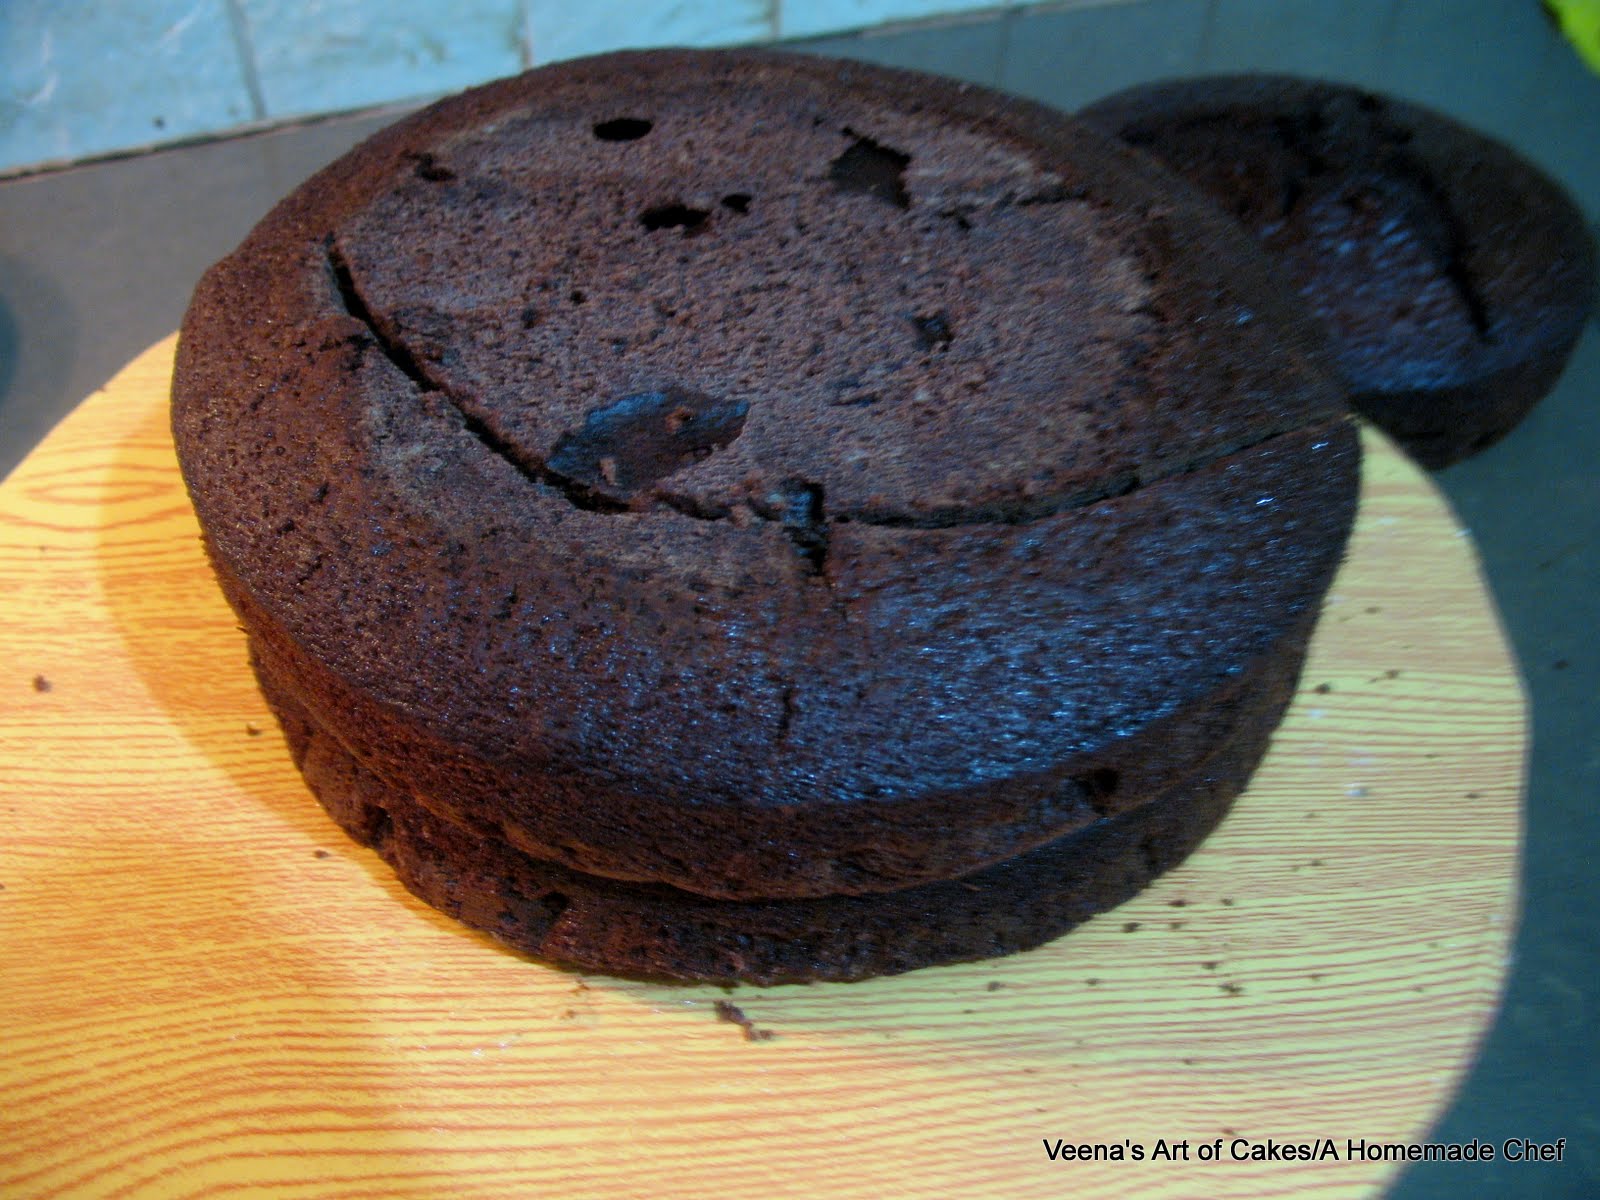
I removed the cut and placed it down.
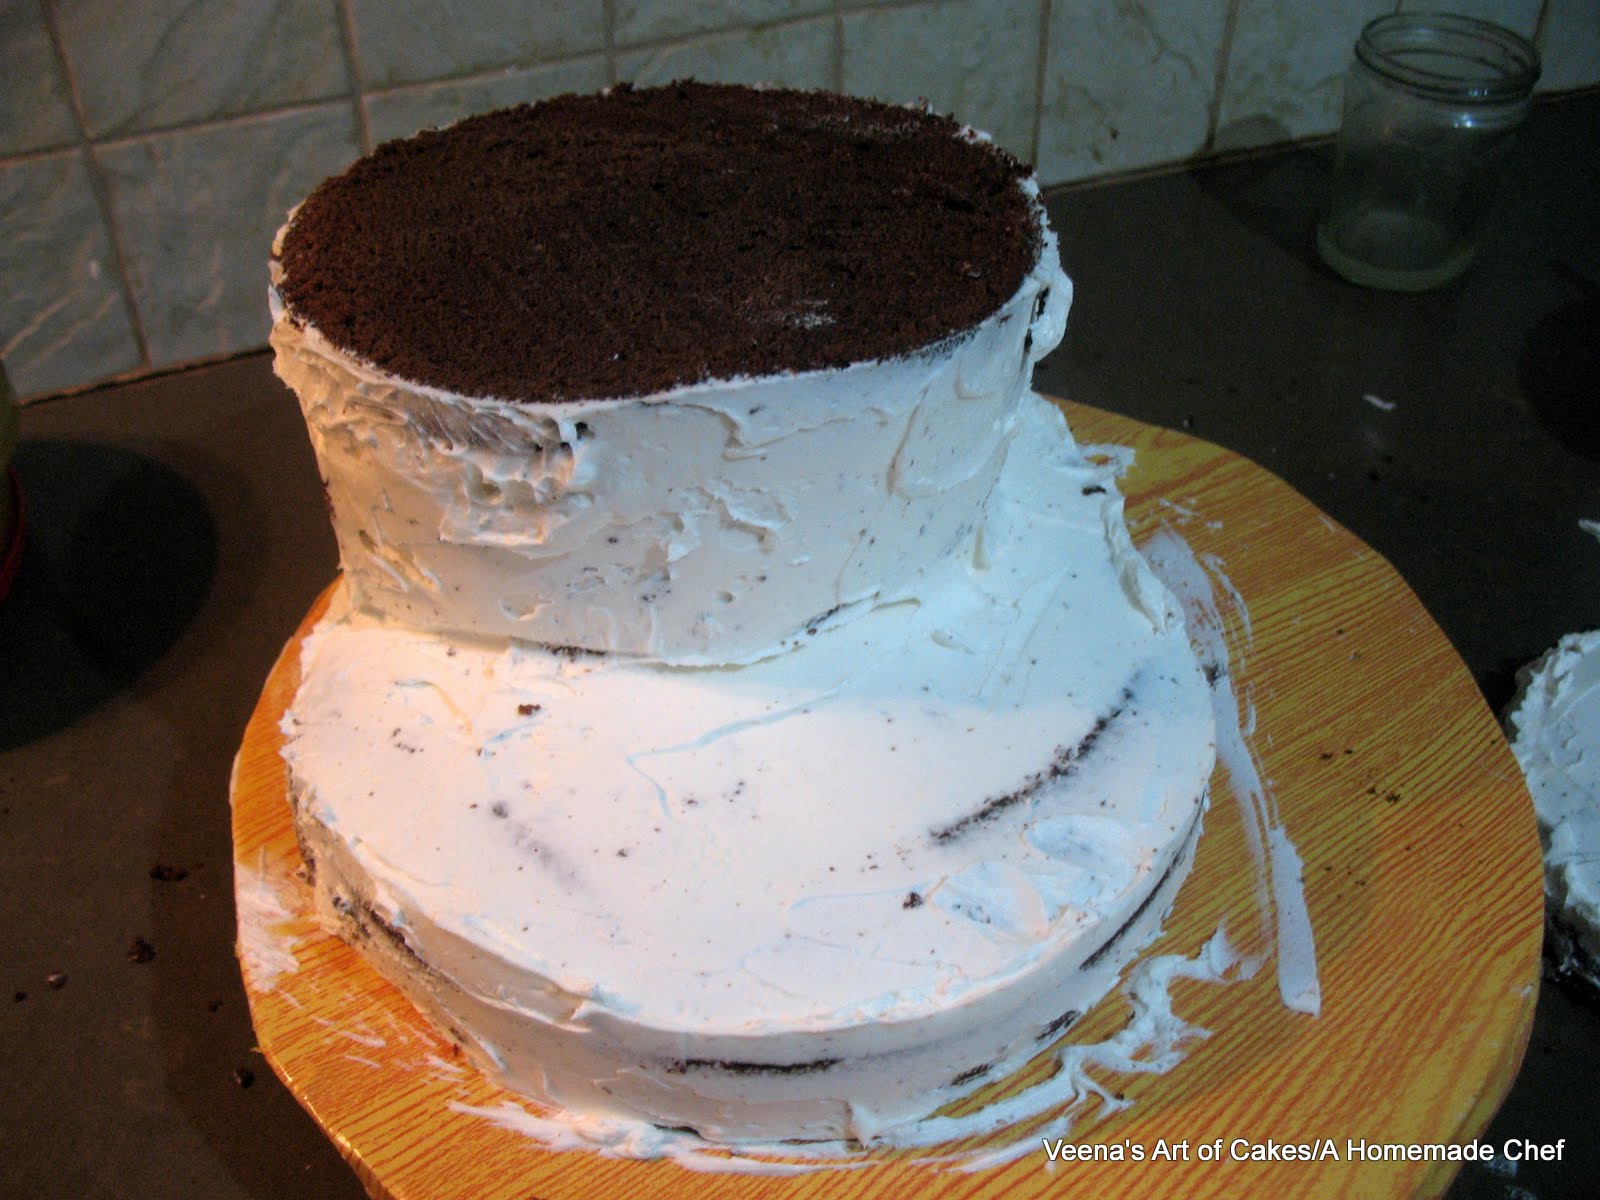
Now; I was planning to keep it like so because I wanted the cake to be tall.
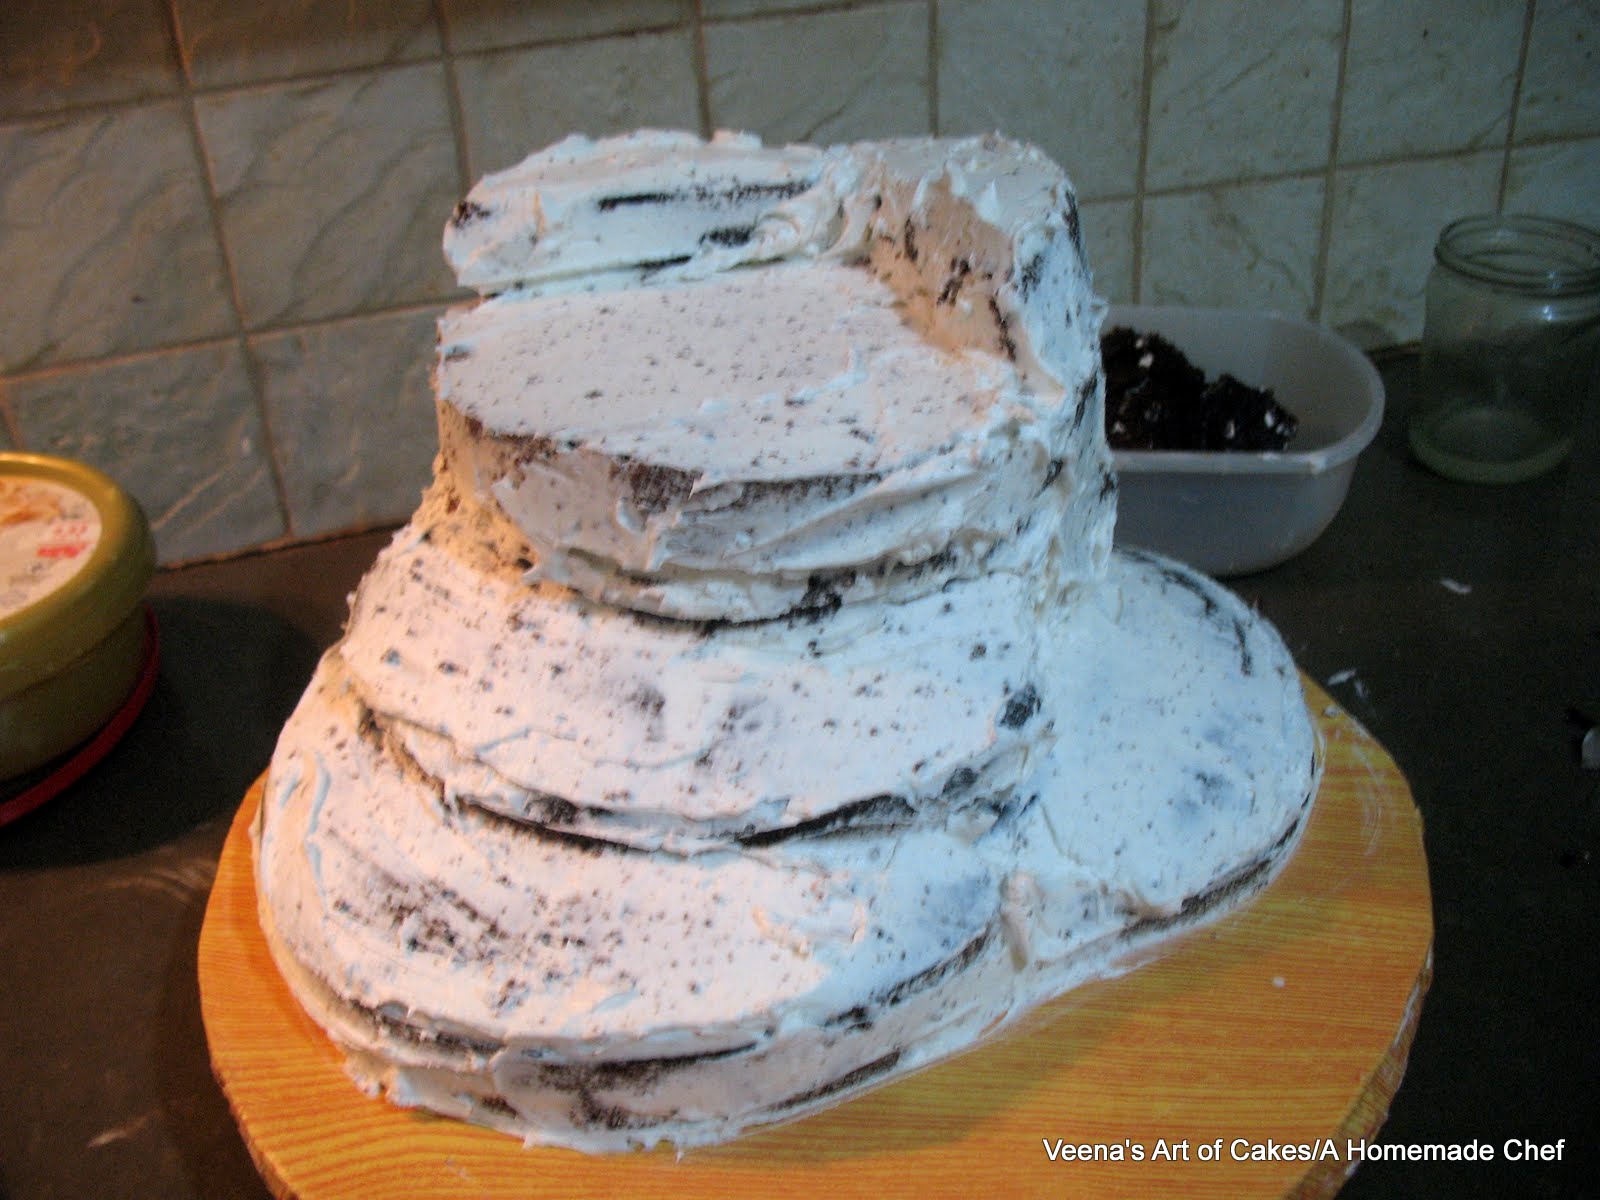
So I layered the tiers with buttercream as well as put dowels between the two cakes.
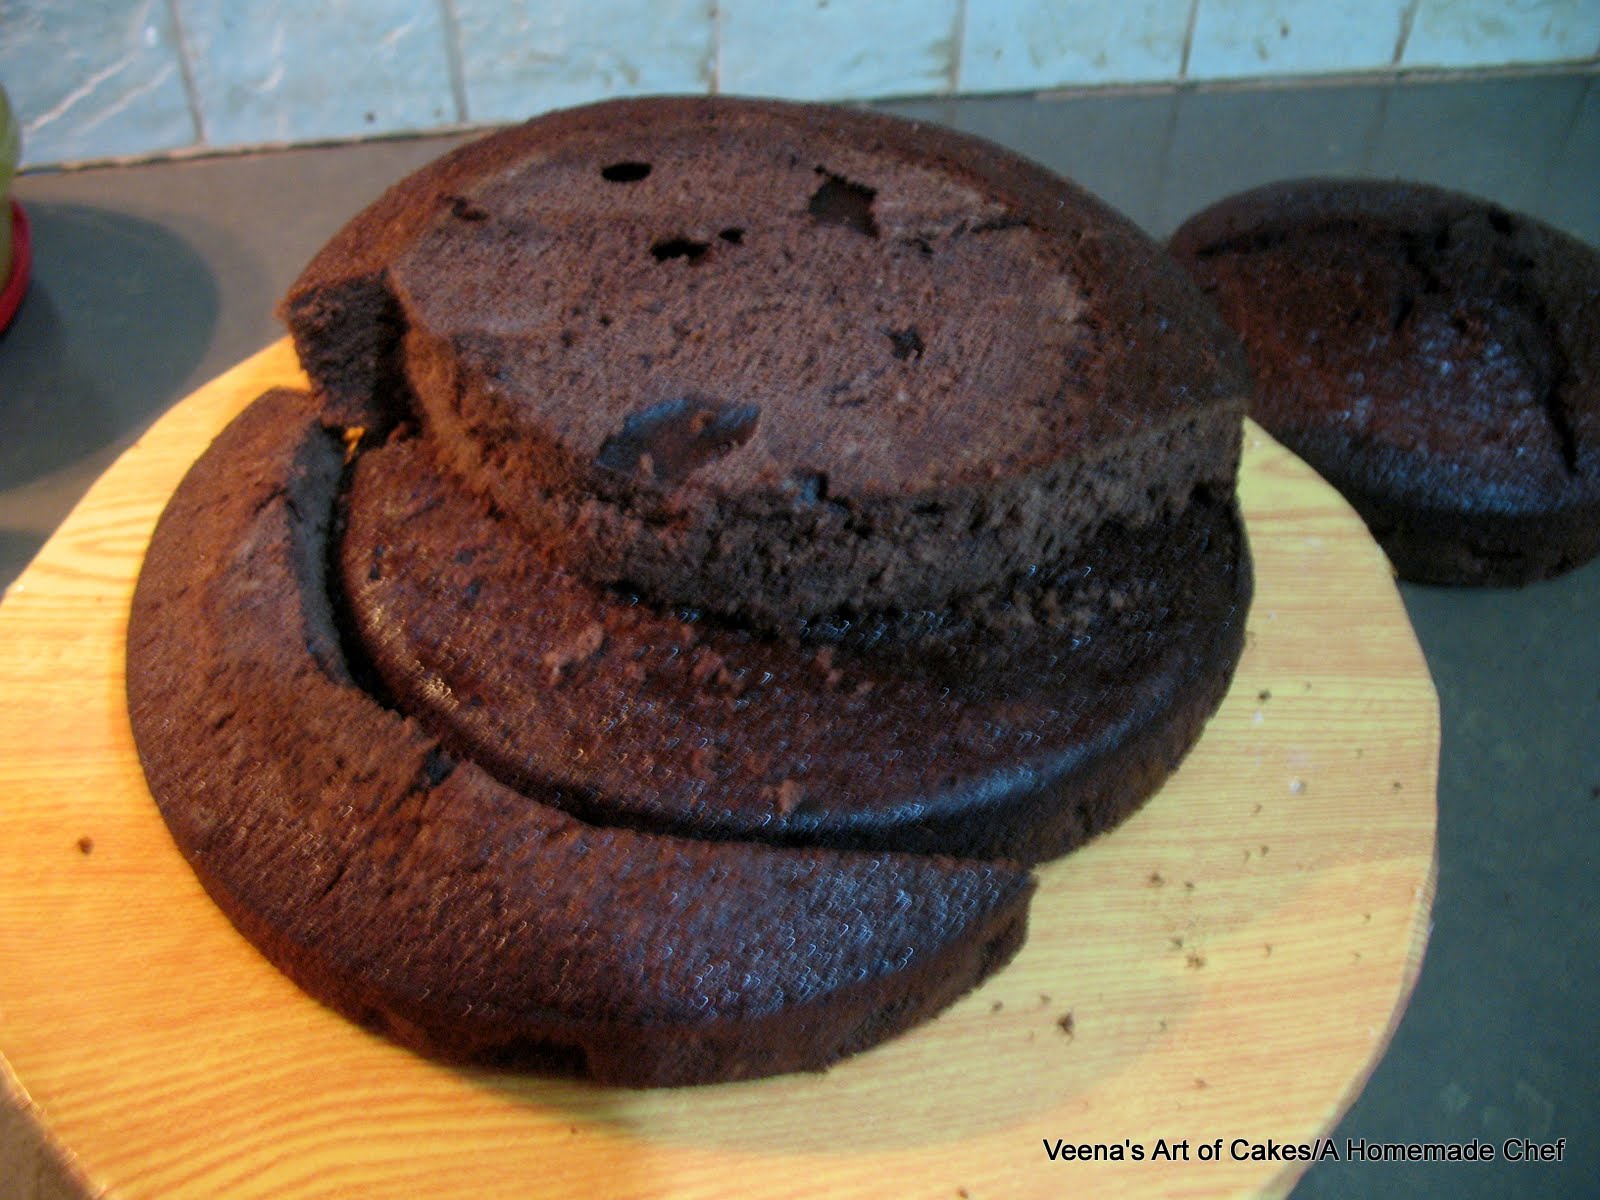
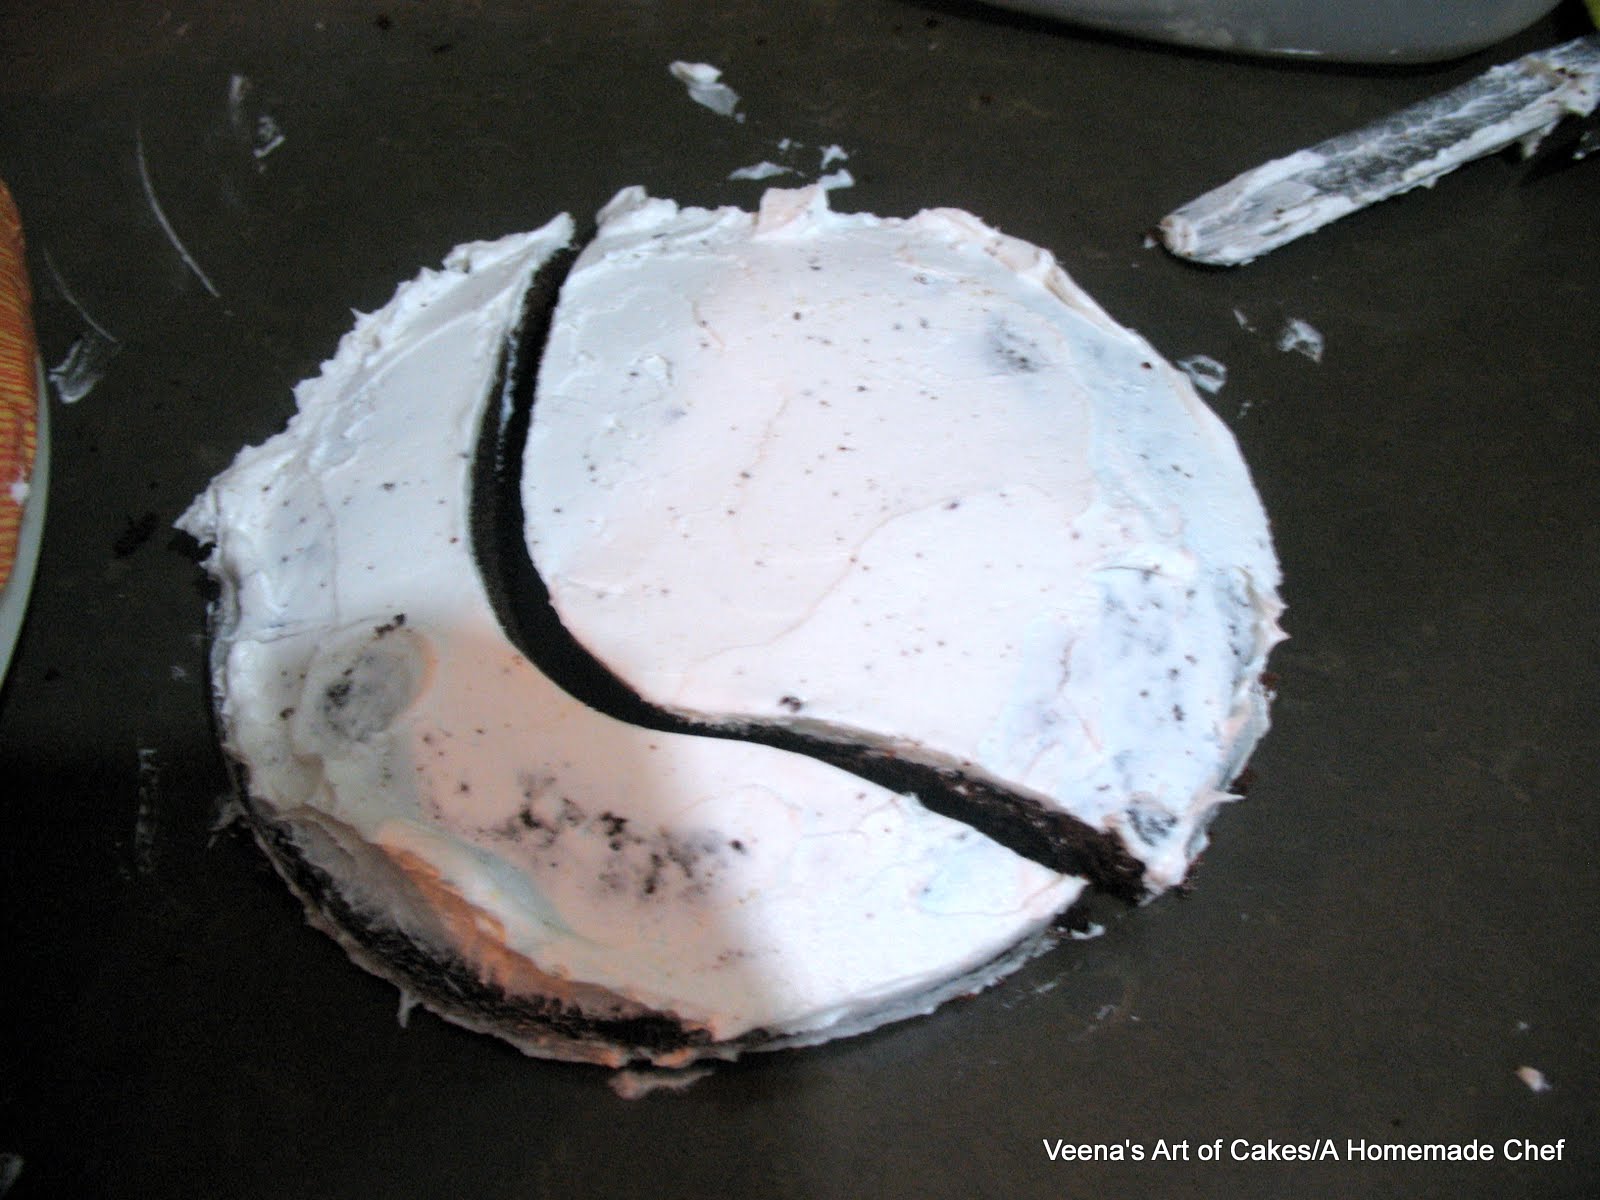
However, i changed my mind and decided to add more character to the bottom part. So I cut off the top half the top tier.
Here it is.. I cut it like so..
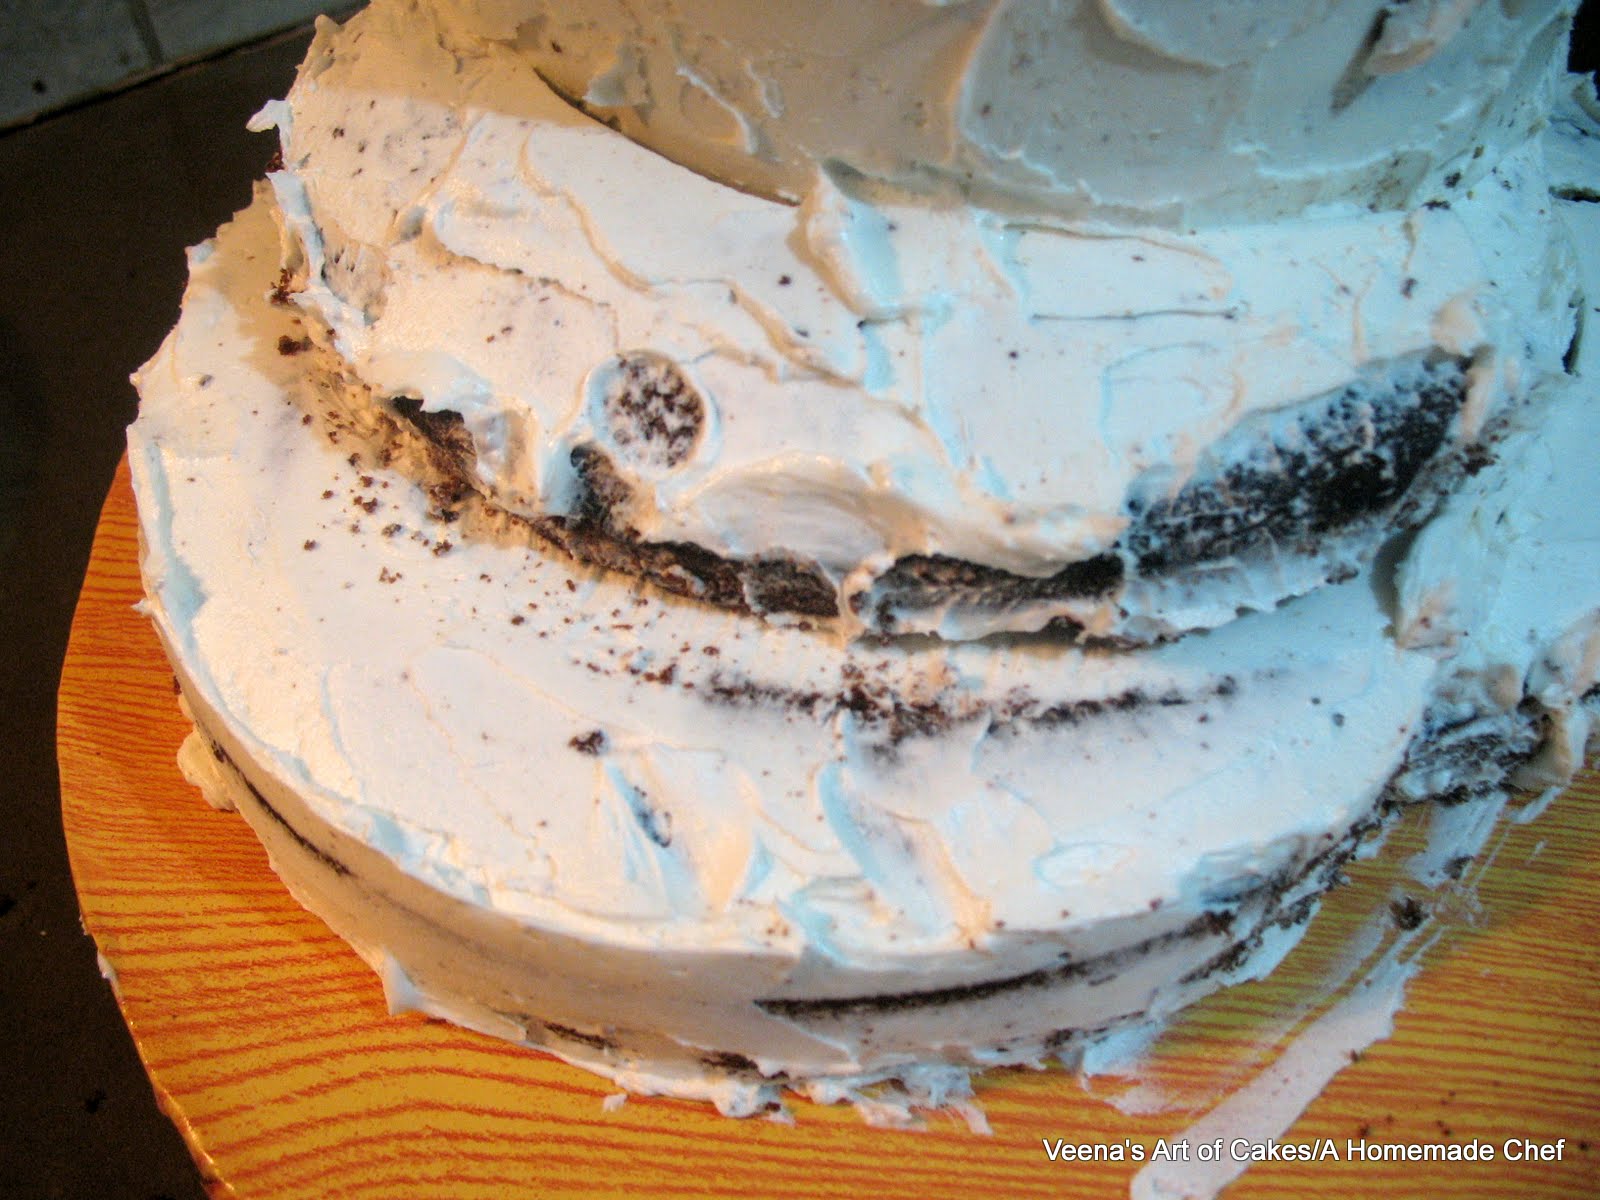
and place the smaller cut around the bottom tier on the cake board. But at the back.
And the other piece I cut in half and place it back on the top... like so..
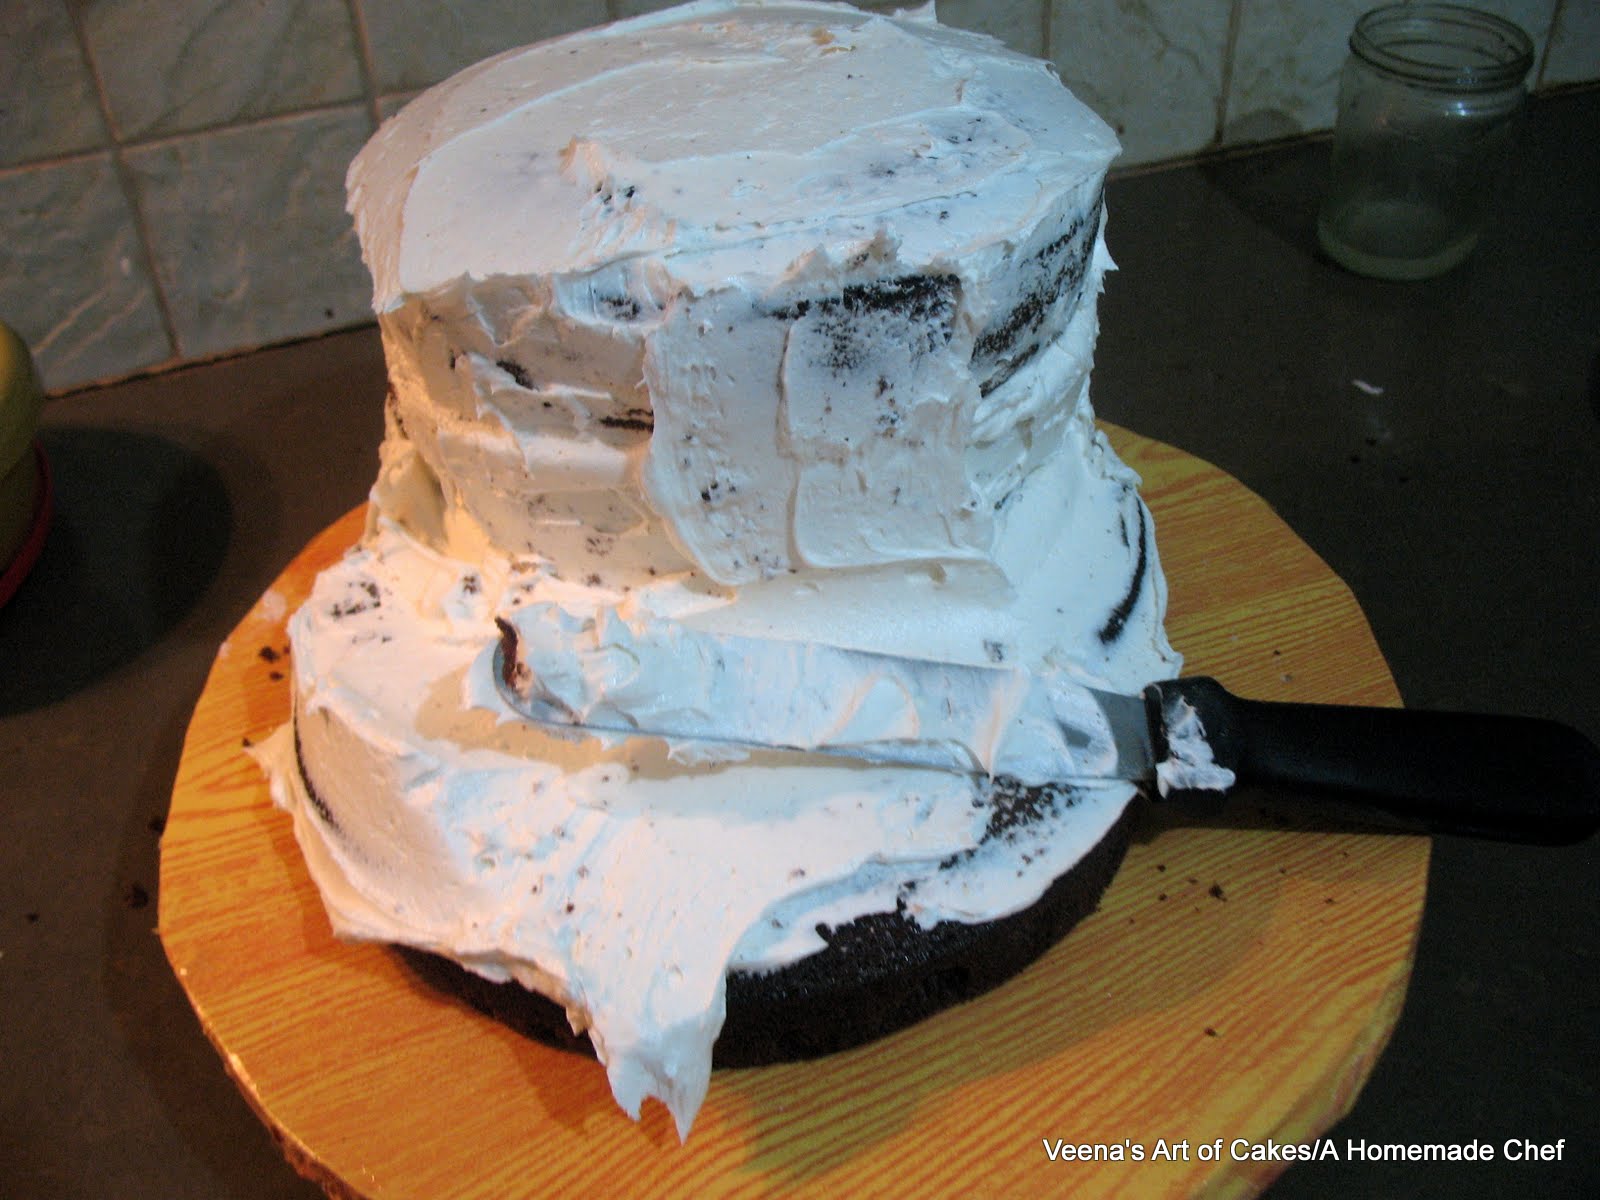
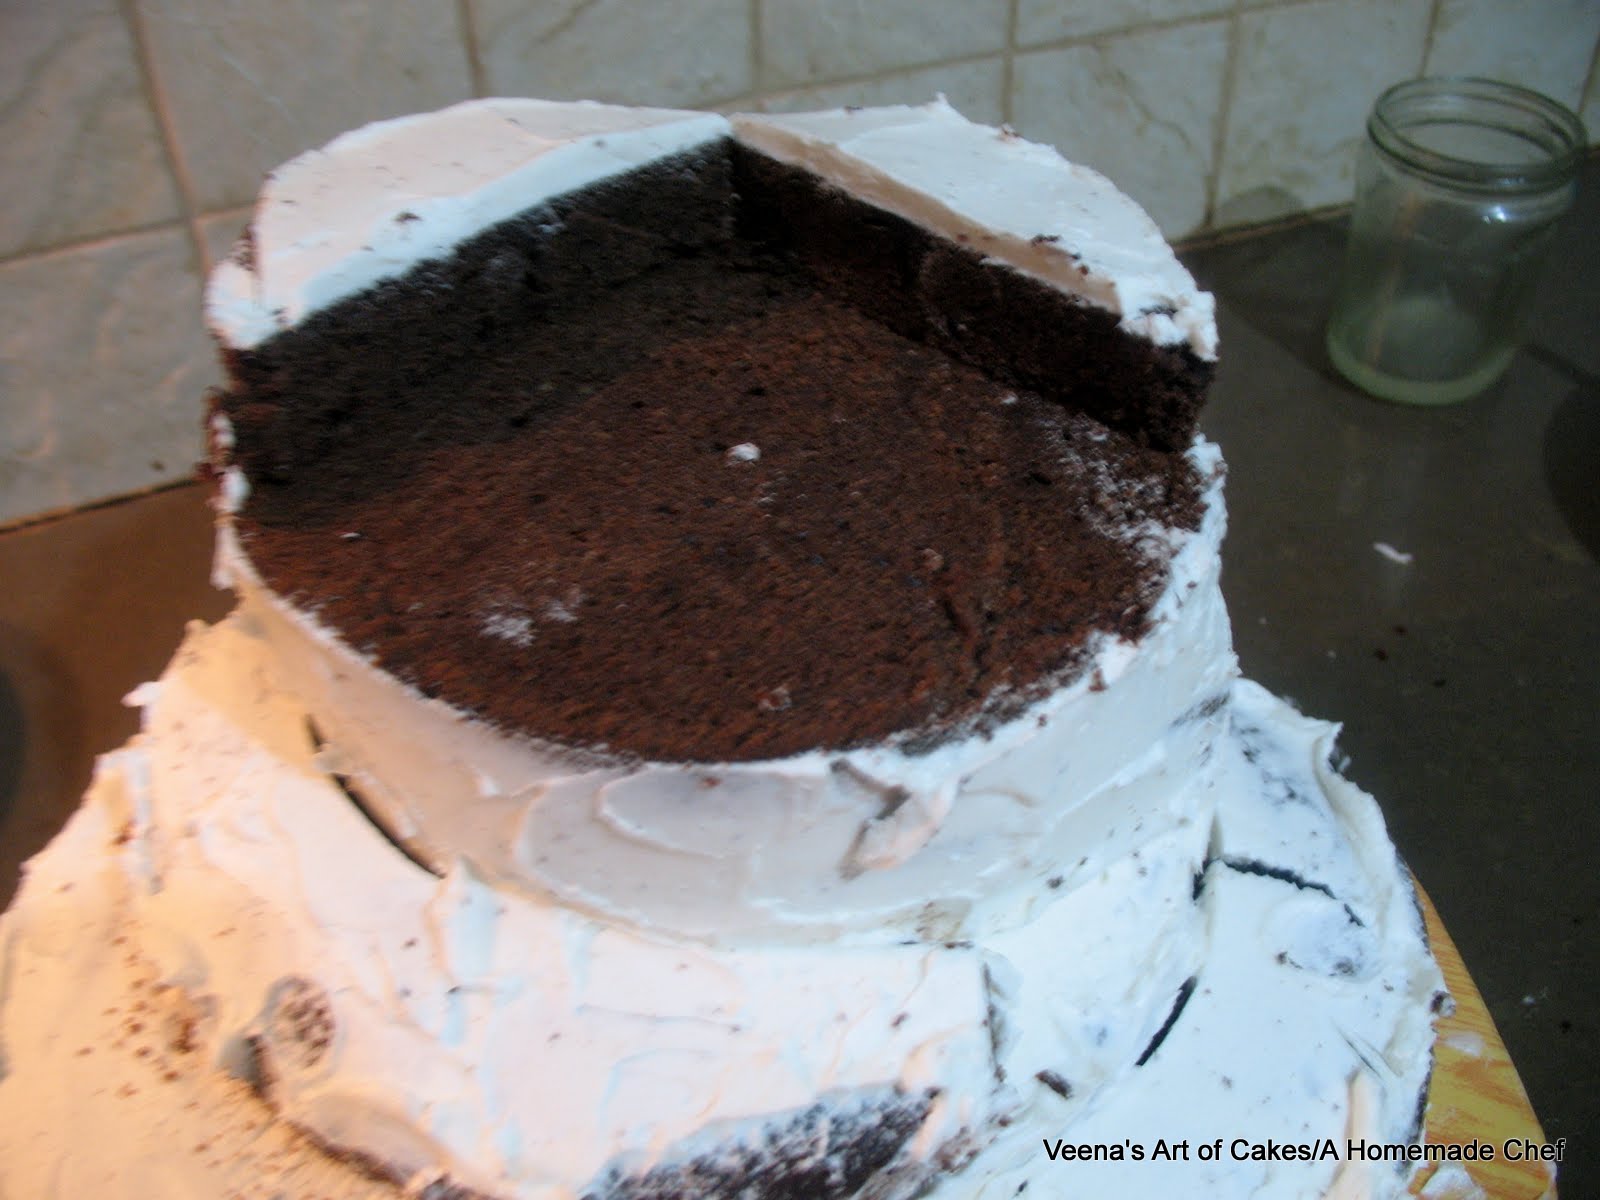
And this is what I had. Again covered with buttercream.
Chilled it and applied a second coat of buttercream.
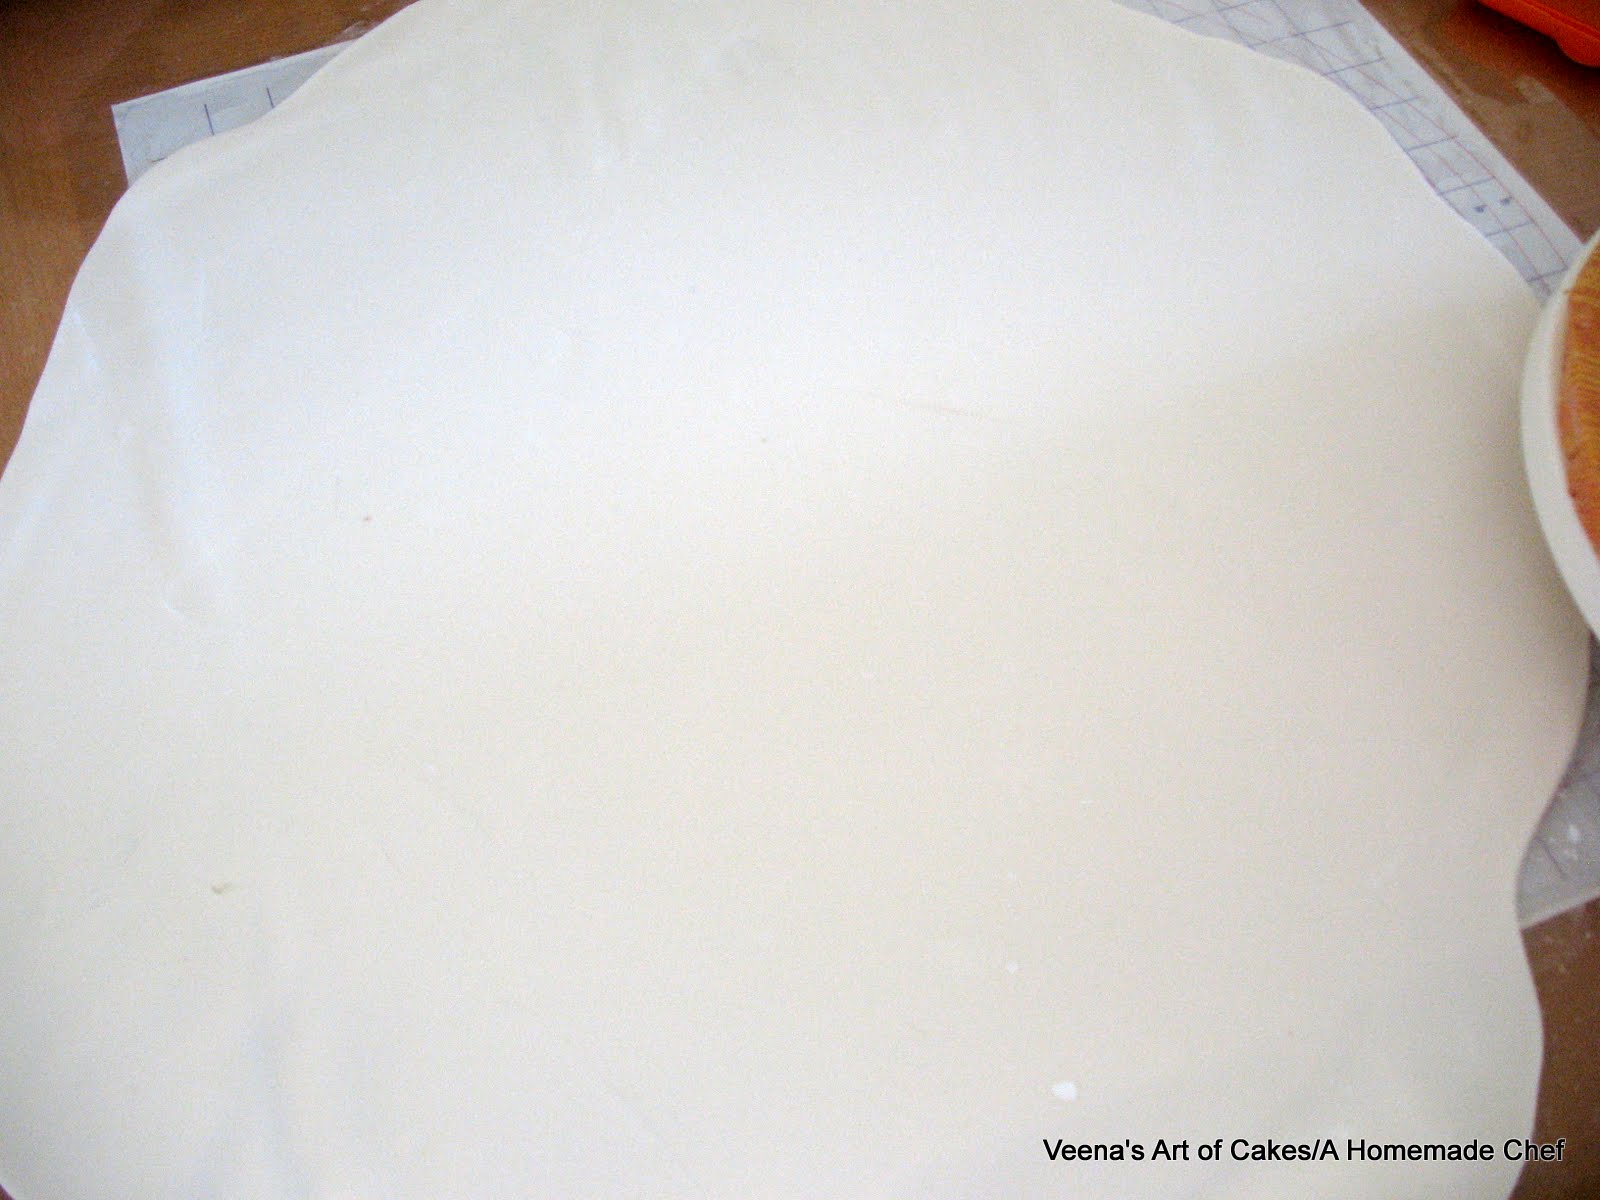
For this cake I wanted to hand pain rather then add colored fondant. I though that would be the best way to add more shades. Of Course if you have an air brush so much better.. But I don't....not yet.
I rolled white fondant.
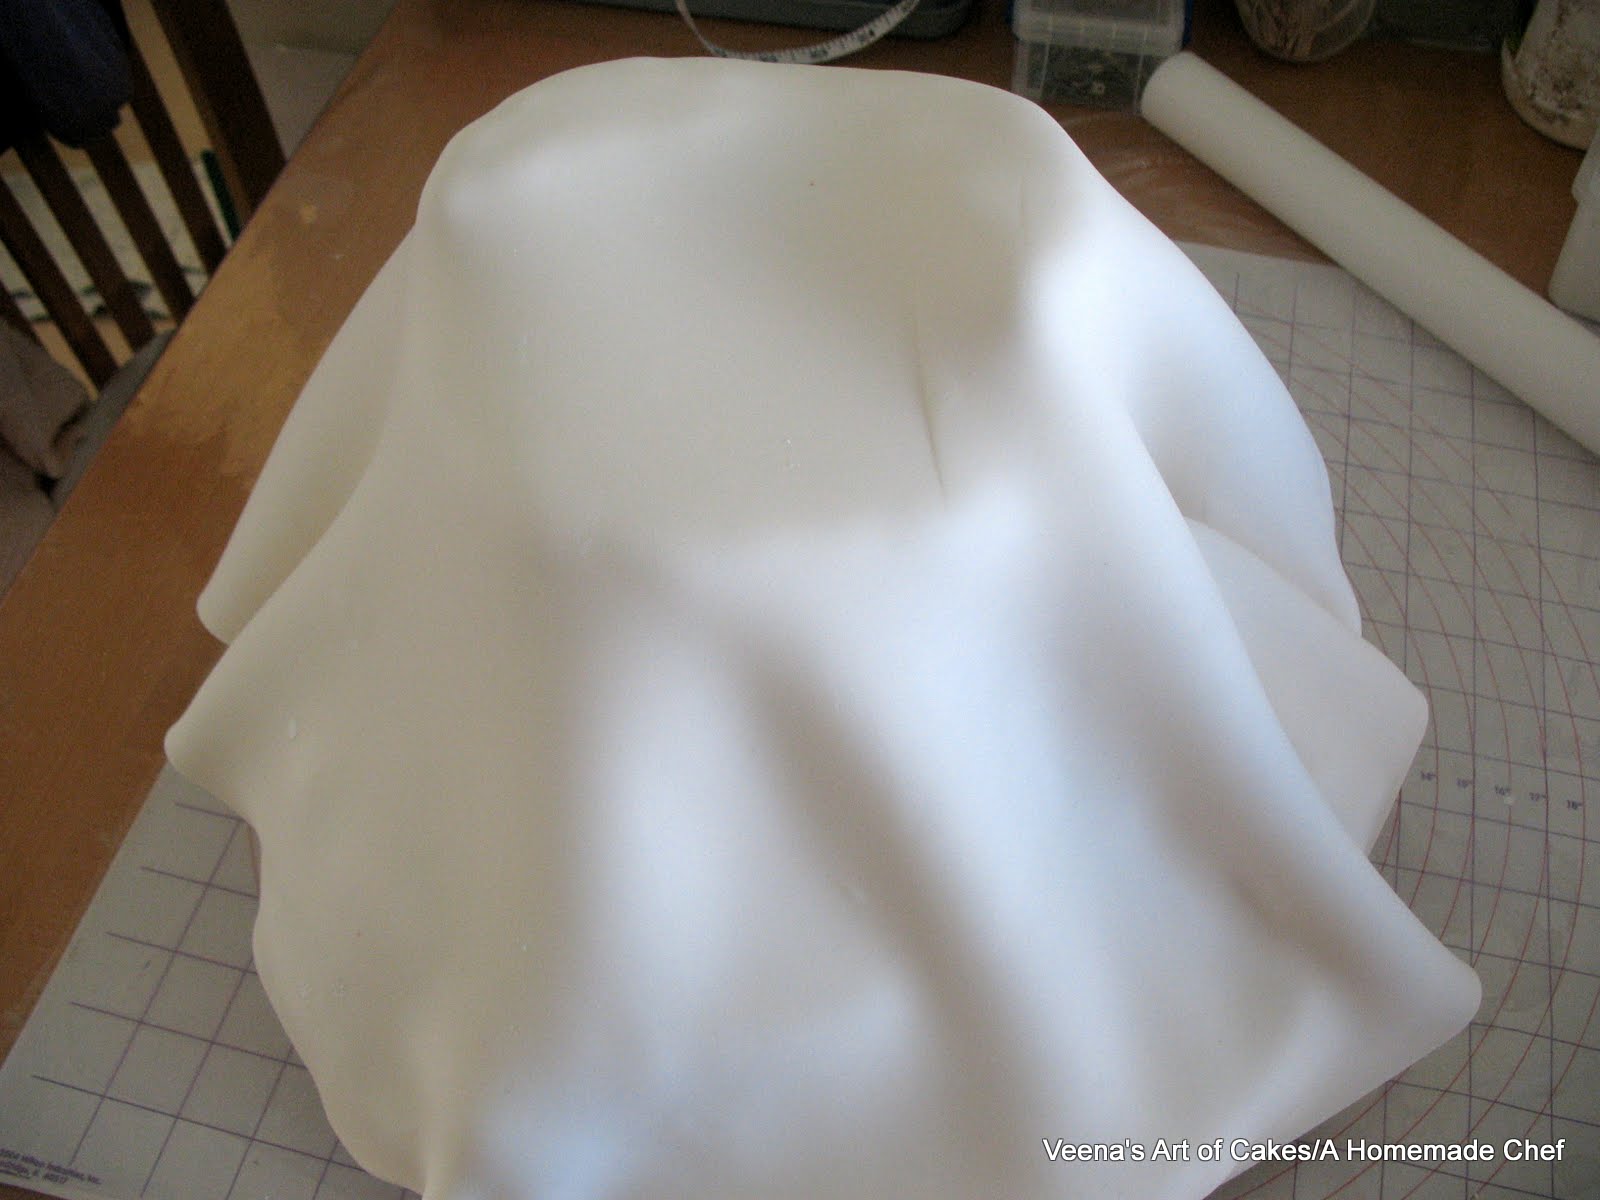
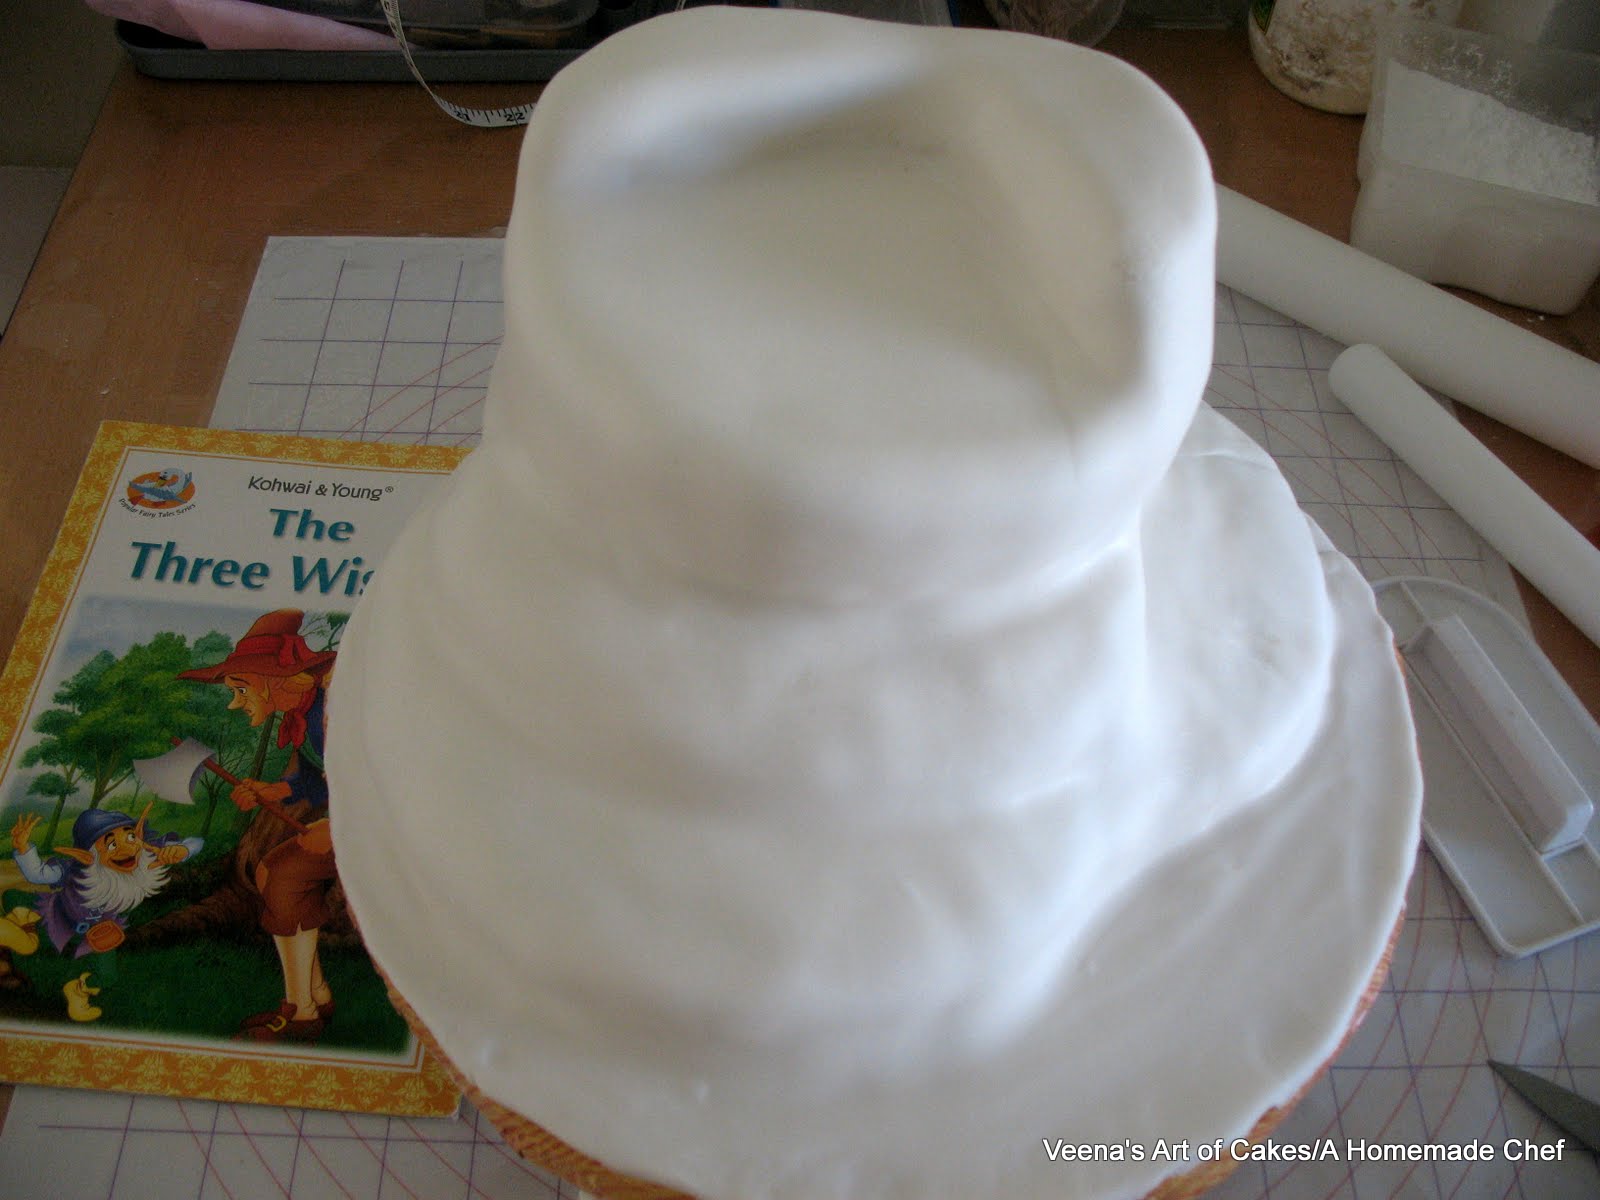
Draped the cake like any other cake. Just a bit bigger and more corner to smooth. Slow, easy and gentle is the key.
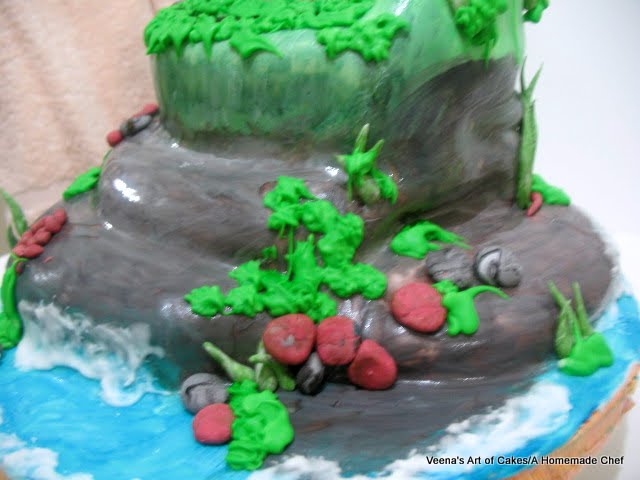
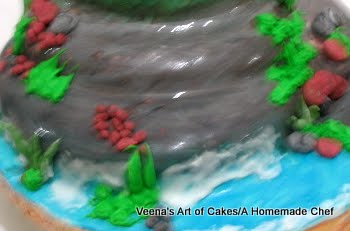
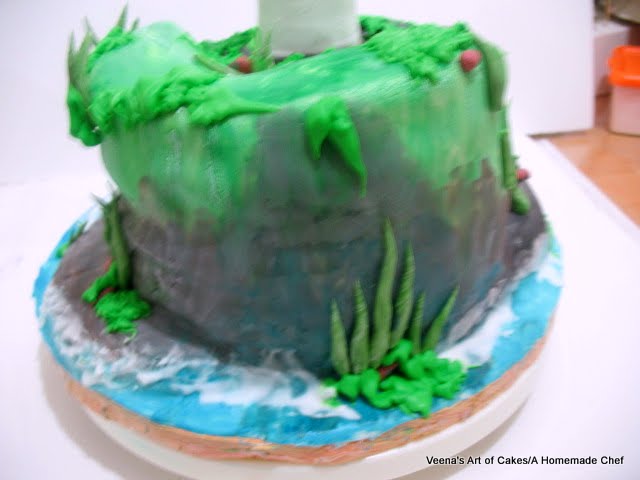
And there you see.. All draped.. No cuts, no folds. If you do have some breaks or stretching don't worry you can hide it under the stones and grass..
Fun time.. Paint!
Here's what I did with my paint and brush.. It's all how you vision your cake..
Next, add details.
Stones - roll small uneven balls, flatten them and place randomly. Make them in different shades or marbled paste.
Grass. I made some with gum paste. Again nothing perfect just roll between your fingers into long tapering logs.
I also made grass with Royal Icing. So now I had two different shades of grass and greens.
I used white and blue Royal icing for the water..
Here's the back ...
Here's the front.
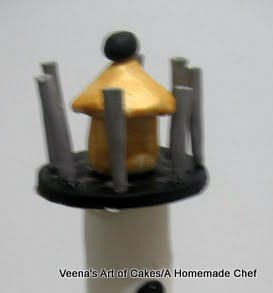
Now for the light house. The model I had was rally so simple so I did not take any pictures.
I use a thick paper to roll into a tapering roll and then used that as my template. Covered it with Gum paste to make the tower. Added the details such as black holes and black strips. When dry I removed the paper roll from inside. and attached it to a black gum paste disc on the bottom which was then covered with green grass. .
.
For the top of the tower. I used spaghetti to roll the small sticks. and shaped the house free hand out of gum paste. Then painted it with gold luster dust.
I used royal icing to attach everything together as well as to attach it to the cake.
This cake traveled an hour by car and survived the drive..
Well, I hope you found this tutorial useful.
Until next time..
Thanks for stopping by.


Thank you
ReplyDeleteYour first corporate order is an absolute real stunner.May God bless you with more amazing orders.You are just too good, your blog inspires me so much…
ReplyDelete