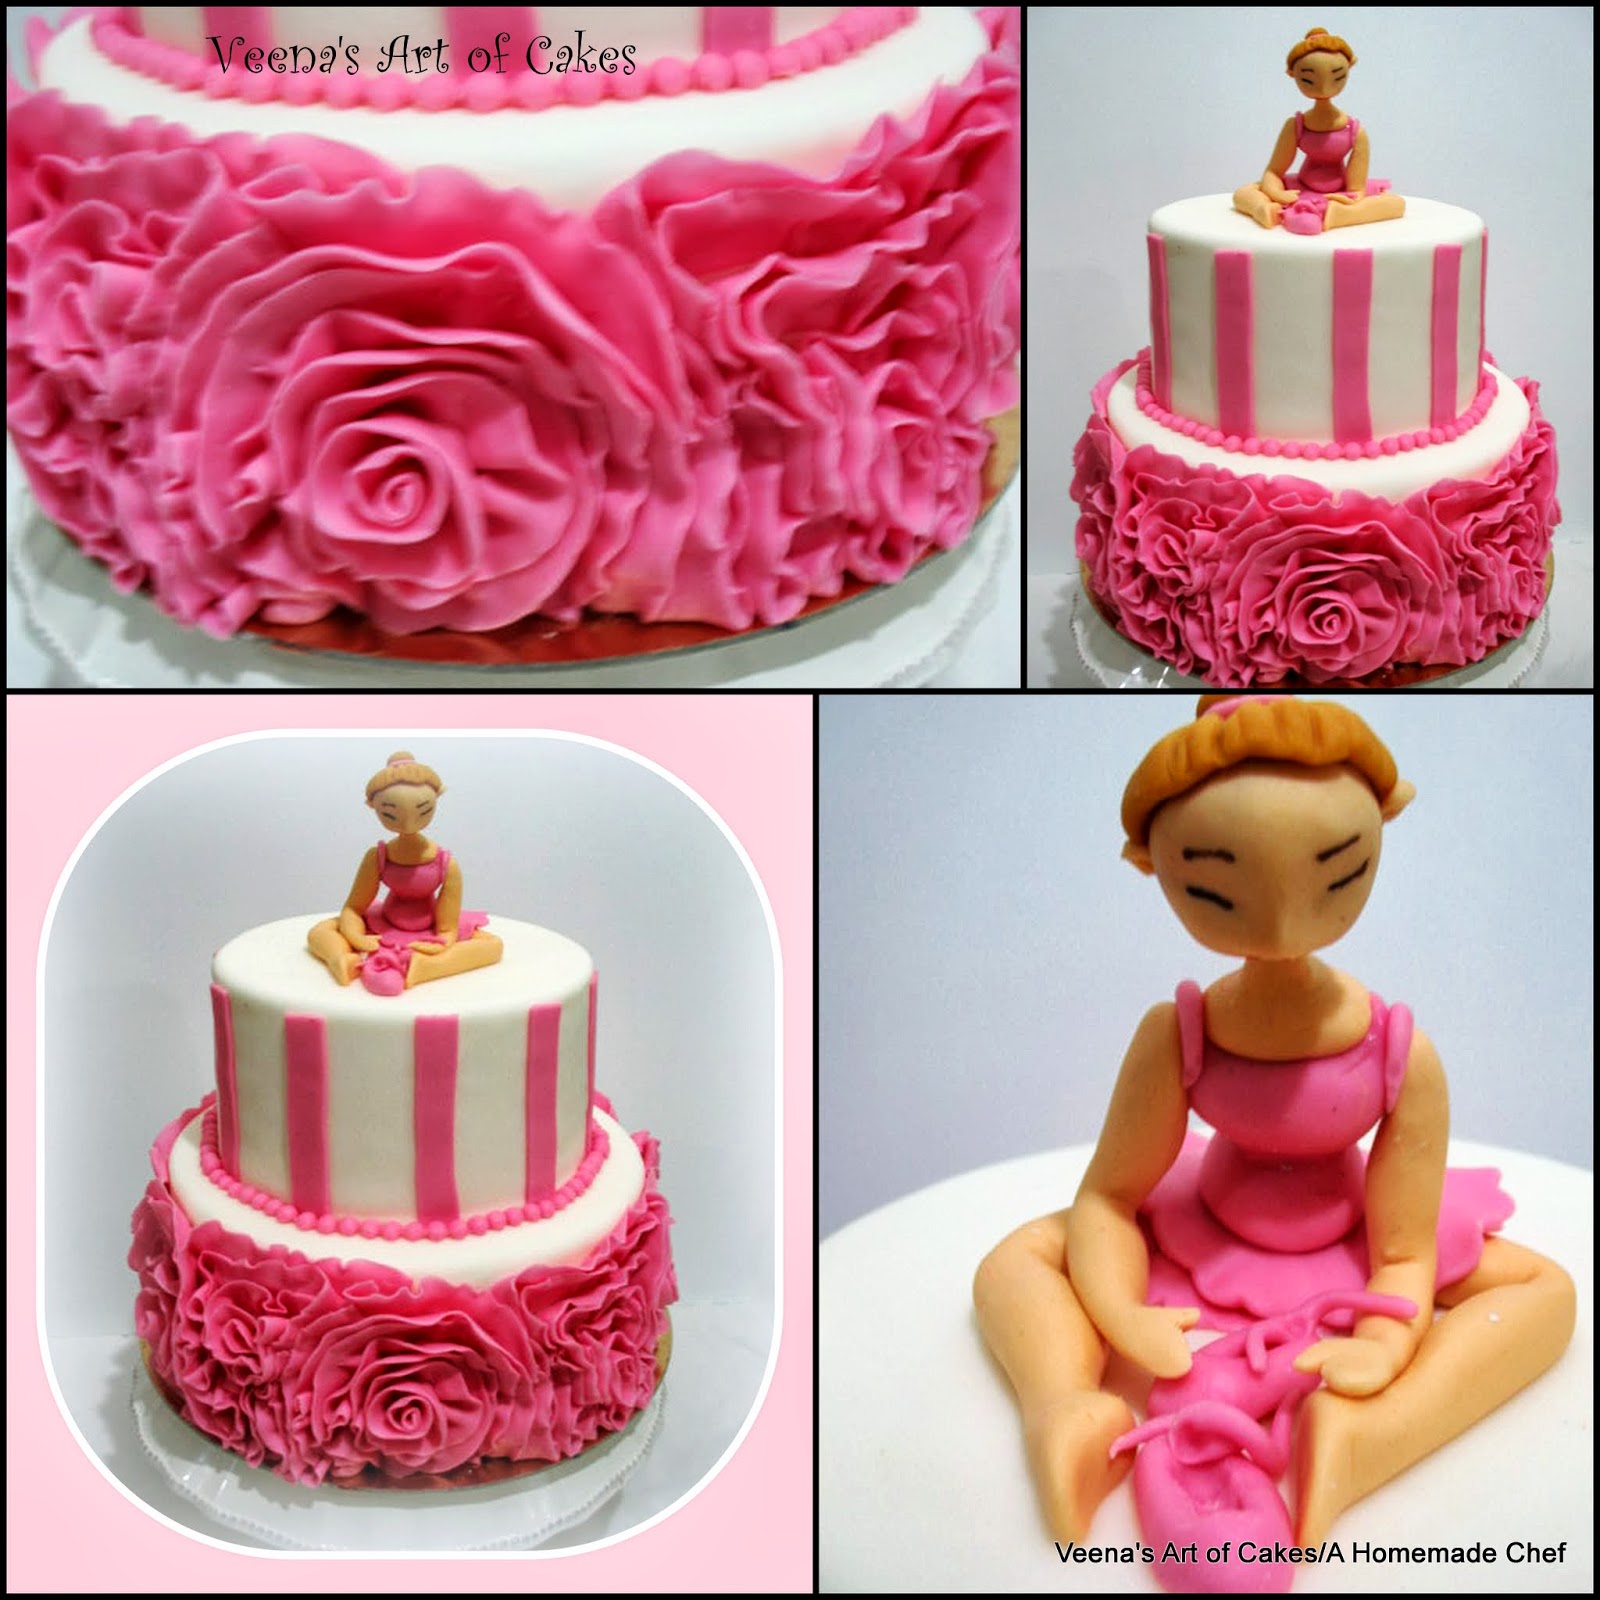
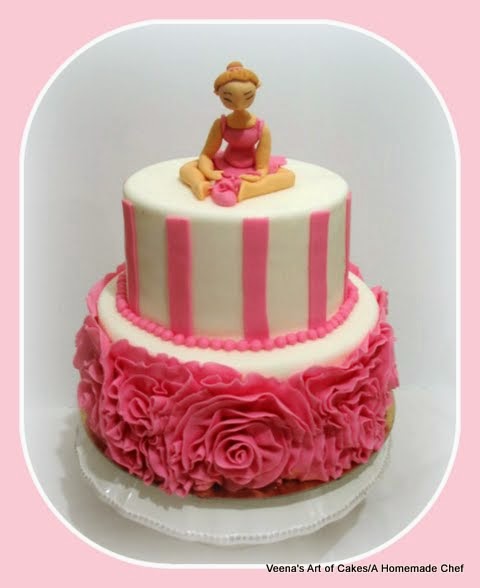
This is My Signature Chocolate Creme Cake with Vanilla Buttercream and of course home made Fondant.
Now I've already shared with you how to make ruffles on my video Ruffle Wedding Cake
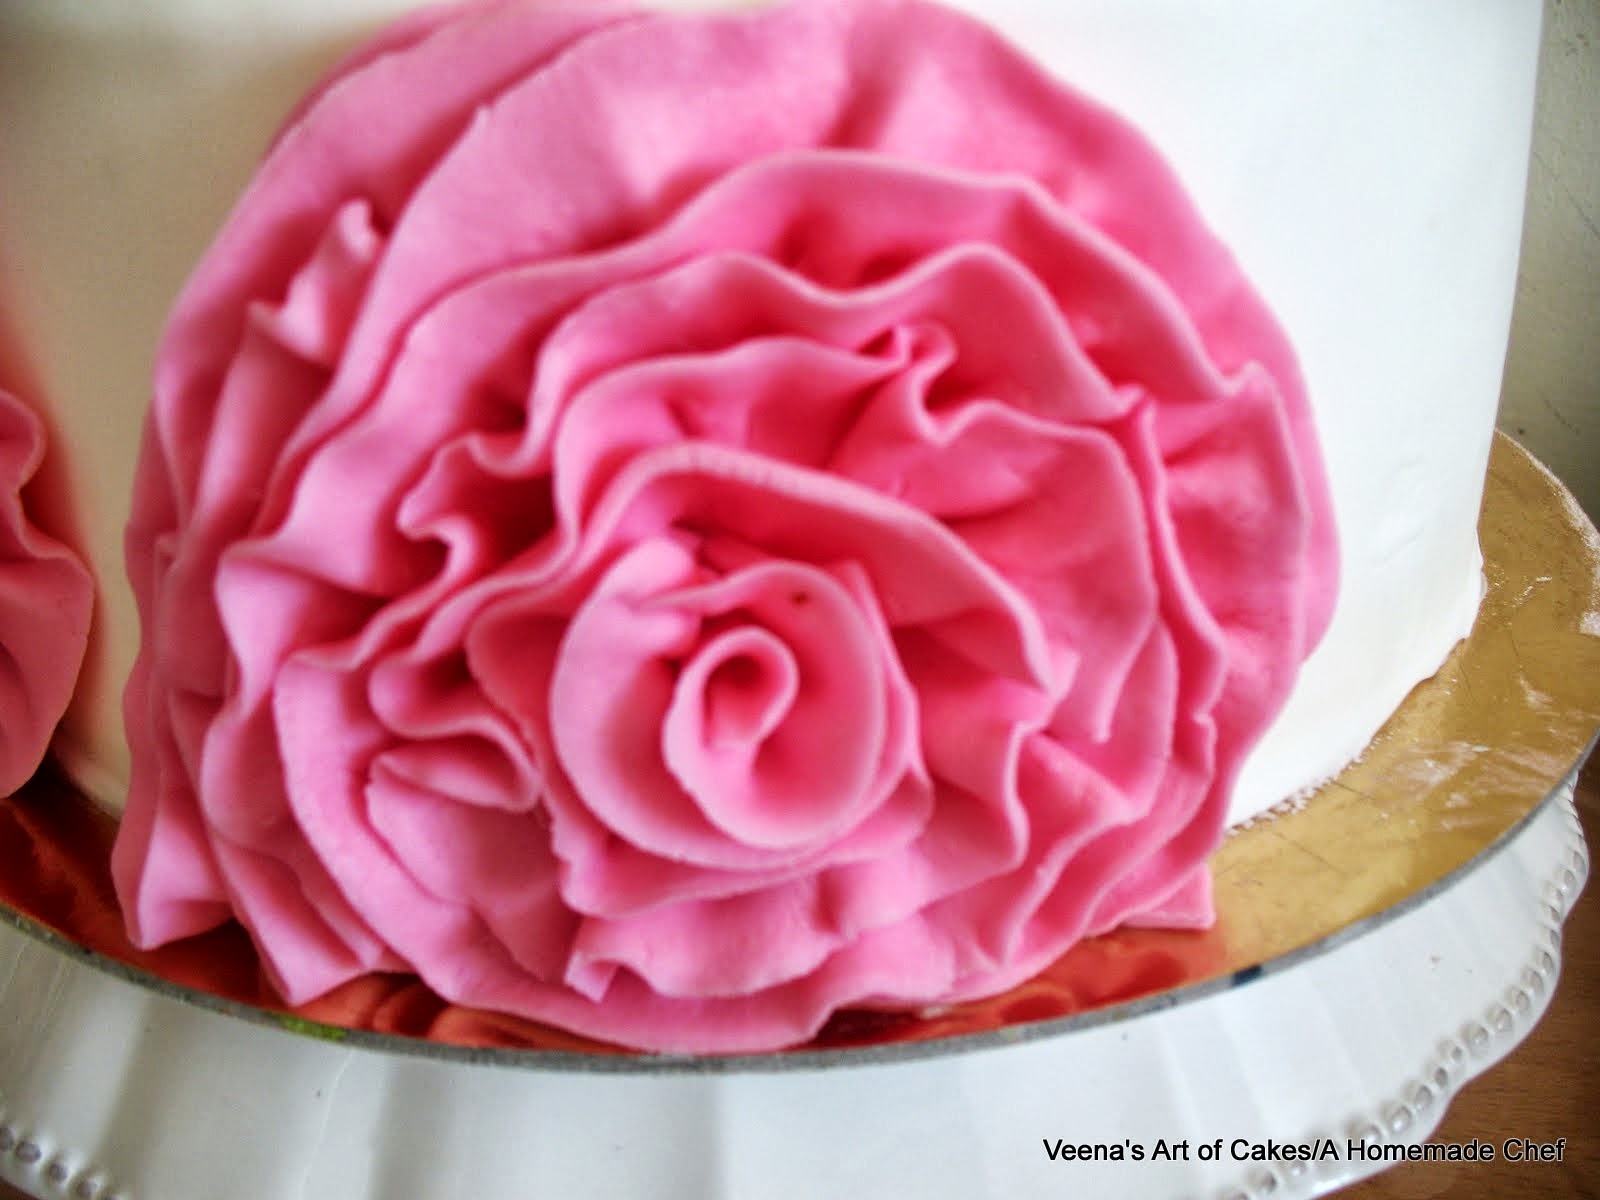
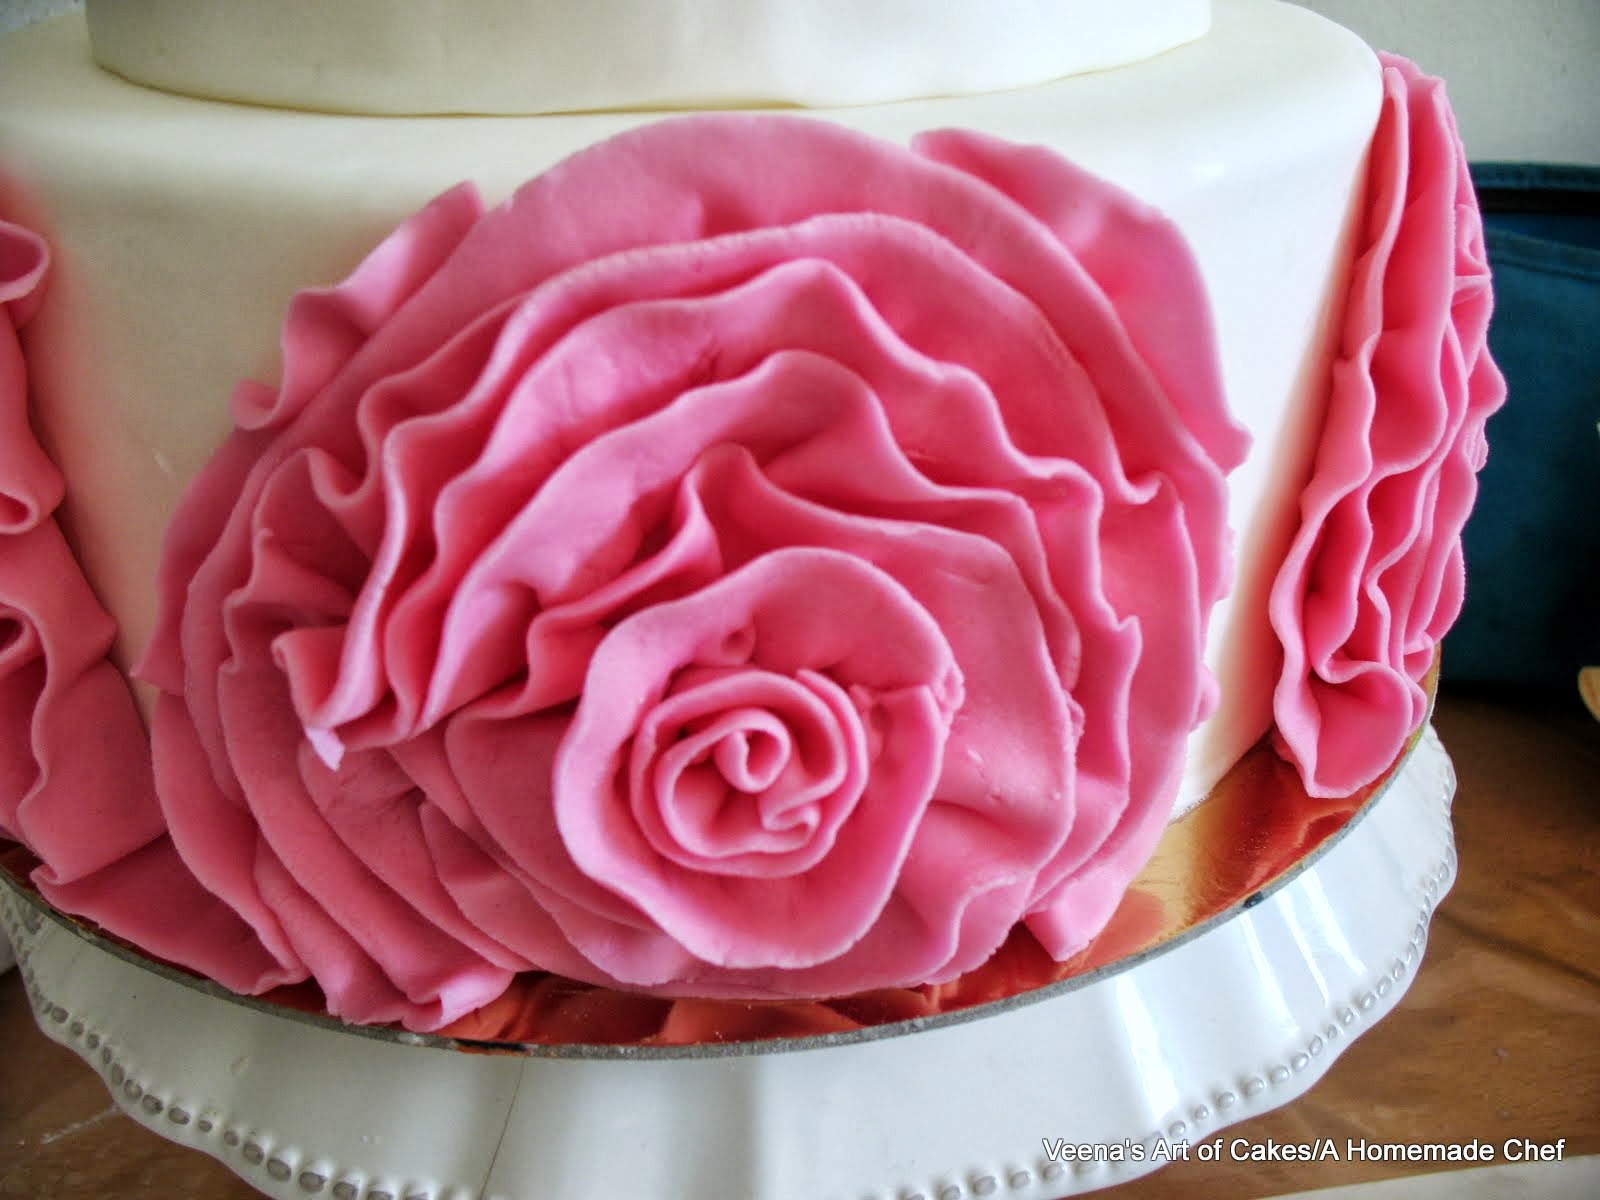
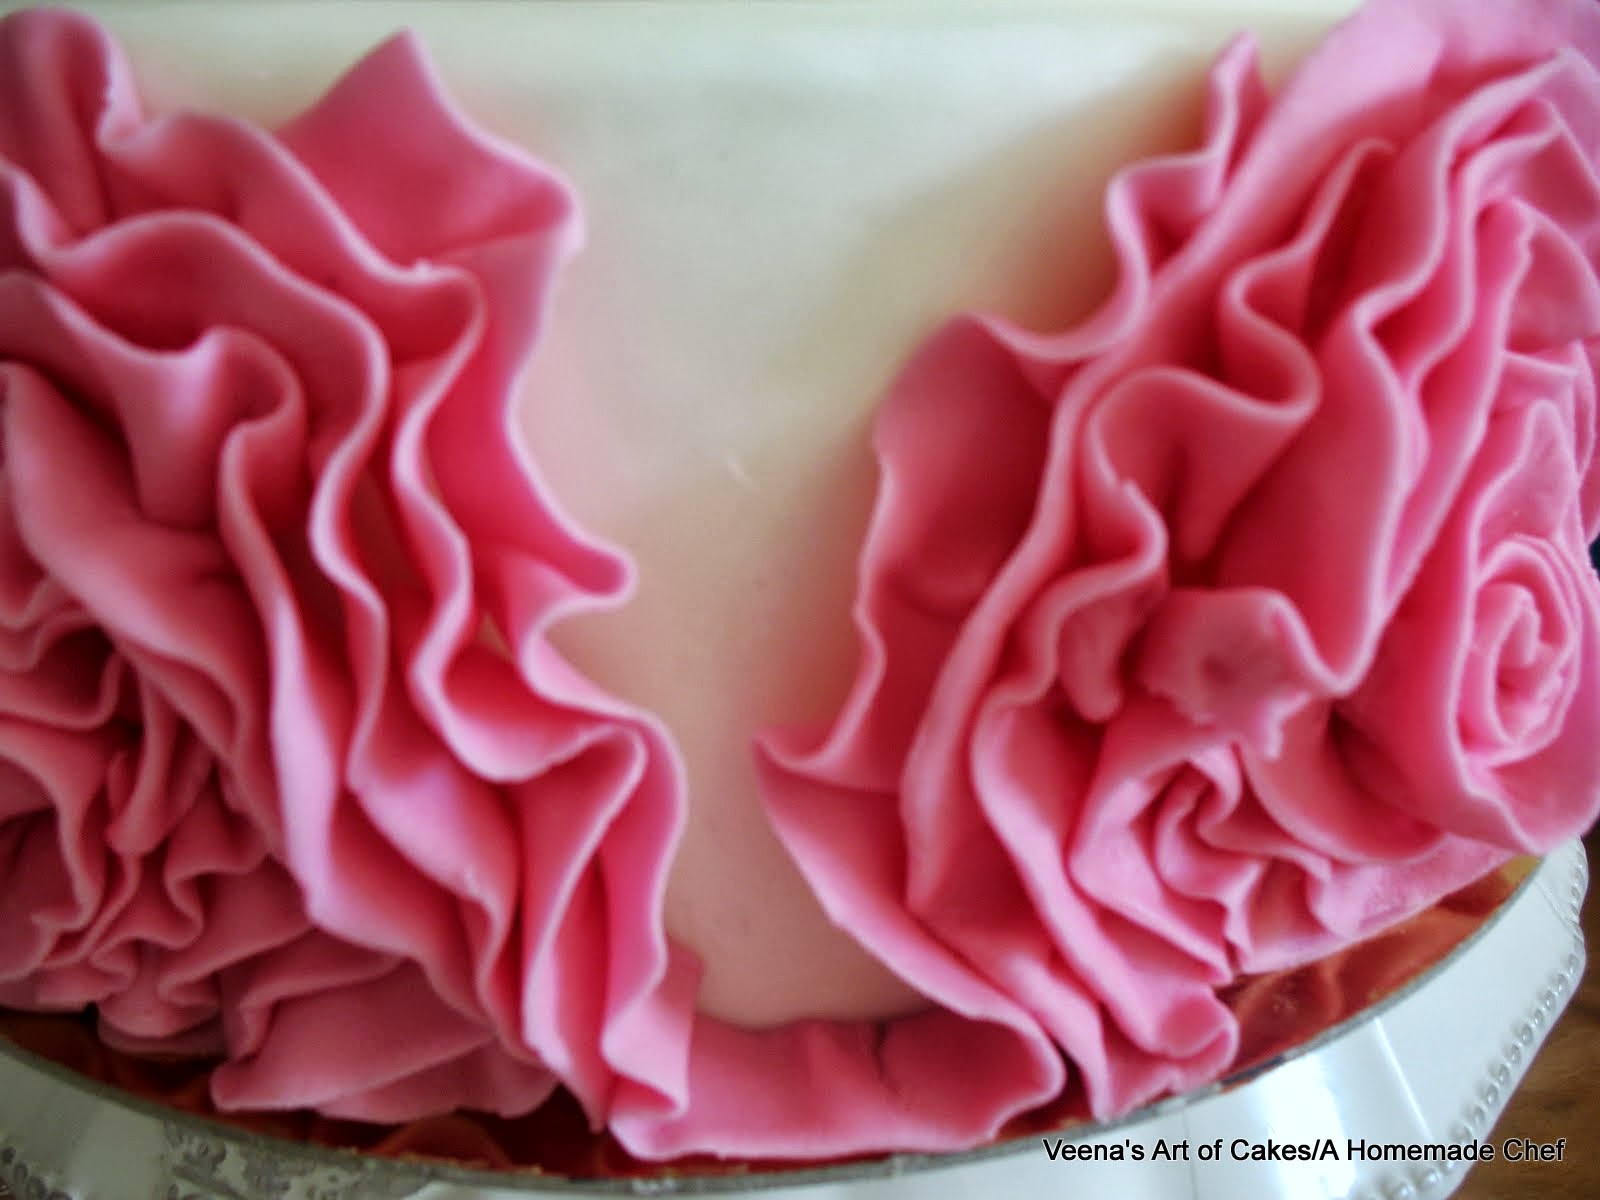
Here the only difference is that you place it a bit different on the cake. Instead of placing it around horizontally or vertically on the tier, you place it in a spiral.
The outcome of this will depend on how experienced you are with ruffles. For those who've worked with ruffle before it's easier to handle, for an inexperienced hand it might be a trial and error.
Having said that I do encourage you to try. It's a lot easier than it looks.
The difficult part is that it involved lots and lots of ruffles. It's time consuming. So if you choose to do this cake make sure you get a nice hot jug of coffee besides you.
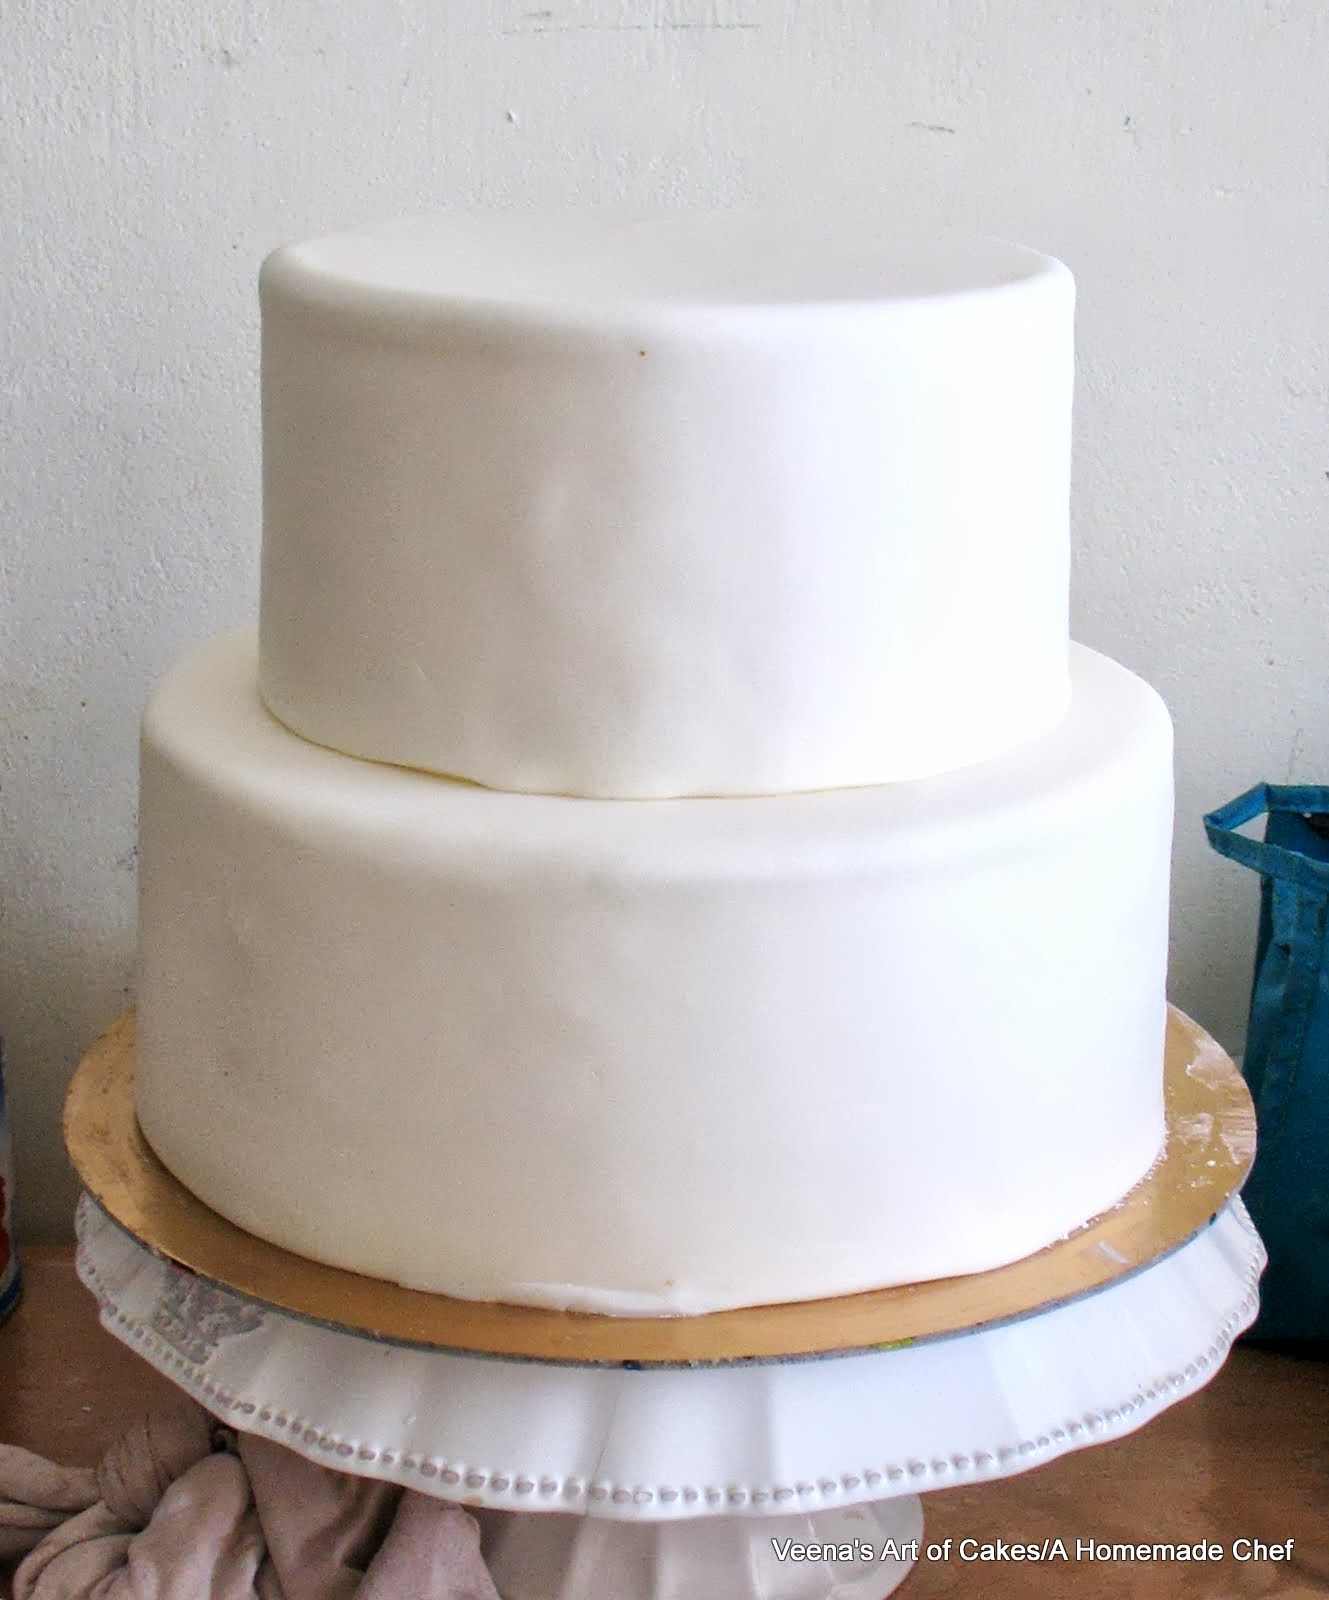
Divide the cake and mark how many and how far you want your roses to be spaced. I have six dots made but I didn't take a picture.
I used my flexible measure tape - measured the circumference, divided that into six and made dots approximately. Not complicated right?
I would recommend to use a 50/50 mix of fondant and gum paste as that would give you a better stretch.
In this case I had to use 100% fondant because the birthday girl was allergic to edible gum. So while I would prefer to roll the fondant really thin in this case I had to roll it a tad thicker. But as you will see in my daughters cake with similar Rose ruffles I have used a mix of 50 / 50. And the outcome is a lot more elegant. Ruffle look nicer when they are thin.
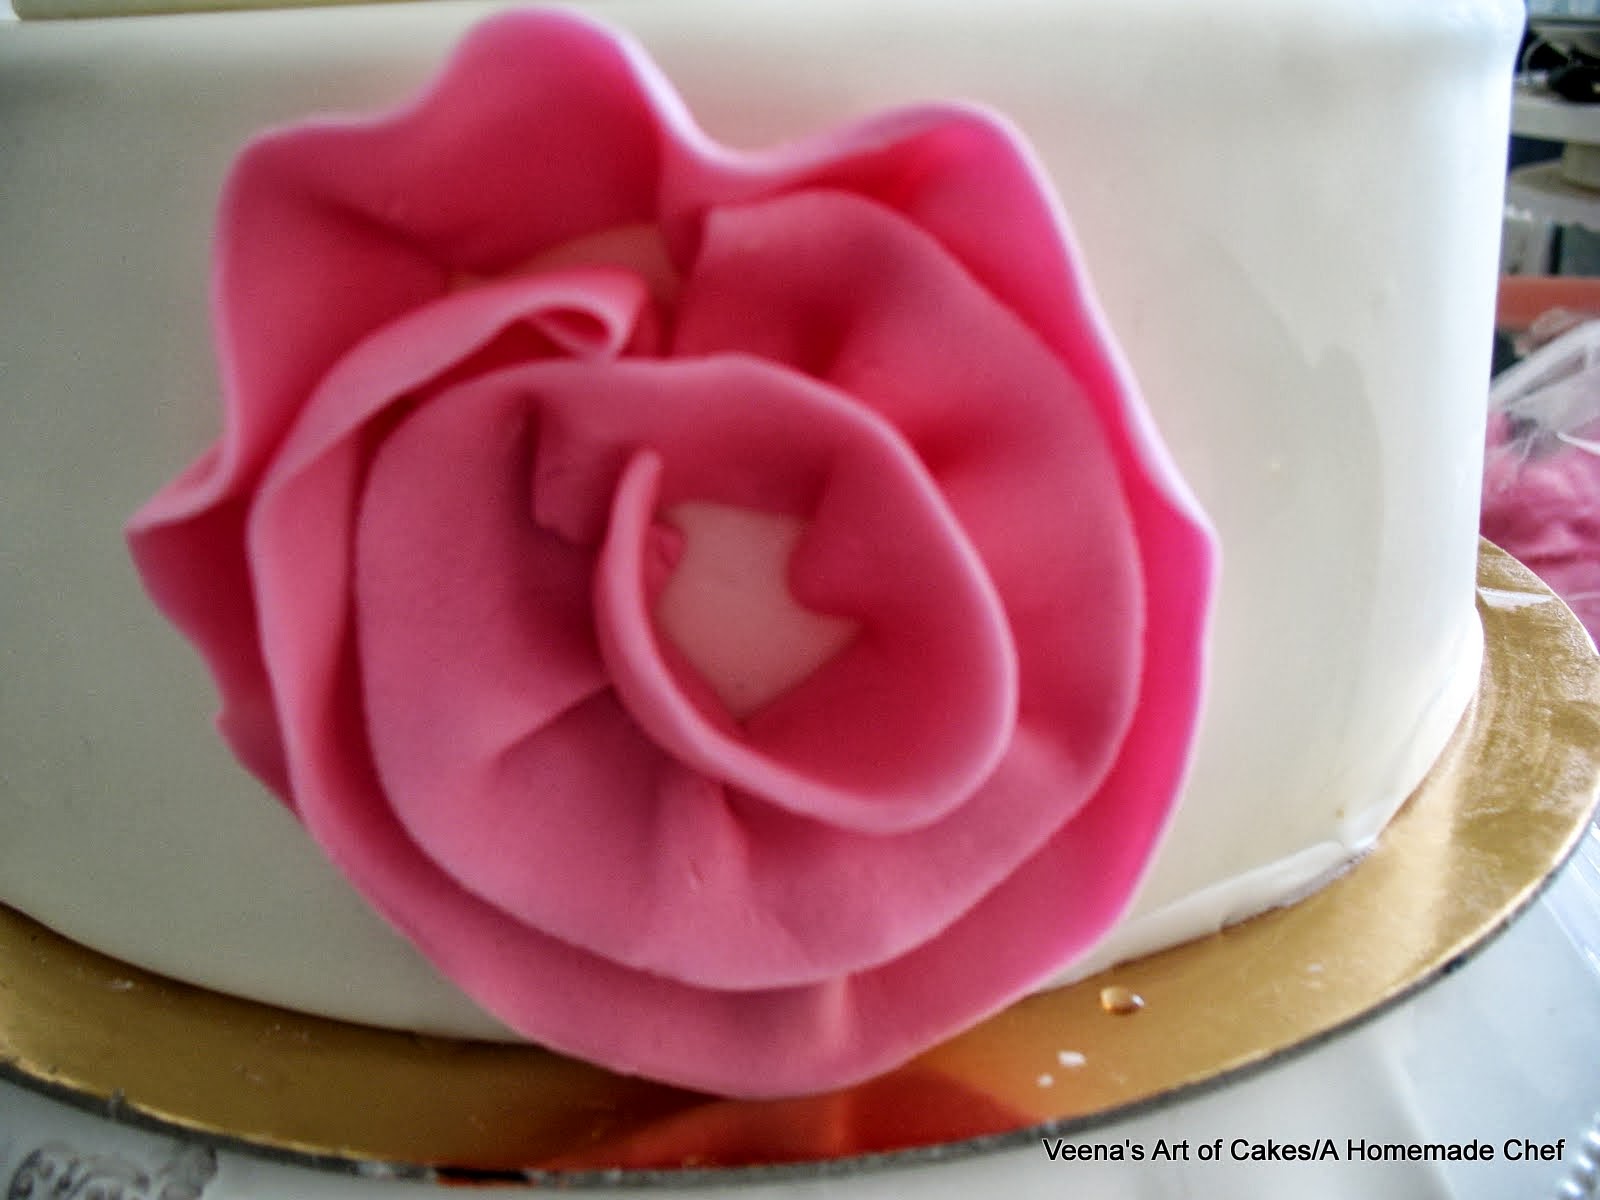
Roll your strips about 1/4 inch wide.


Brush the cake surface with some water - Not too much just enough to make it tacky. Too much water will make the ruffle move around and less water will not make them stick firmly. Don't worry you will get a hang of it as you go.
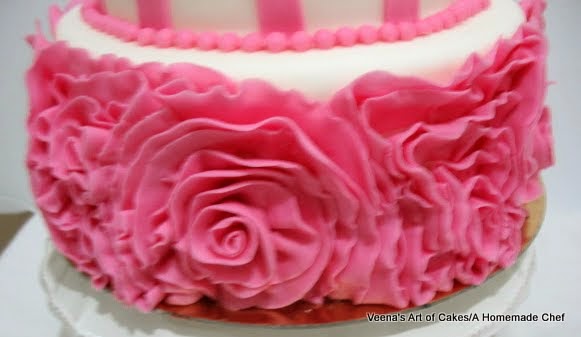
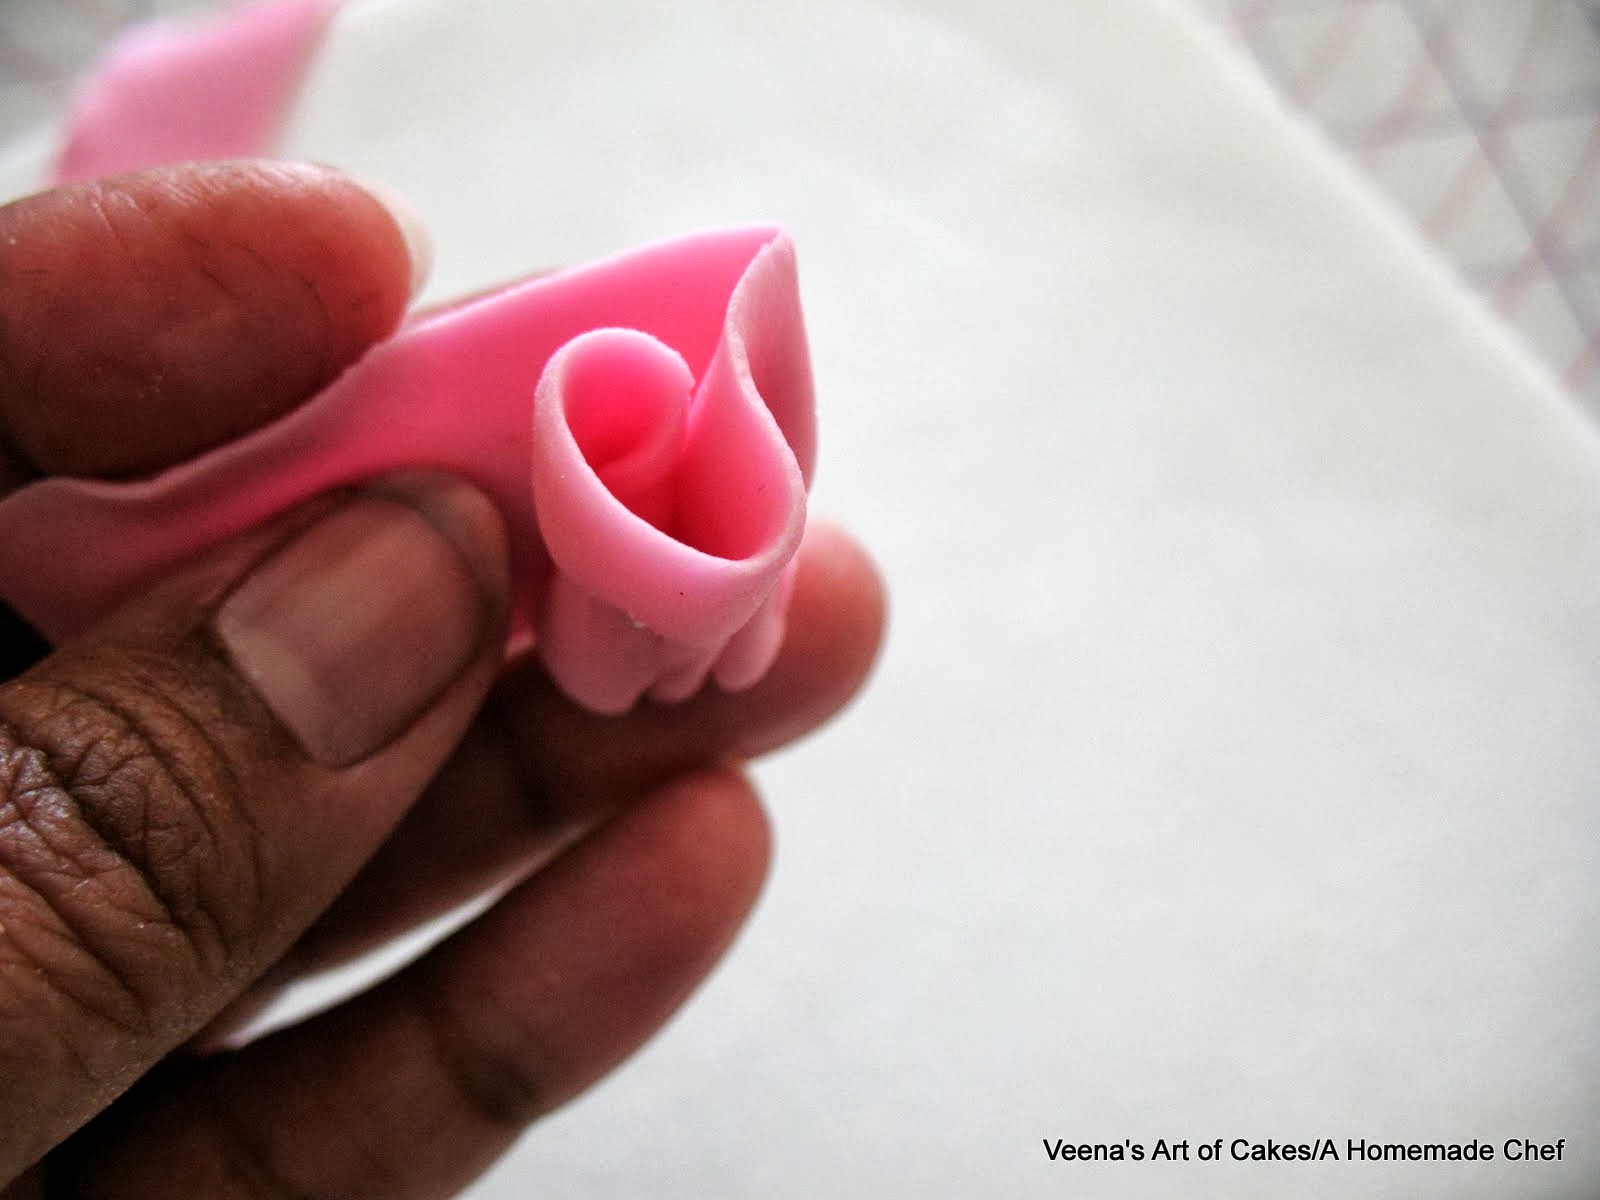
You can start from the inside out or from the outside in... I found this method from the middle works more better for me.
You can see I have pinch some pleats along the way. That will come naturally with the spiral motion so don't fight it. Just pinch the bottom on the cake as you go along. As you can see the bottom of your ruffle actually sits snug on the cake. Use the small side of your ball tool or the back of your paint brush to help press the ruffles - be gentle and don't poke holes into the cake.

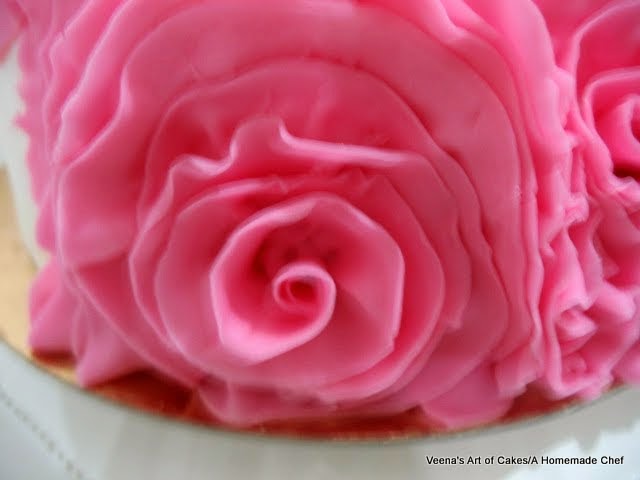
Now for the center I made the ruffle just the same way as above but I made the spiral in my hand and then stuck it in place on the cake nesting it neatly inside the above ruffles made.
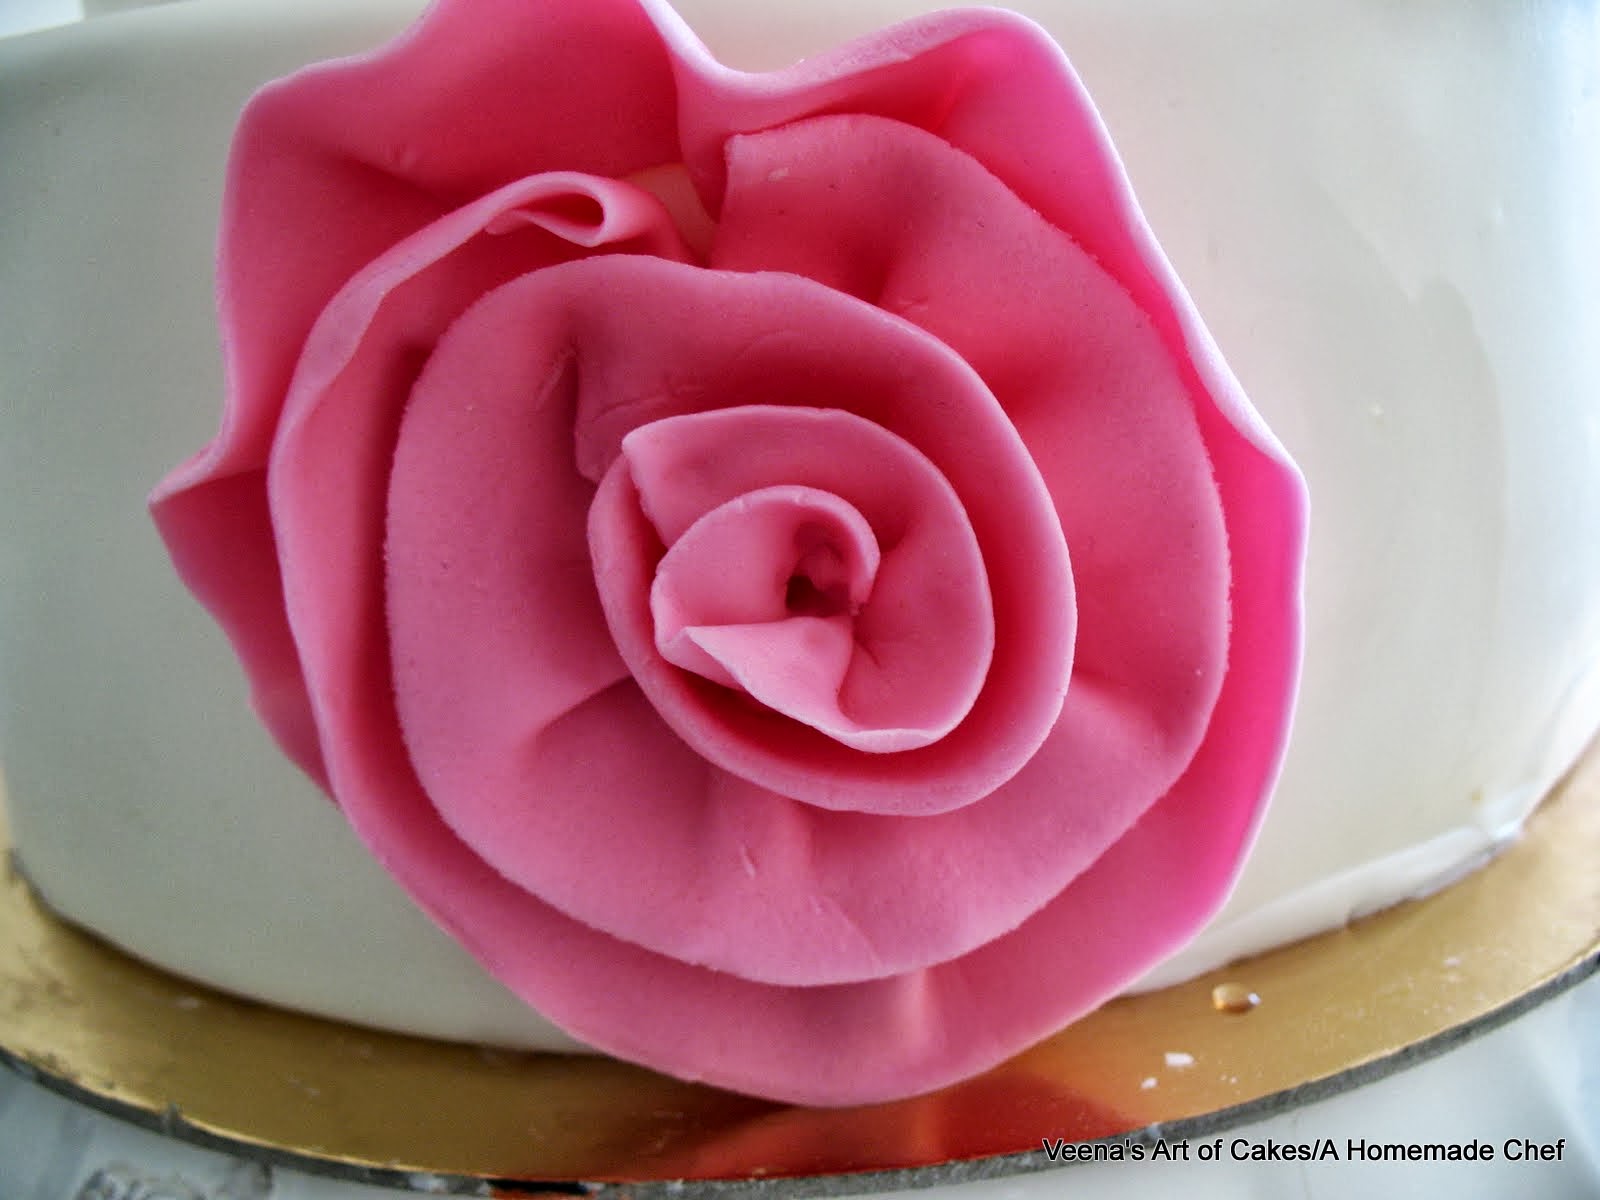

Doesn't that look gorgeous?
Note: This blog is free of any obligations. If you would like me to continue making more tutorials for free please contribute using the Donate button on the top right hand side showing value for my time and efforts.
You are free to use all tutorials for personal use. Please do not re-produce or re-distribute the same without permission.
Thanks for stopping by.

Really Wonderful designs of cakes.I just can't imagine that cakes can be made in various designs.
ReplyDeletefantabulous...
ReplyDeleteAwesome tutorial! one question, i once made a side decoration (a Mickey Mouse hand) that i have to put on side of a cake. It was REALLY heavy (apparently- only made of fondant) and it tried to pull of the side of the fondant covered cake i had prepared. Aren't all the "ruffles" all around the cake too heavy to hold it all ? i am dieing to try this--- any other advice you can give would be appreciated :-)
ReplyDeleteI'm glad to see this blog and find so wonderful because of your fabulous cake designs, such a very creative and I really learned from this. Thank you!
ReplyDeletexx
cakes bakery in Brooklyn
looks beautiful and Thanks for sharing:)
ReplyDeleteLove all ur tutorials and ur tip thursdays r truly useful. Heaps of admiration and love for u
ReplyDeleteDear Veena, I love your tutorials, your blog and your recipes! I recently tried your homemade fondant and I love it! One question I have is, since I made it about a week ago, I saved it (about 3 lbs) in a plastic wrap and inside a Ziploc bag in the fridge. I am planning on using it for a Christmas Cake in about 2 weeks. How do I make it so that it is pliable enough and not dry? The first cake I decorated last week turned out great as far as the tier cover, but the shapes that I cut and died with food coloring dried out super quickly and cracked. The cake kept without cracking and I believe is due to the under layer of buttercream that keep it moist. But the little strip I cut to make a ribbon, I barely had time to place it on the cake in one piece. Any advice on it?
ReplyDeleteAnd last, do you have any tutorials on how to make a lace silicone mold ?
Thank you so much! And thank you for sharing your talent!