
The cake inside is a Devil's food chocolate cake with Vanilla Buttercream and homemade Sugar paste. But if you are new to carving then I would prefer that you use my Dense Chocolate Cake perfect for carving.
I had Dinosaur cake on the wish list of requested tutorials so obviously I decided to video the whole process. I wanted to make a time lapse version so you could see quickly how the whole cake is done but by popular demand I had to make a slow version too. Some of the fans on Facebook said they would prefer a slow detailed version.
So I ended up making both the quick and slow version.
Here's the slow detailed version - 25 minutes
And her is the quick time lapse version - 10 minutes
I had a few questions after I posted the video so here's just a little more info. This may be useful when you are actually making the cake.
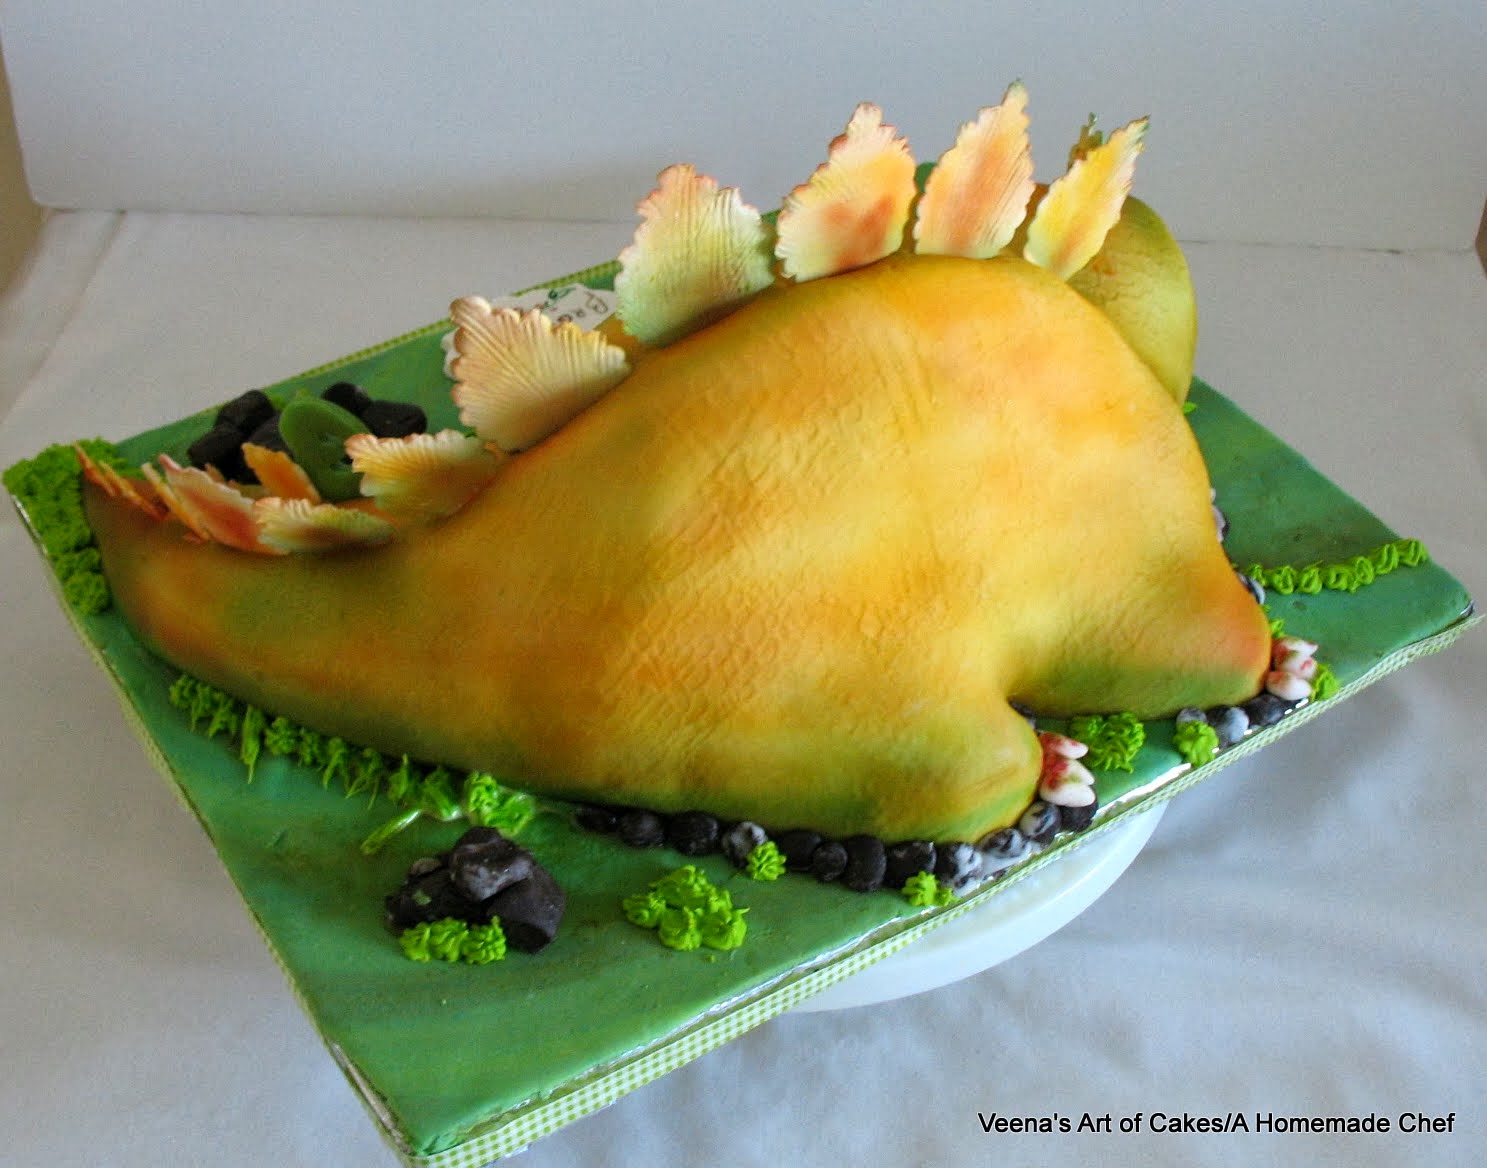
- Baked 2 x 9 inch round cakes preferably with a dome. Plus
a single lager 1 x 6 inch round cake. - Cut both the 9 inch rounds into two - dividing at 3/4 and 1/4 as shown in the video.
- The 2 x 3/4 rounds are placed for the stomach
- The 2x 1/4 in again divided into 2 length ways.
- The curved part of the 1/4 is used for the tail.
- The two spare strips of the 1/4 inch are cut again into two each to make four legs.
- For the head - I cut the 6 inch round into three and stacked as shown. Carved further to make the head.
- The tail and belly are built up with spare cake.
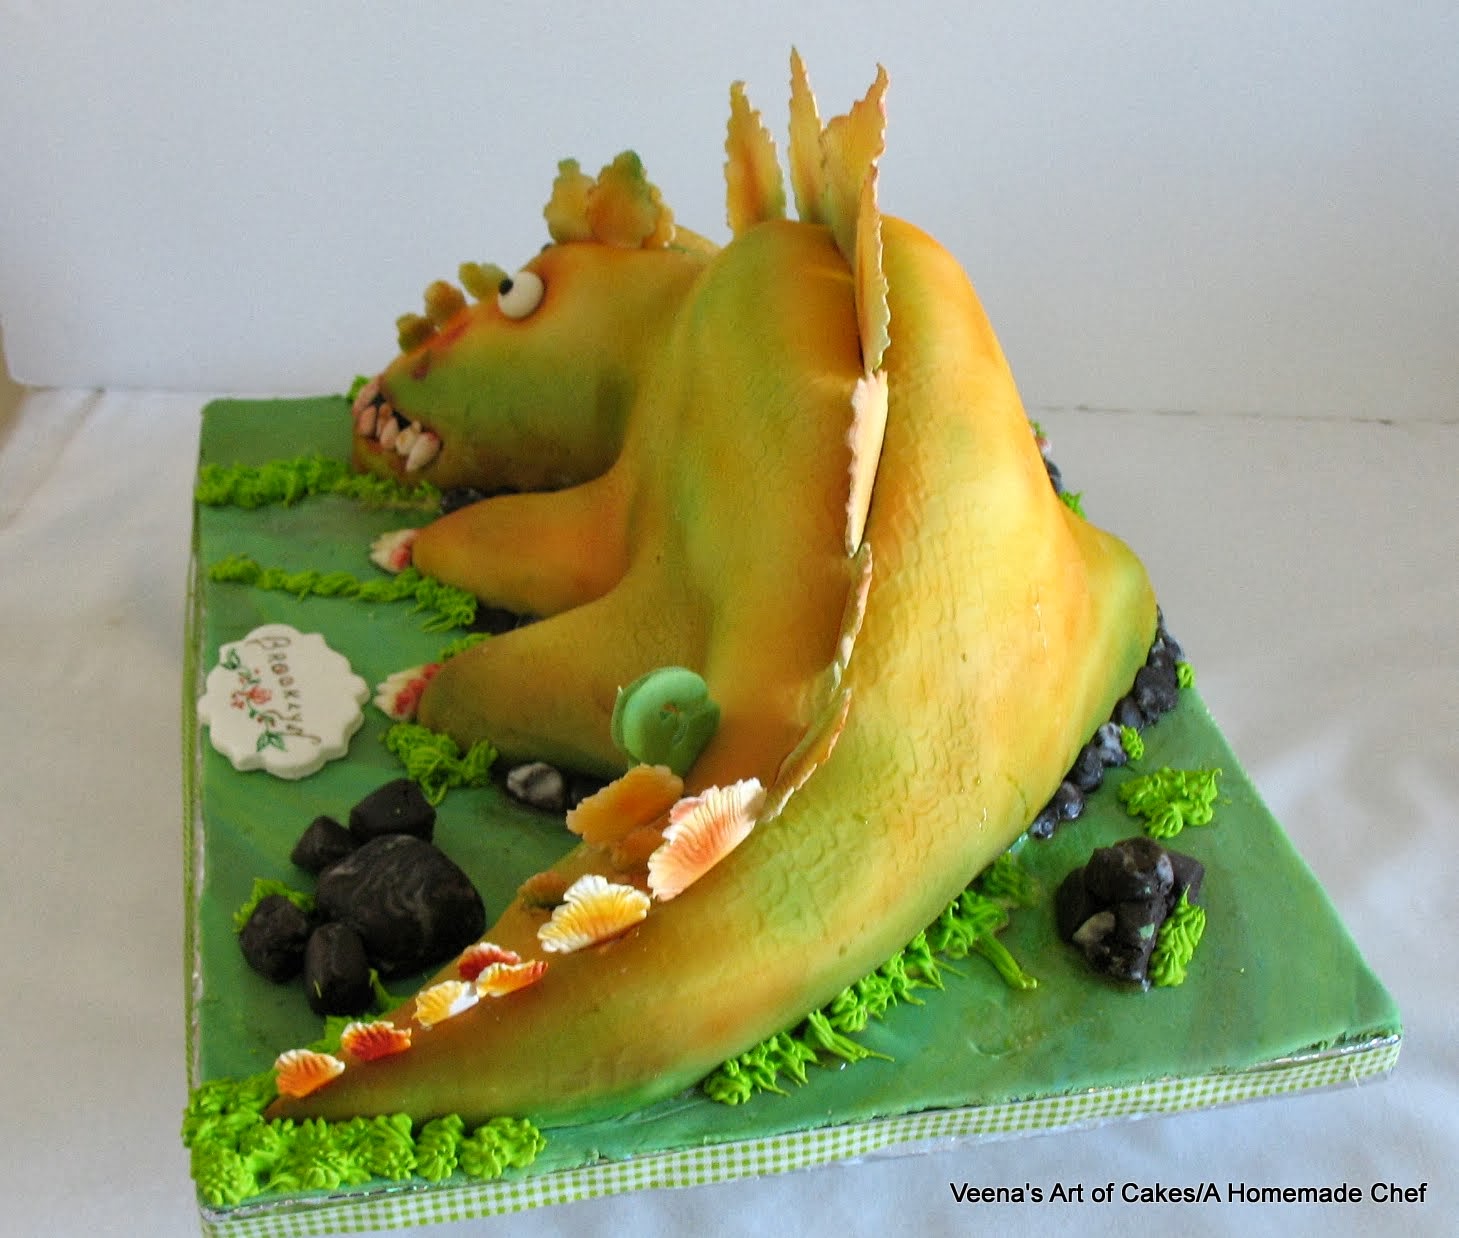
- If you do not have a texture mat take a round open nozzle like a tip 5 and mark them all over overlapping the rounds as you go. This will also give a good Dinosaur skin effect.
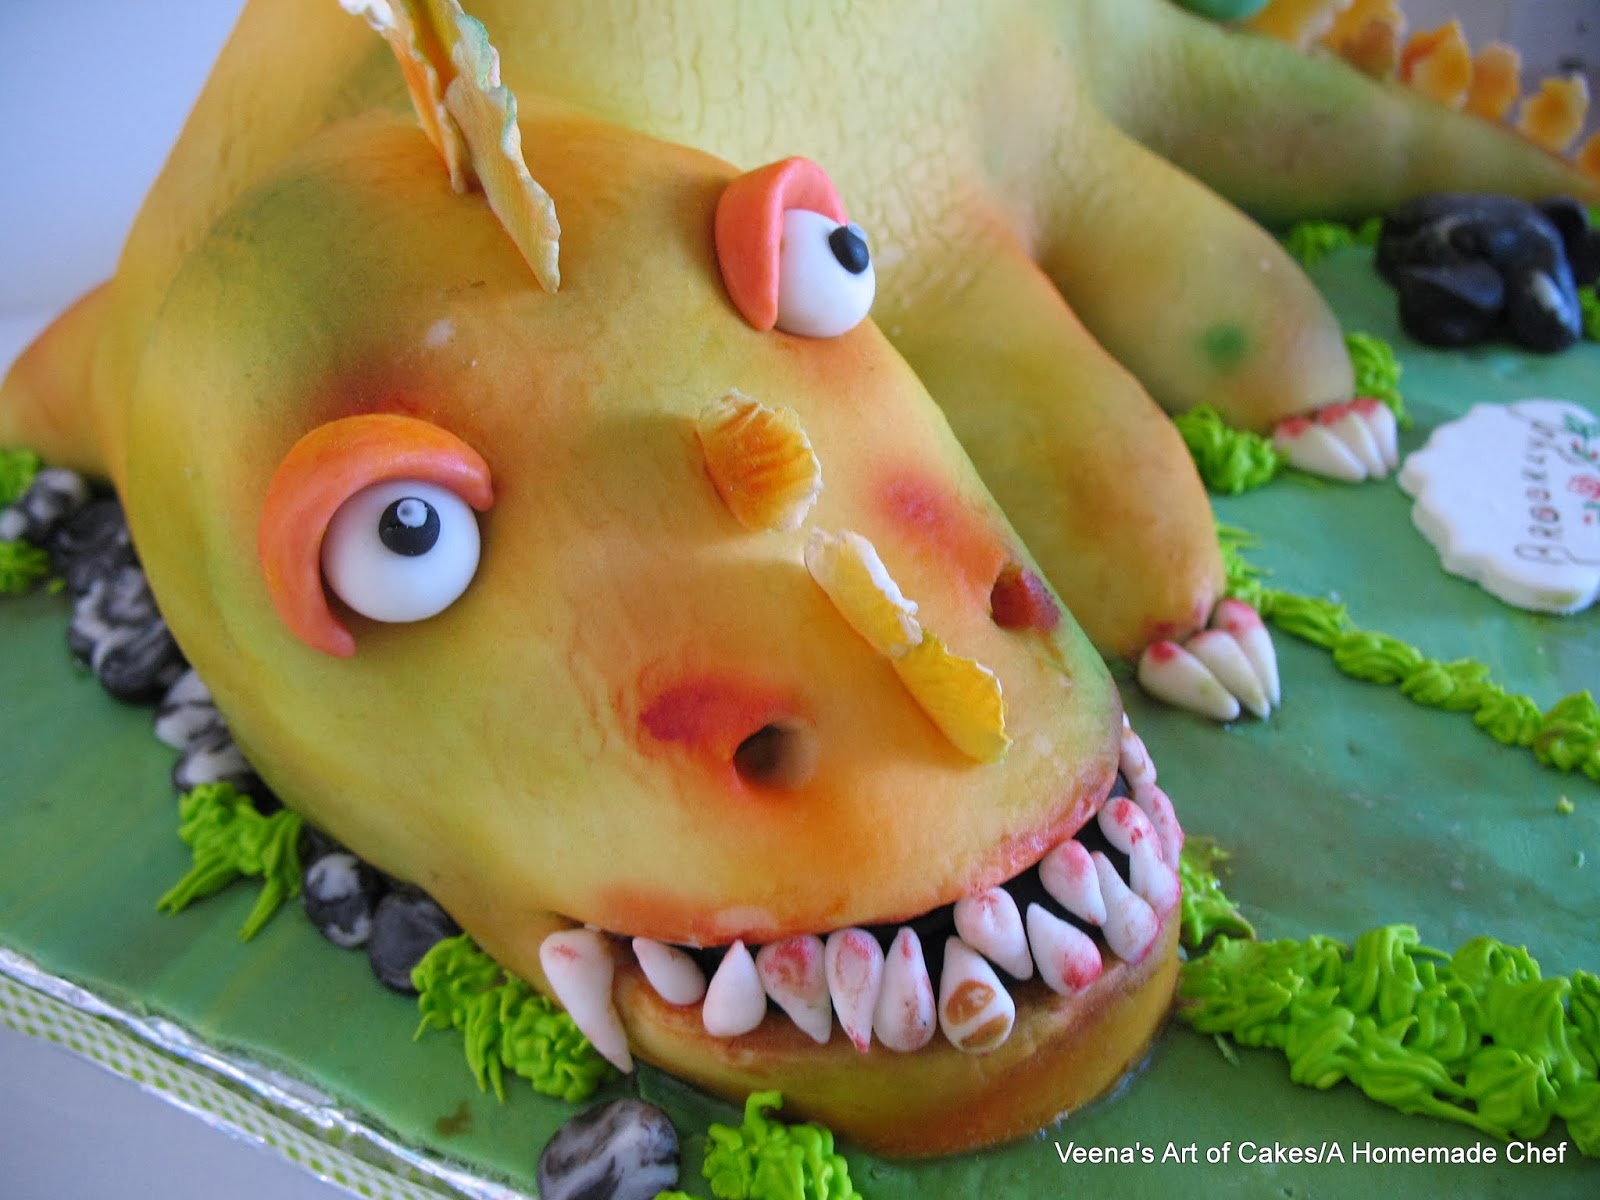
- If you do not have an Airbrush cover the dinosaur in the base color instead of white. For example -
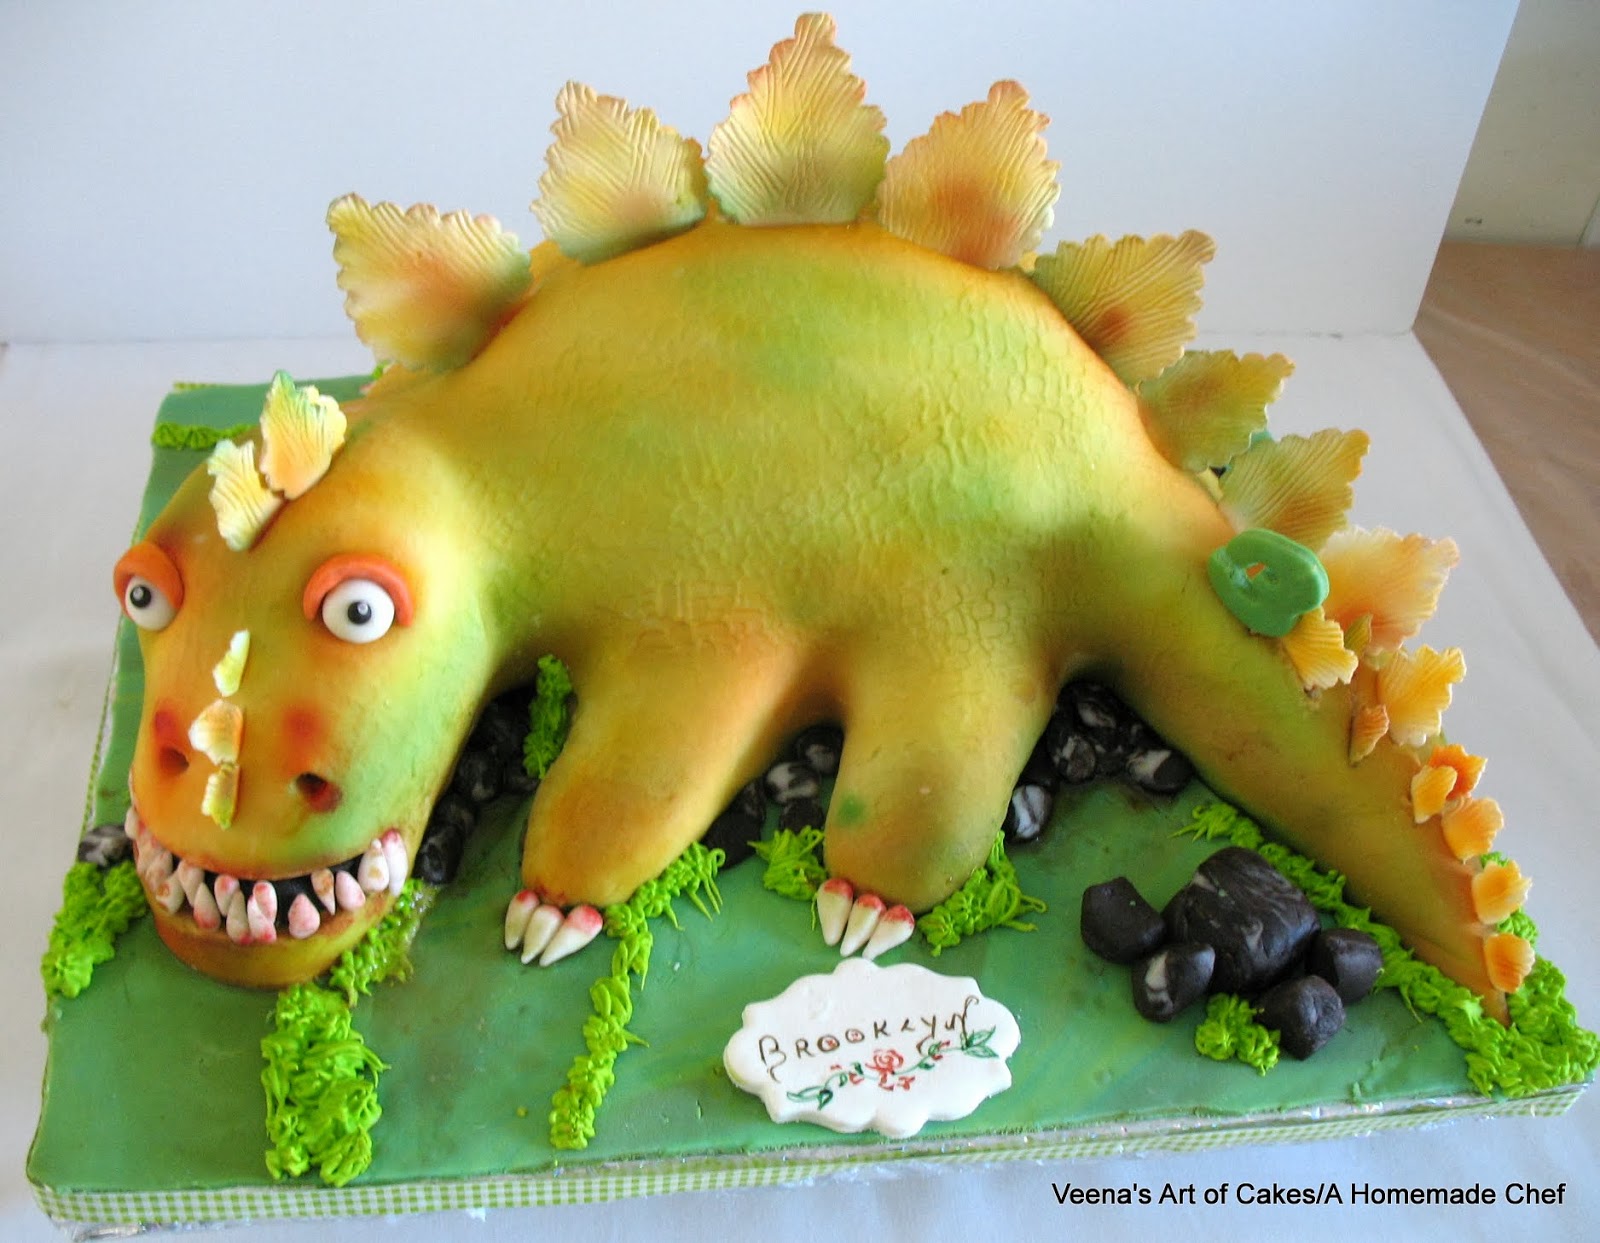
1. if you want to make an yellow Dinosaur - cover the cake and make the Spikes with Yellow then use orange petal dust and a dry thick pain brush to add details.
2. If you want to make a Green Dinosaur - Cover the cake and make the spike in light green. Then use Yellow and Dark green Petal dust and a dry thick paint brush to add details. - The stones are made by marbling black and white or even some brown sugar paste and then cutting them into uneven shapes.
- To decorate the board you could pipe Royal Icing grass every where or just use a mix of brown and white sugar to simulate sand. Another alternative could be to color coconut flakes with green and spread them for grass.

Thank you!
Please Note: This blog is free of any obligations. If you would like me to continue making more tutorials for free please contribute showing you value my time and efforts. You are free to use all tutorials for personal use. Please do not re-produce or re-distribute the same without permission.
Thanks for stopping by.

I love your passion for cakes Veena, I'm your biggest fan and follower though I've hardly shared my comments and compliments for you. I too have a passion for baking and I love this dinosaur cake and thanks a ton for the tutorial!
ReplyDelete