Well you all remember my birthday cake yesterday. Thank you for the lovely wishes some of you sent me. I truly appreciate it.
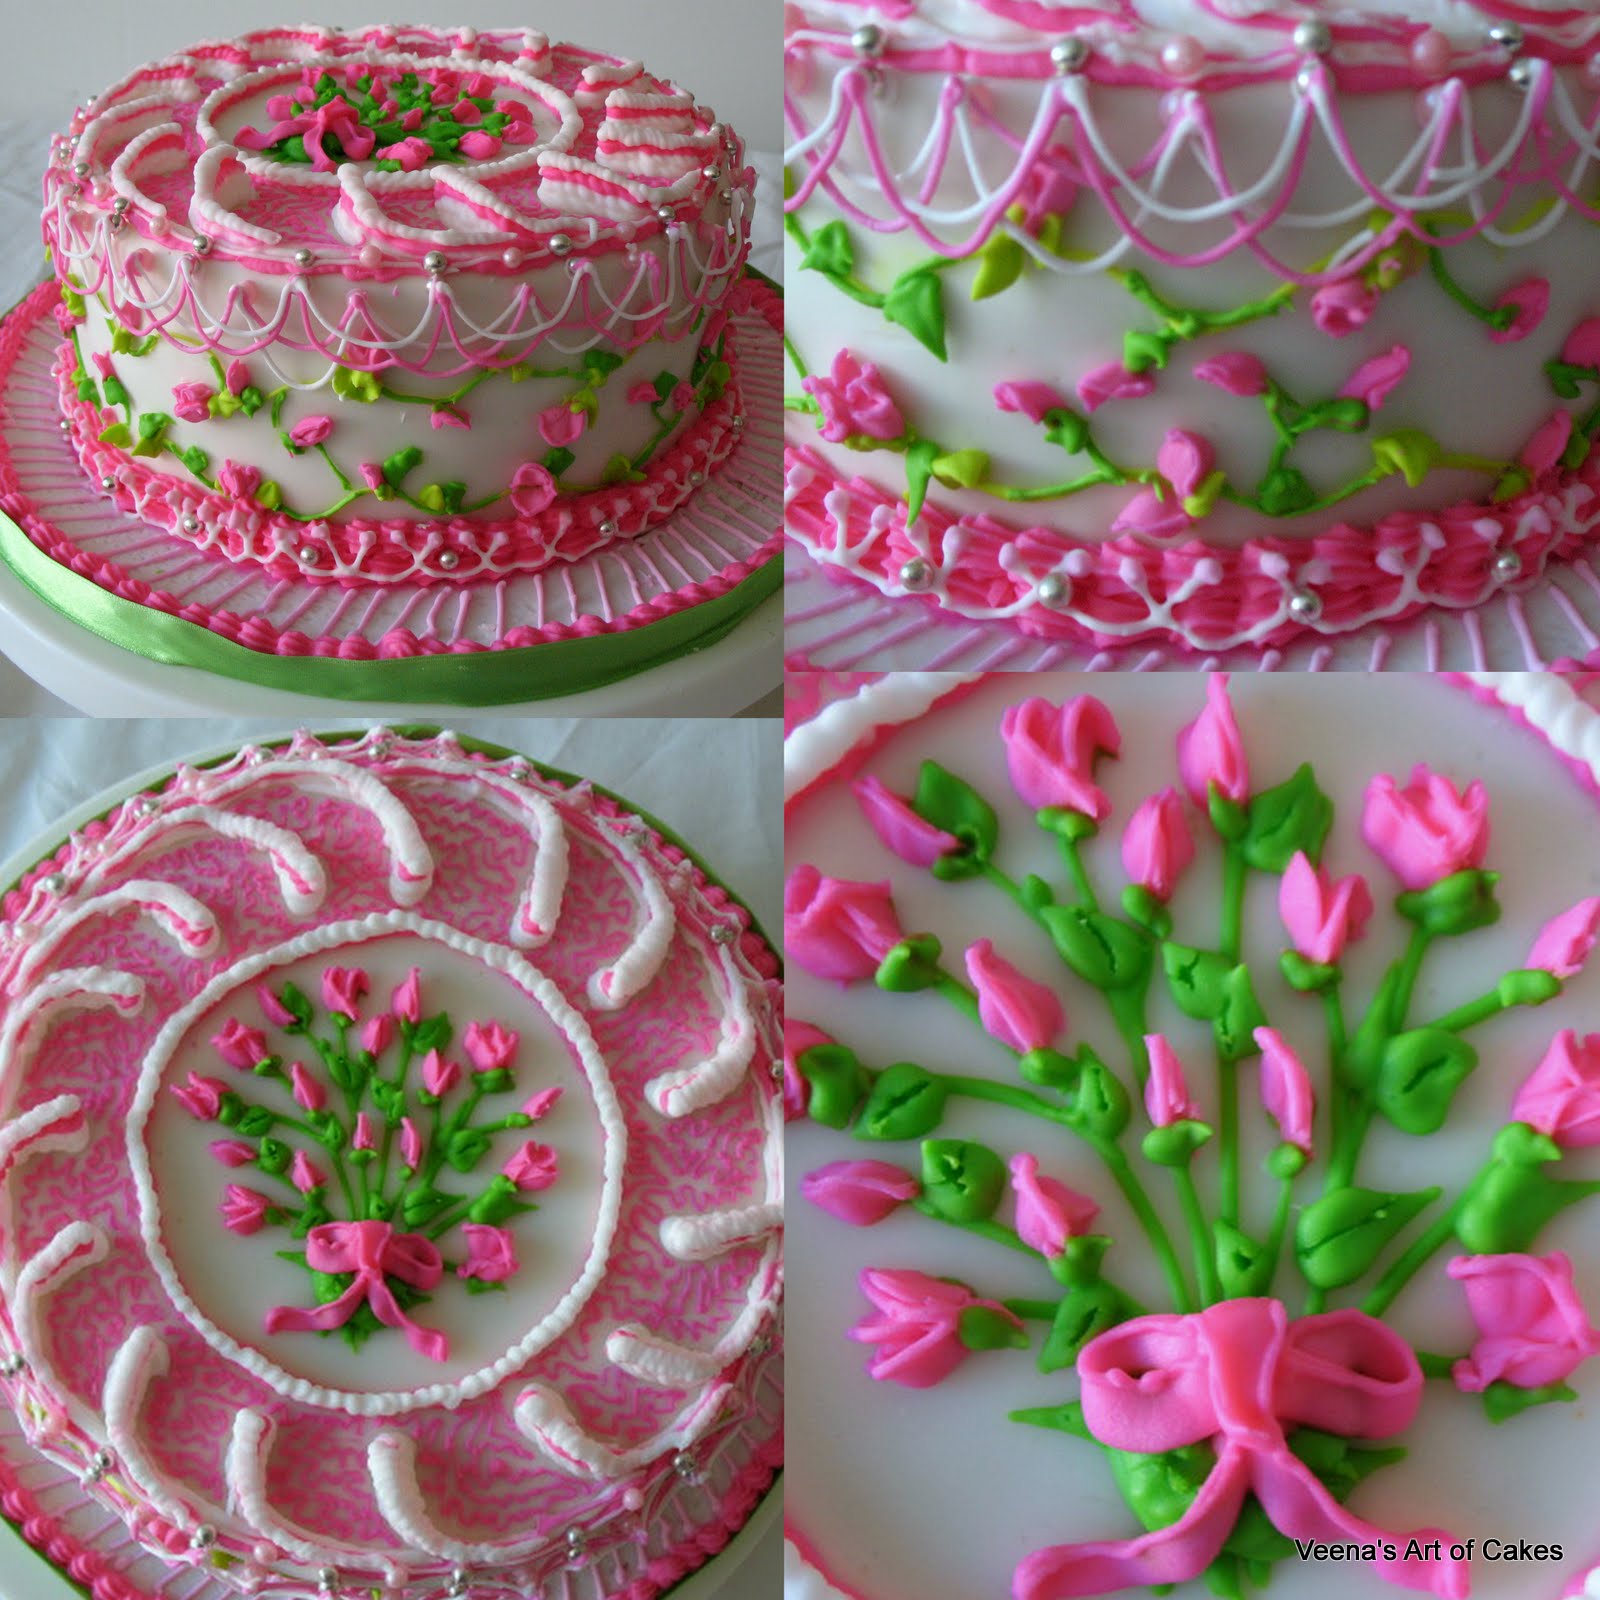
Here are the progress pictures I promised you. This is an 8" round 4 inch high cake.
It's my White wedding cake recipe with strawberry flavored buttercream. (my birthday - but my son's favorite cake)
I covered the board with Royal Icing but since I was going to add more piping later I did not bother to over do the smoothing..

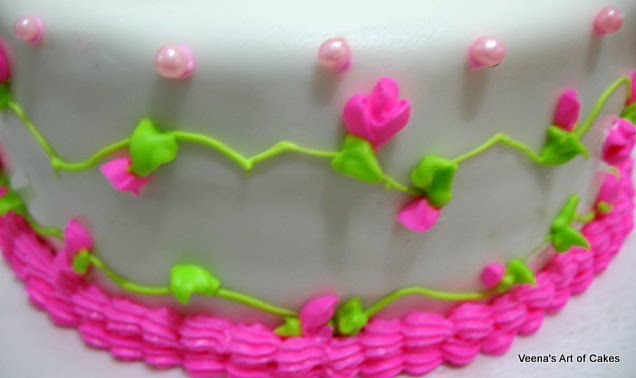
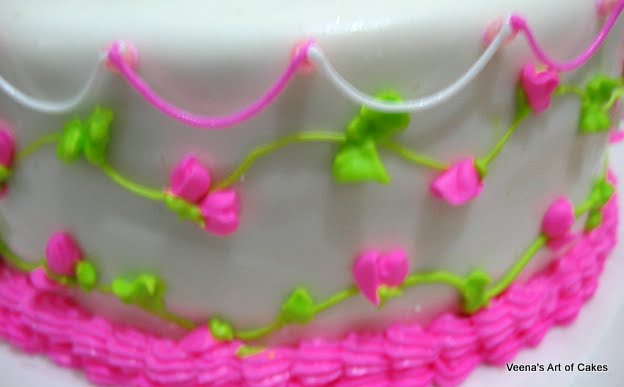
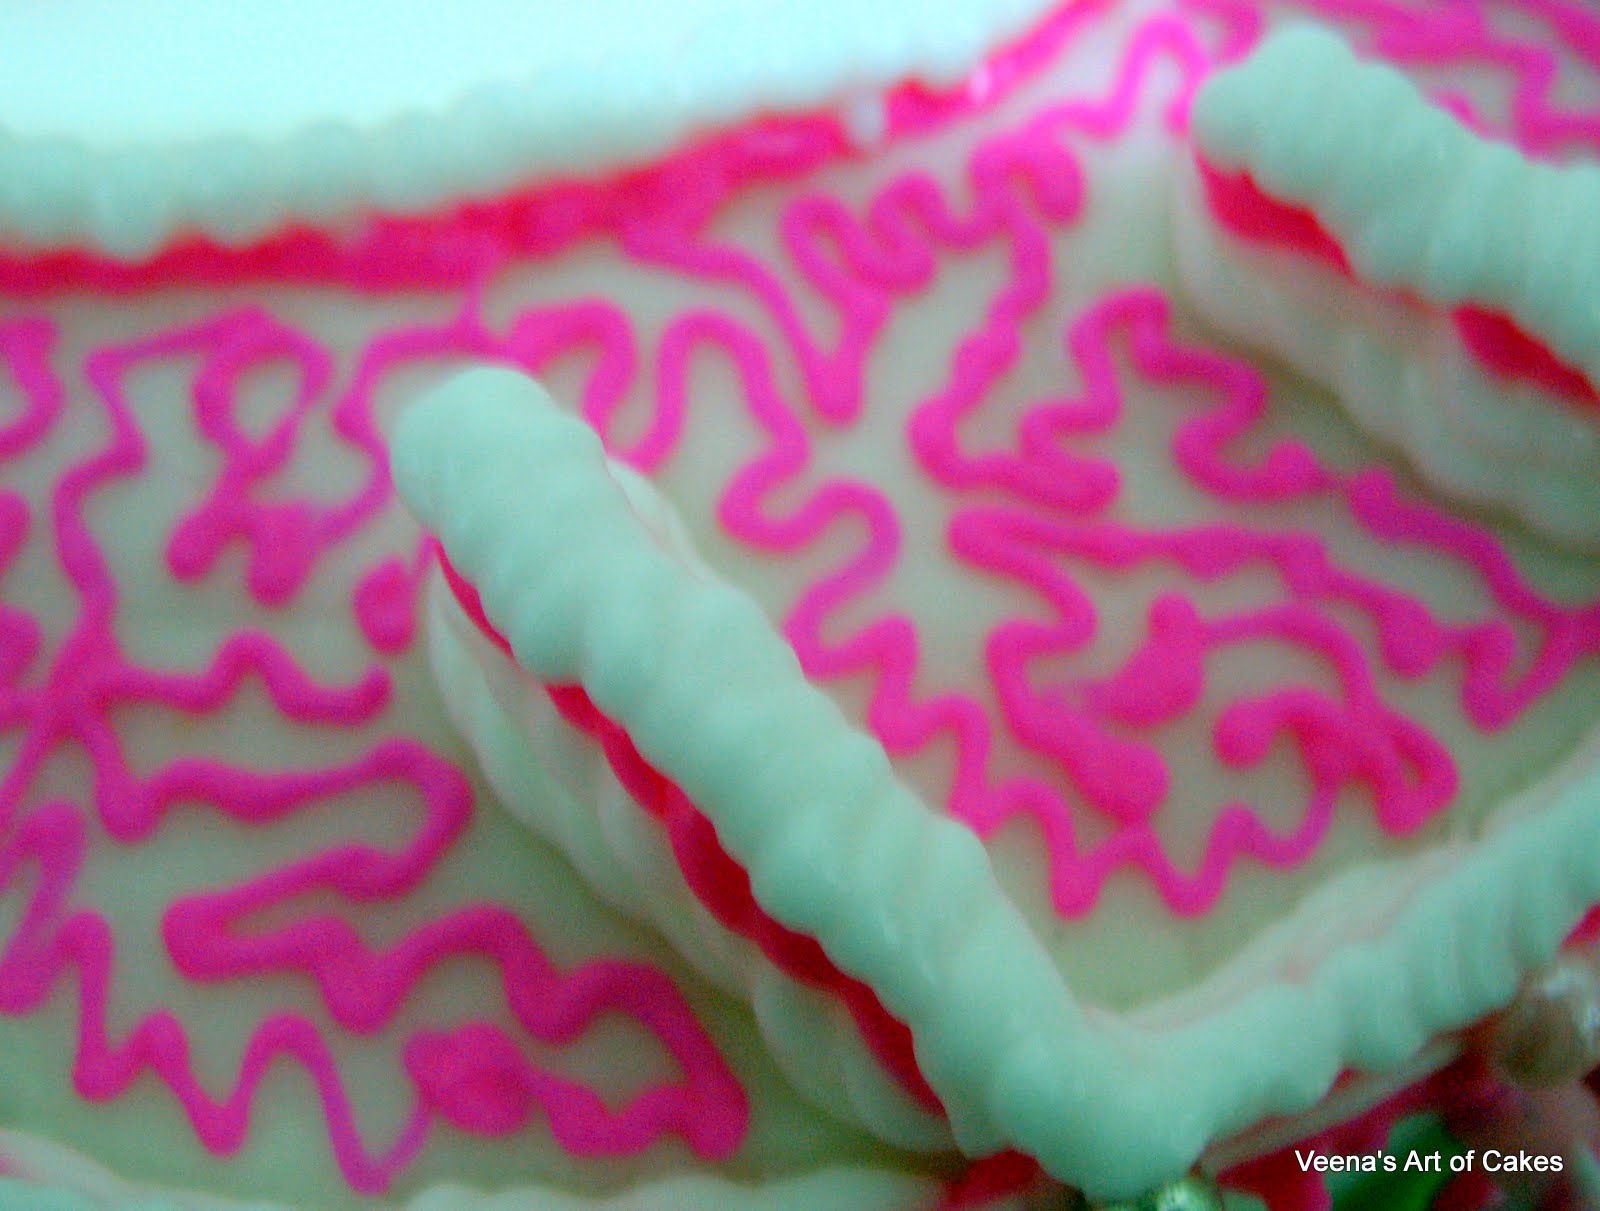
This is the first shade of green. You can see some places the green is a very thin line just as an impression for me to work on.

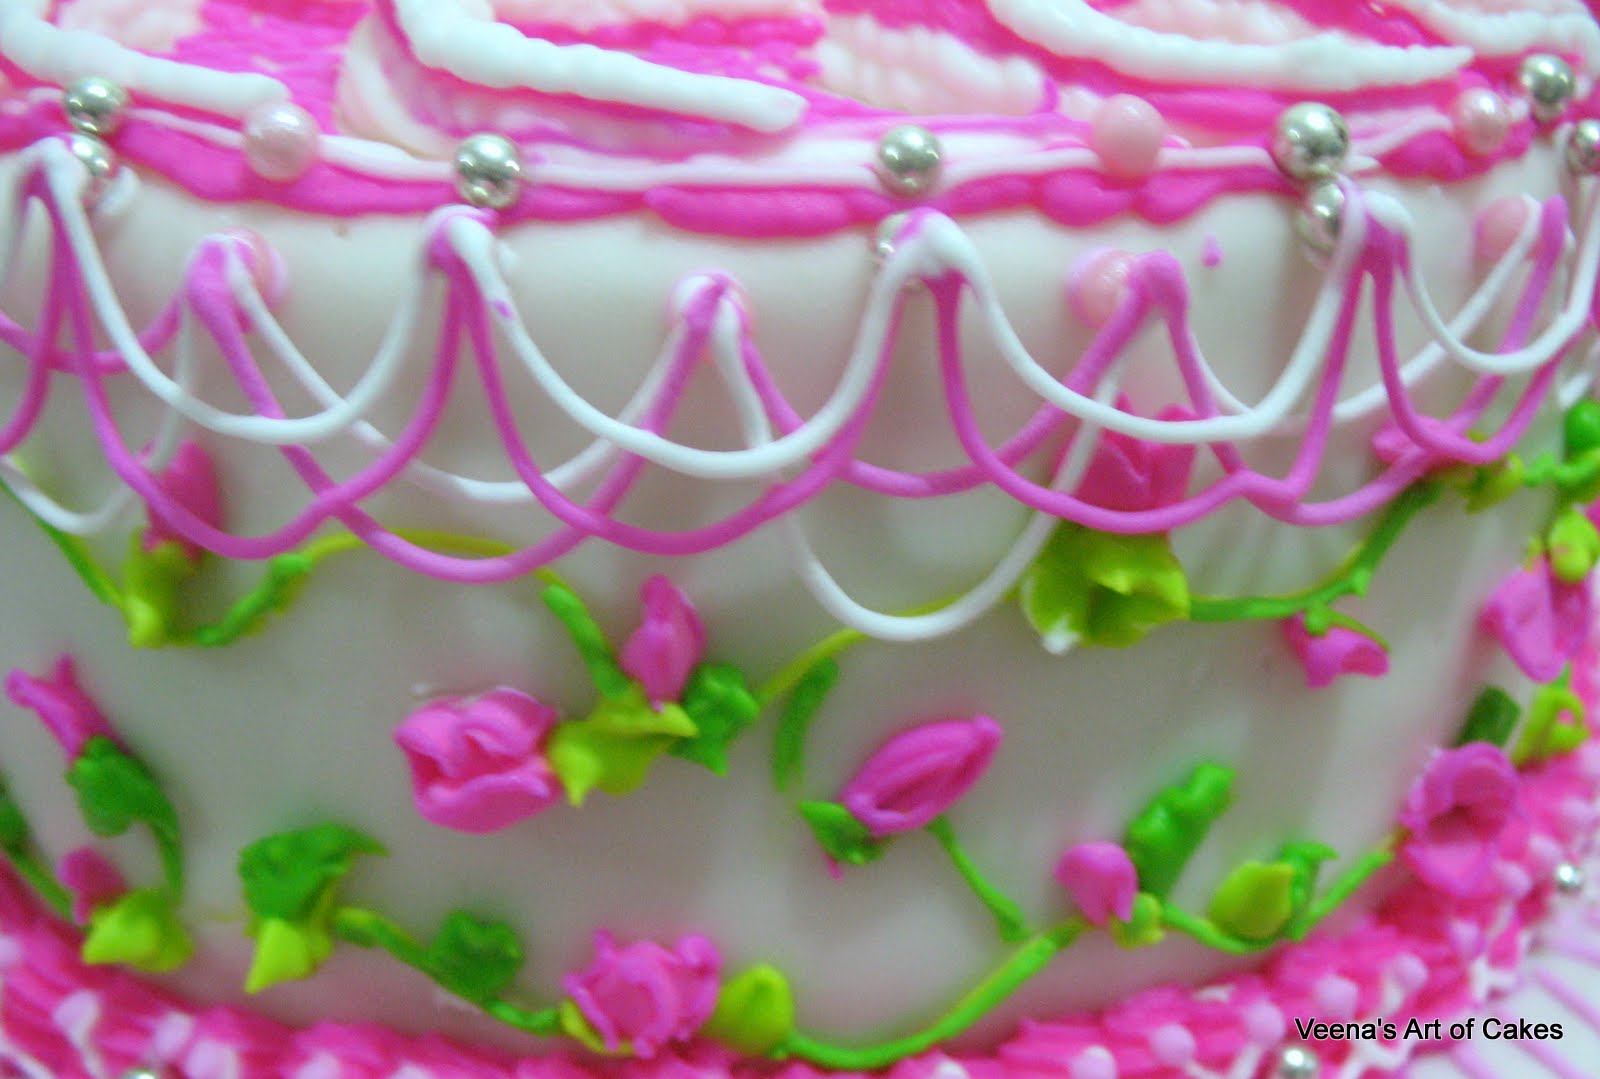
I wanted the rose buds to be small so used the smallest rose tip Wilton no. 101 tip.
The color is the Amer i-color bright Pink
Icing Consistency for rose buds. It is important that your icing be stiff consistency for this or else the petals won't hold up straight like this.
Stiff consistency makes you feel like your icing is difficult to work with and you will be tempted to thin it but petal like this will only come with good stiff consistency icing.(the wrist hurts - I know!)
Pipe the close buds - Hold you tip in place, press the piping bag and release pressure without moving your tip. Pull the tip towards you to finish the bud.
Pipe the open buds - Pipe the close bud as above, then pipe two small petals on either side. Again hold the tip in the center but facing outwards (right or left) press the piping bag without moving the tip and pull towards you to finish it off.

I used Wilton tip 2 for the calyx and cut my icing cone into a V for the flowers. You can use the smallest leaf tip.


I planned to used a row of Pink and a row of white but later changed my mind and added silver instead of white.
Let the beads dry for about a hour so they are glued to the cake or else the weight of the strings will pull the bead down.
When preparing your icing instead of using water to thin your icing use light corn syrup. It adds elasticity.
I used a soft peak consistency, which means when you pick your spoon up from the icing and make a peak that peak should fall over.
If you icing is too thin the string will just fall after a few seconds. If too thick it will break off immediately.
For a test when you prepare your icing. Pipe a string between two fingers. If the string stays when you shake your hand the consistency is right or else work on it.
Once you get the right consistency the strings will be very easy to work. So spend a few second extra and work on that first, even if it means you have to take the icing out of your bag a couple of times.
Piping a string - Point your tip on the bead, release the icing holding the tip in place. Once you feel the icing has anchored itself to the bead continue with a steady pressure pulling away from the bead, towards the center, continue with a steady pressure moving slowly from the center and anchor the tip to the next bead.
If your a beginner it's best to start with small short strings, they are pretty and easier to work with.
Let the first row of string dry while you work on something else.

I say this again.... It is important that you let the beads dry so they are glued to the cake or else the weight of your string will pull the bead down.


It was late so I let them sit over night.

Alternating colors on the first row then the second row.
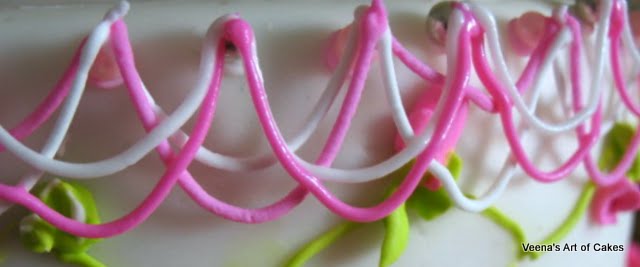
I piped the first scroll in Wilton tip 5
Over piped with Tip 3 in white.
Again over piped with Tip 3 in Pink.

I also piped the second shade of green stems and more roses around the cake BEING CAREFUL NOT TO TOUCH THE STRINGS. In fact I did not even go close to the string work. Not true I did but I wouldn't advise it.

Here is the top view of my cake.


Thanks for stopping by and thanks for all the birthday wishes.

what kind of icing did you use for the trim and do you have the recipe? thanks your cake looks beautiful
ReplyDeleteYour cake is awesome! Congratulations :)
ReplyDelete