My son calls it the upside down cake. The first time I did it he looked so worried that my cake was upside down but was equally fascinated to see the string - "mama look how their standing up... kept telling everybody mama's making a fun cake"
Well, as promised here I share with you the pictures of my Extension work.
A word of warning, don't do this technique on a windy day, and definitely not if you have kids around. (just kidding). I had both a windy day and both my kids around. It's passover vacations now for two weeks.
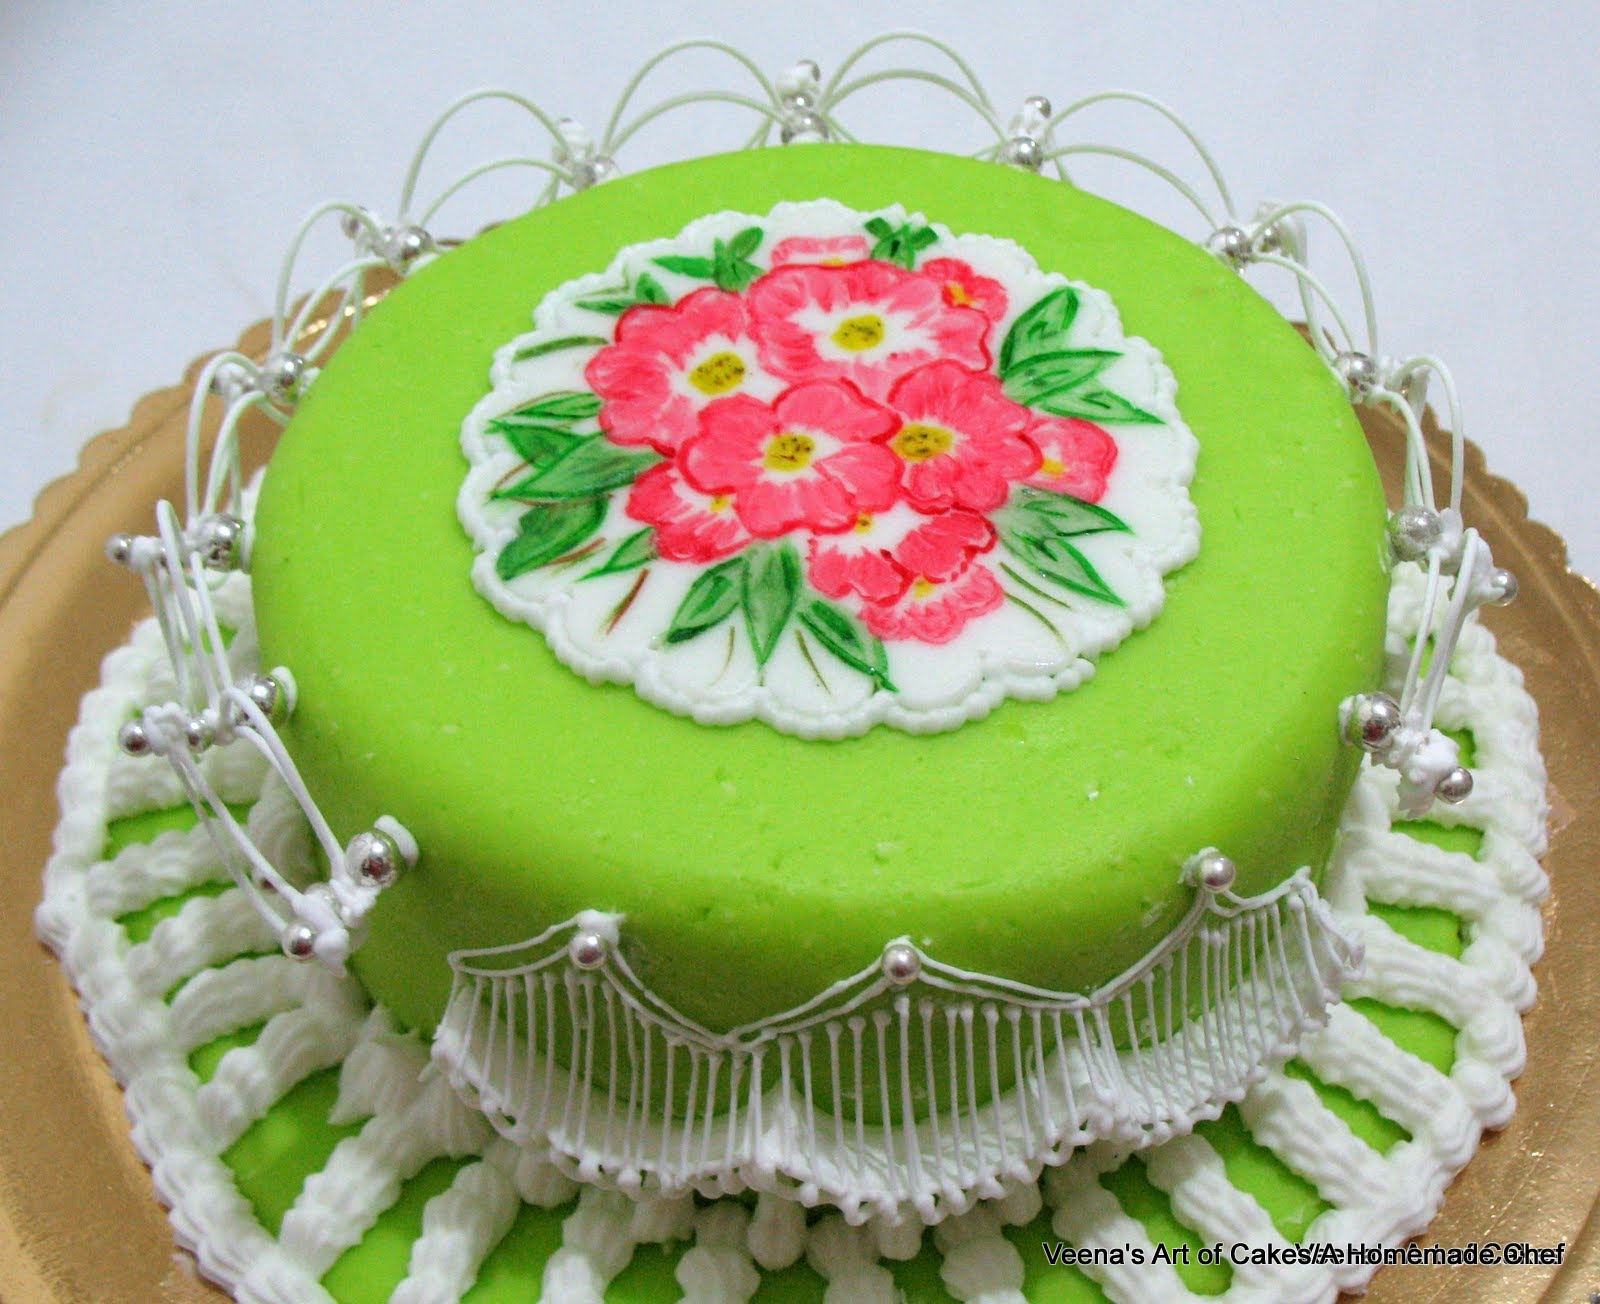
As I mentioned in my previous post. This is not a dummy.
It's a 6" cake with Yellow Cake recipe, vanilla buttercream and home made sugar paste.
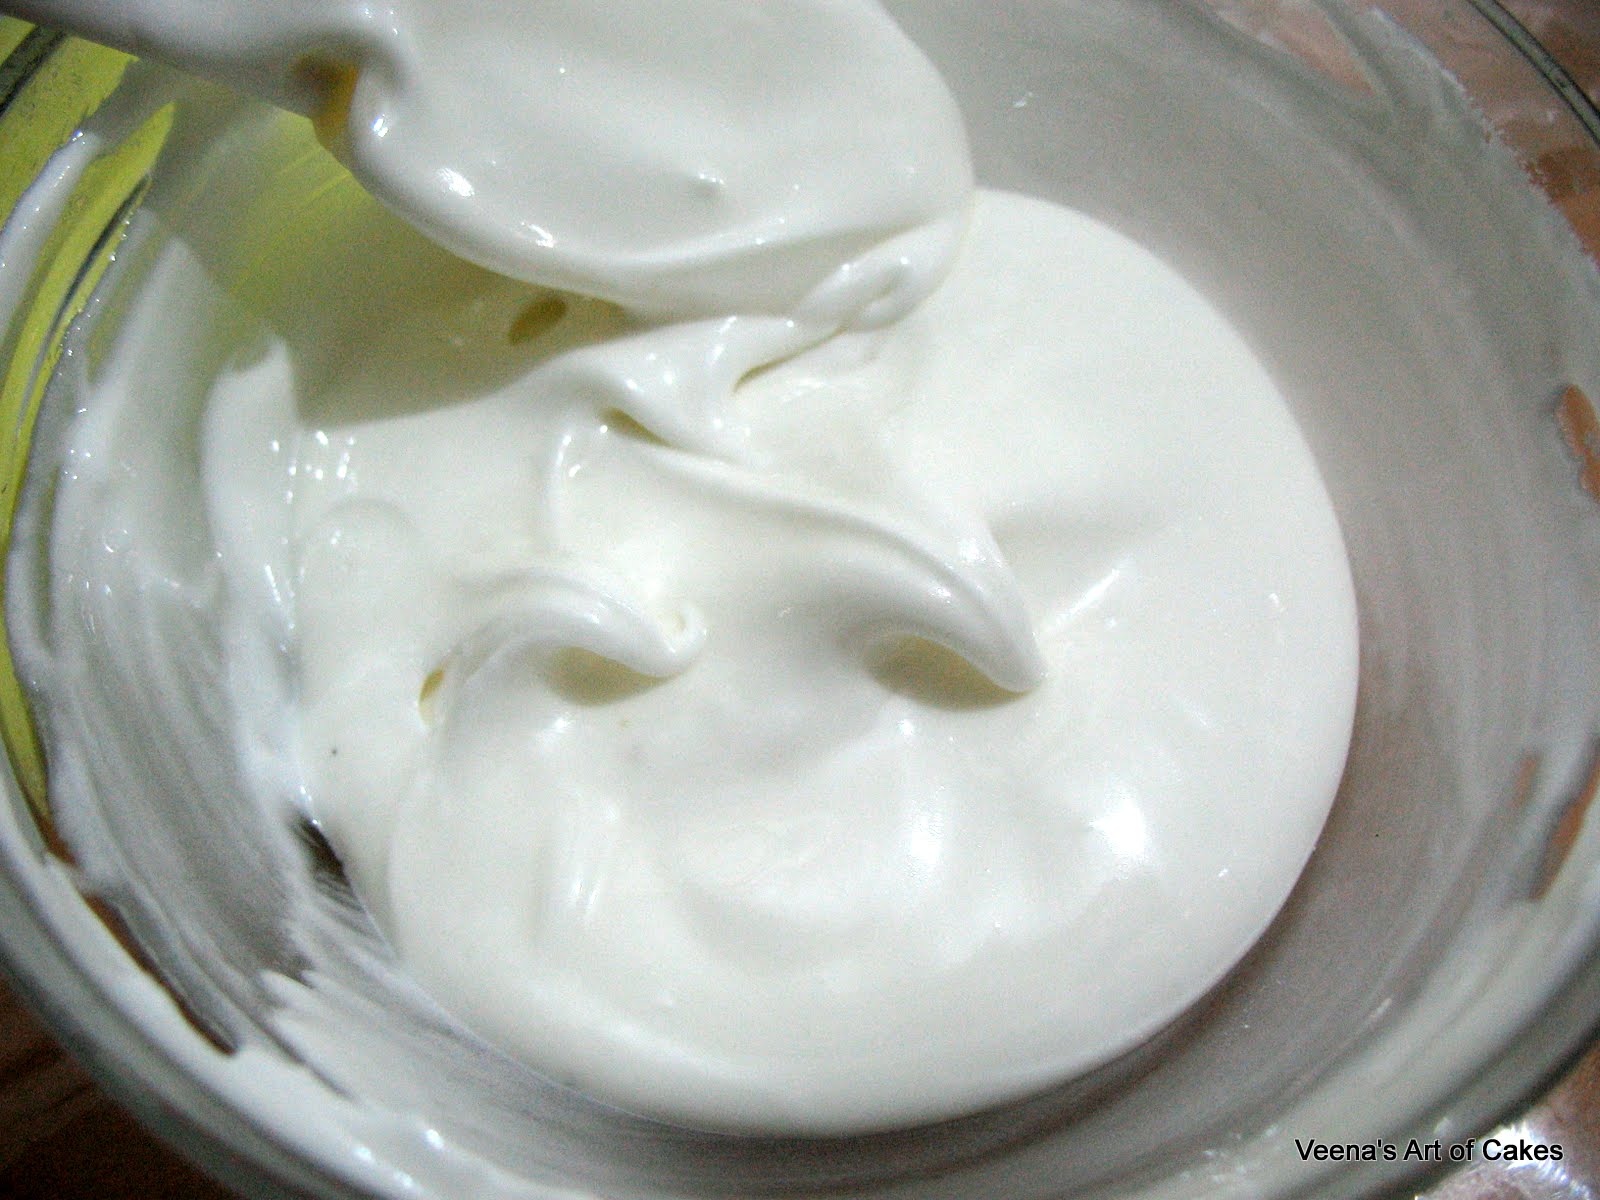
For Royal Icing Extension Work
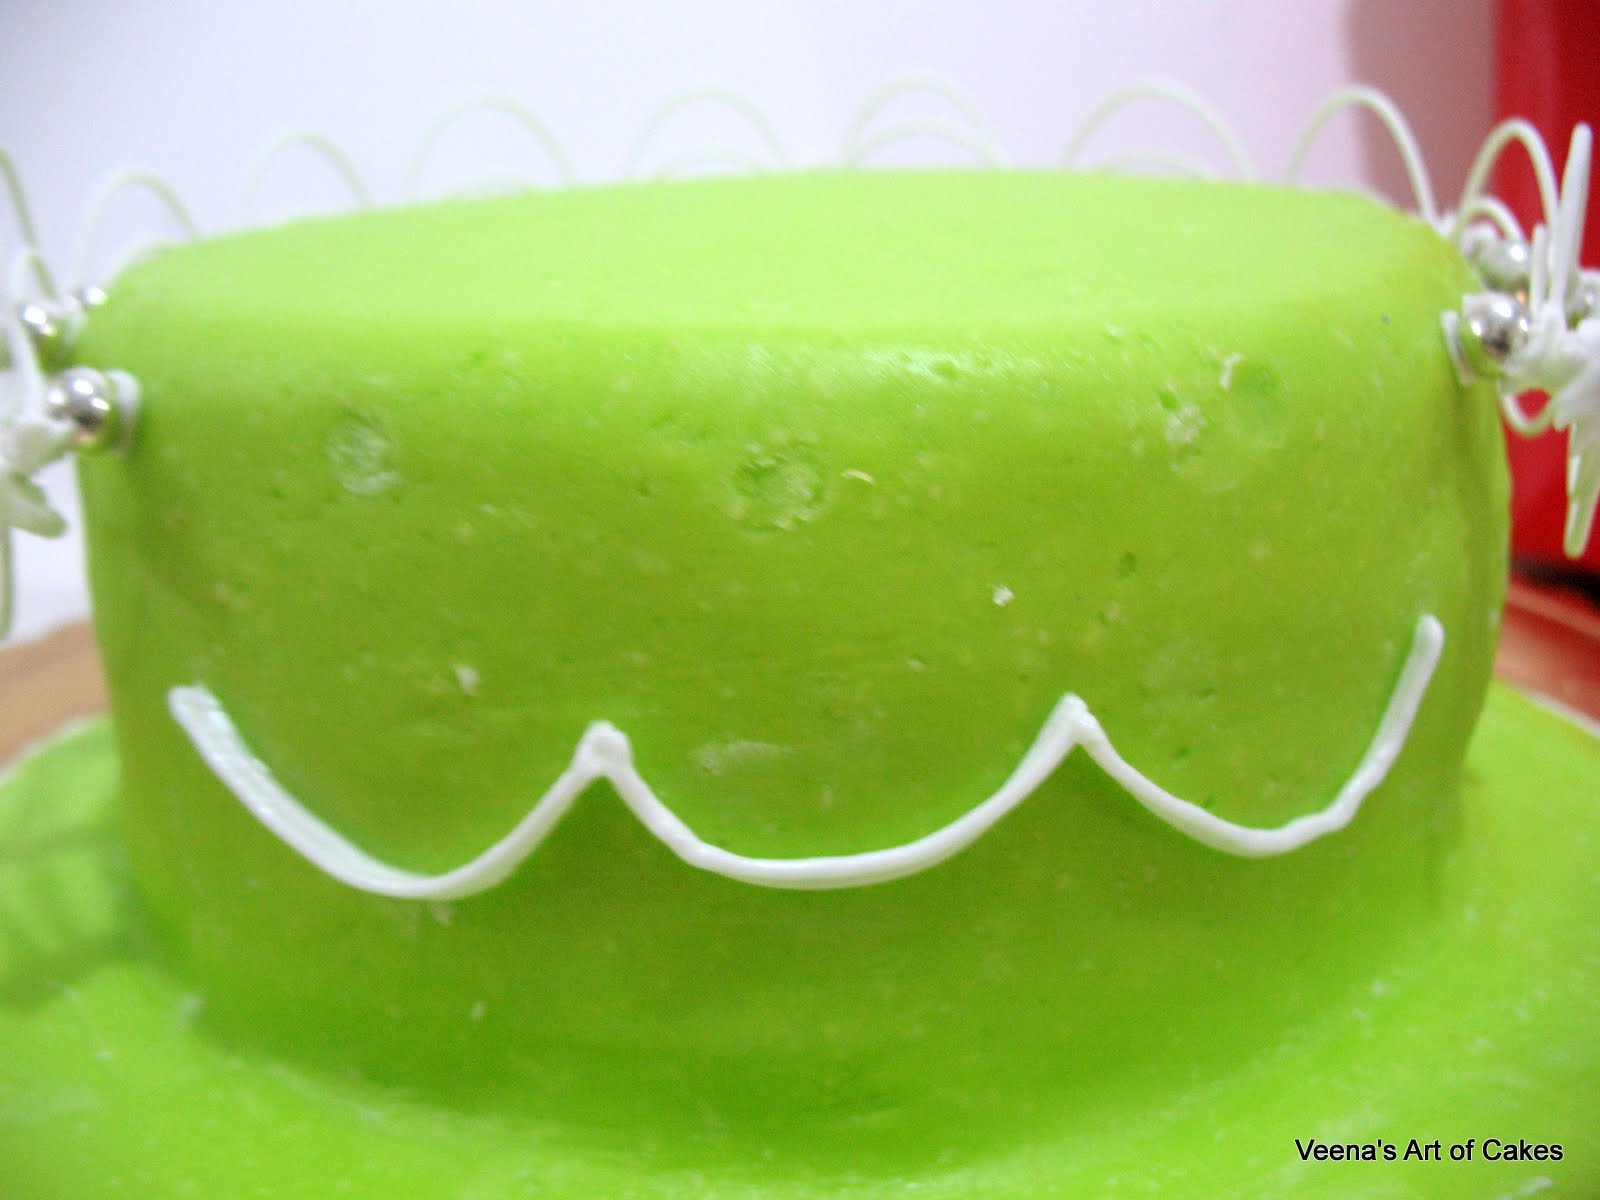
- you first make a paper template and mark the spaces for the scallop you want to pipe. You could pipe these scallops all around the cake or in small sections.
- next you pipe scallops around the cake sides making sure the scallops do not touch the bottom of your cake.
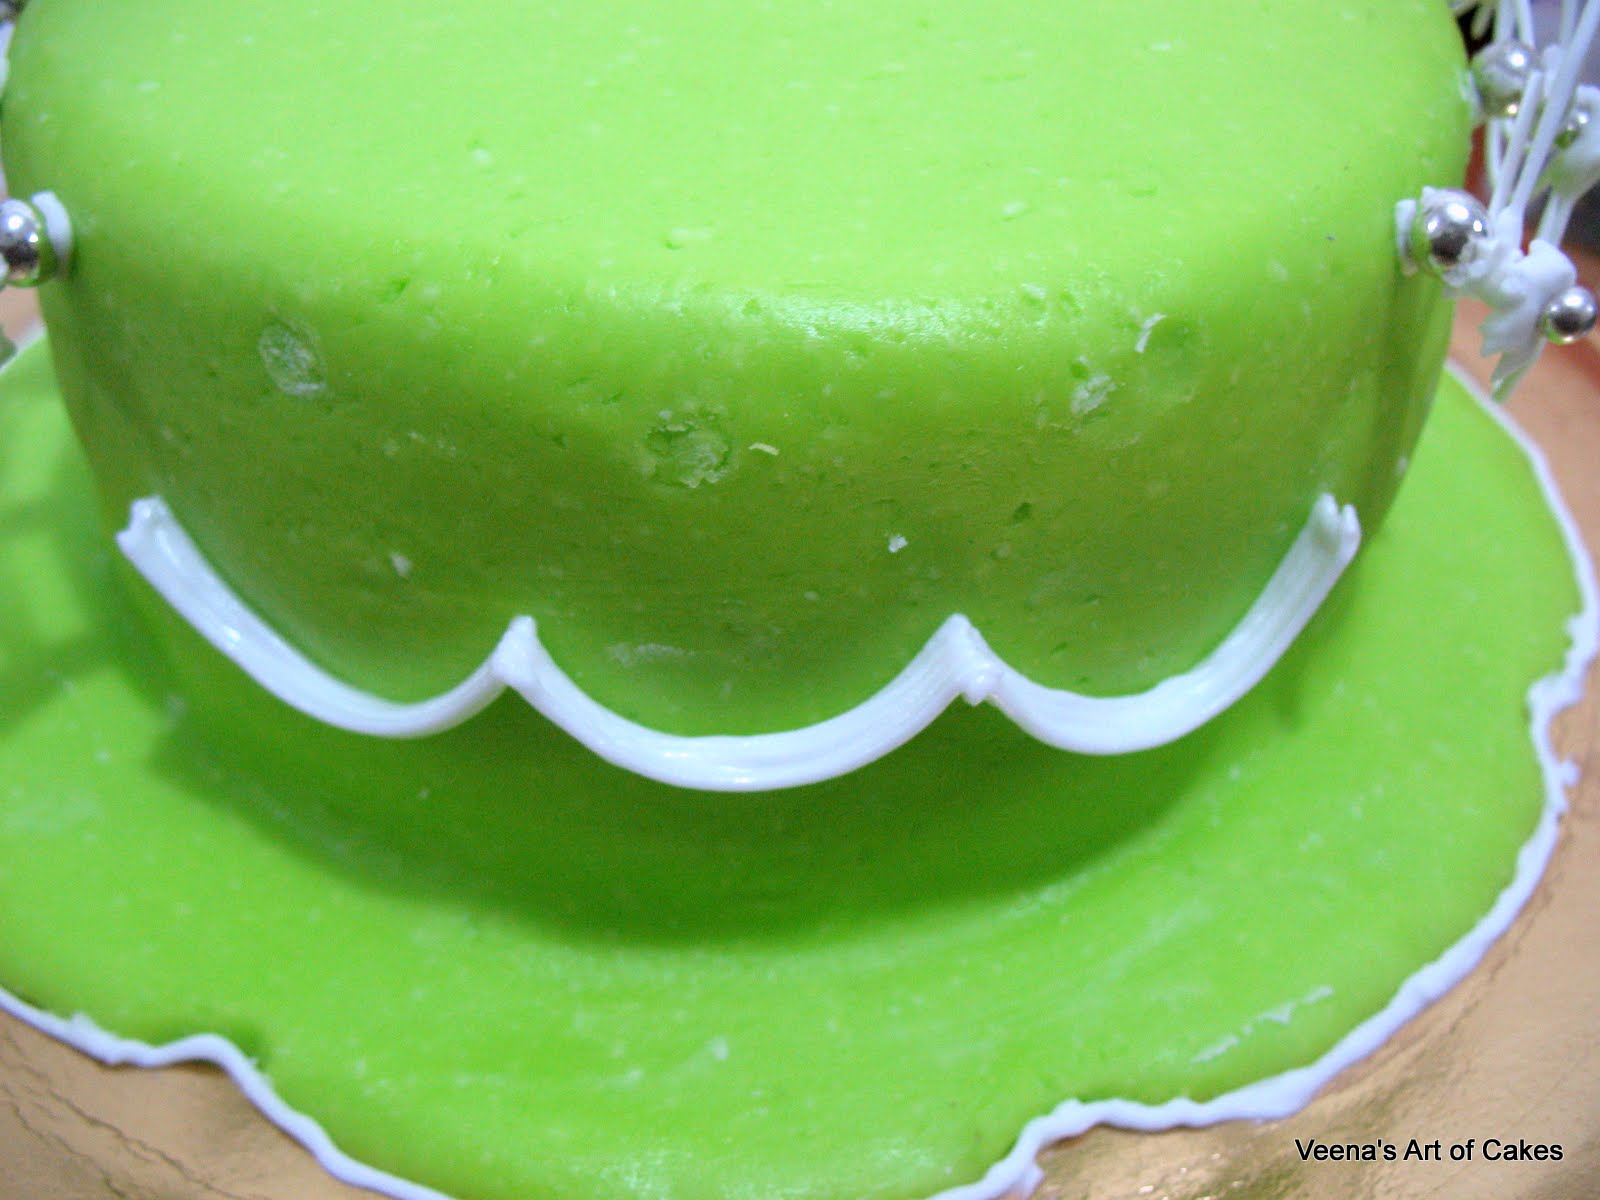
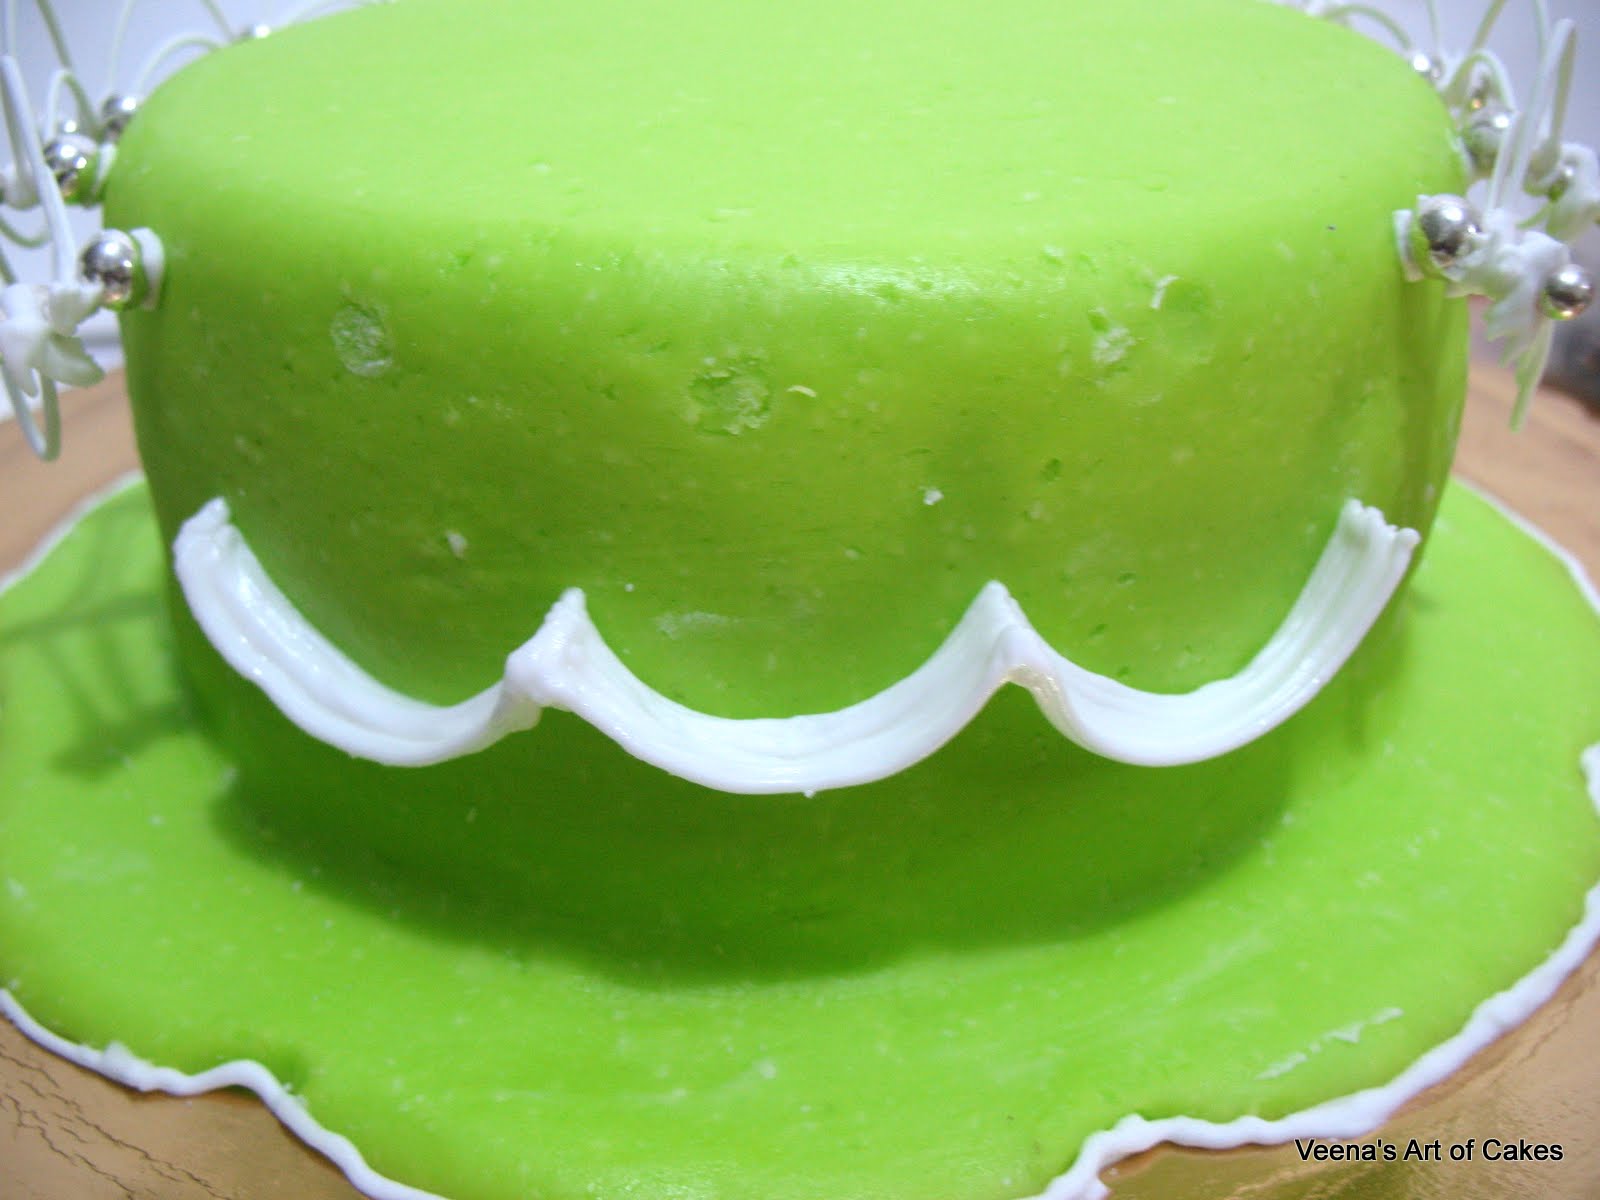
- You continue to build up on the scollops by over piping letting each scallop dry before you pipe another.
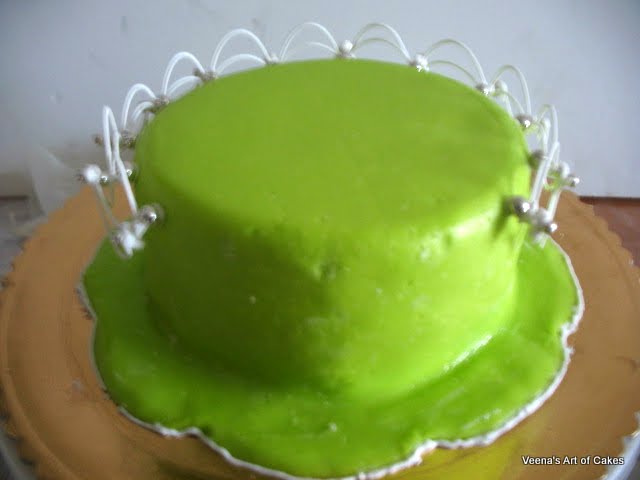
- Once you have about 6 to 10 rows of scallops it looks like a bridge around your cake.
- You should let this bridge dry completely first.
- Once dry, using a fine tip you pipe strings from the sides of your cake to the edge of your bridge.
- You could pipe the strings straight, slanted or an an angle depending on the design your want to achieve. The spacing should be no wider than the width of the strings you are piping.
- The smaller the tip and the closer the strings; the more delicate your extensions will look.

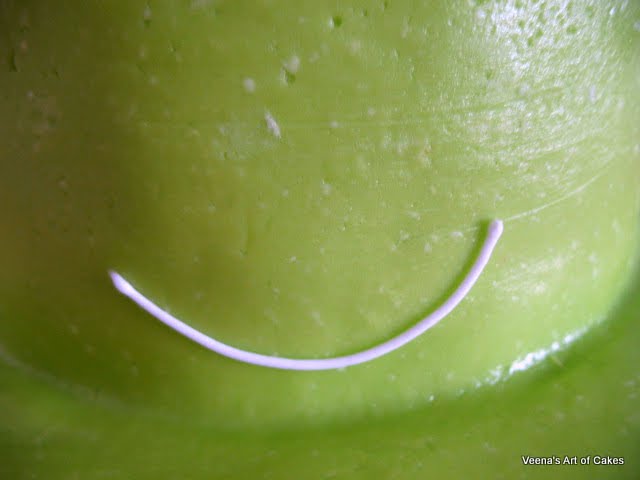
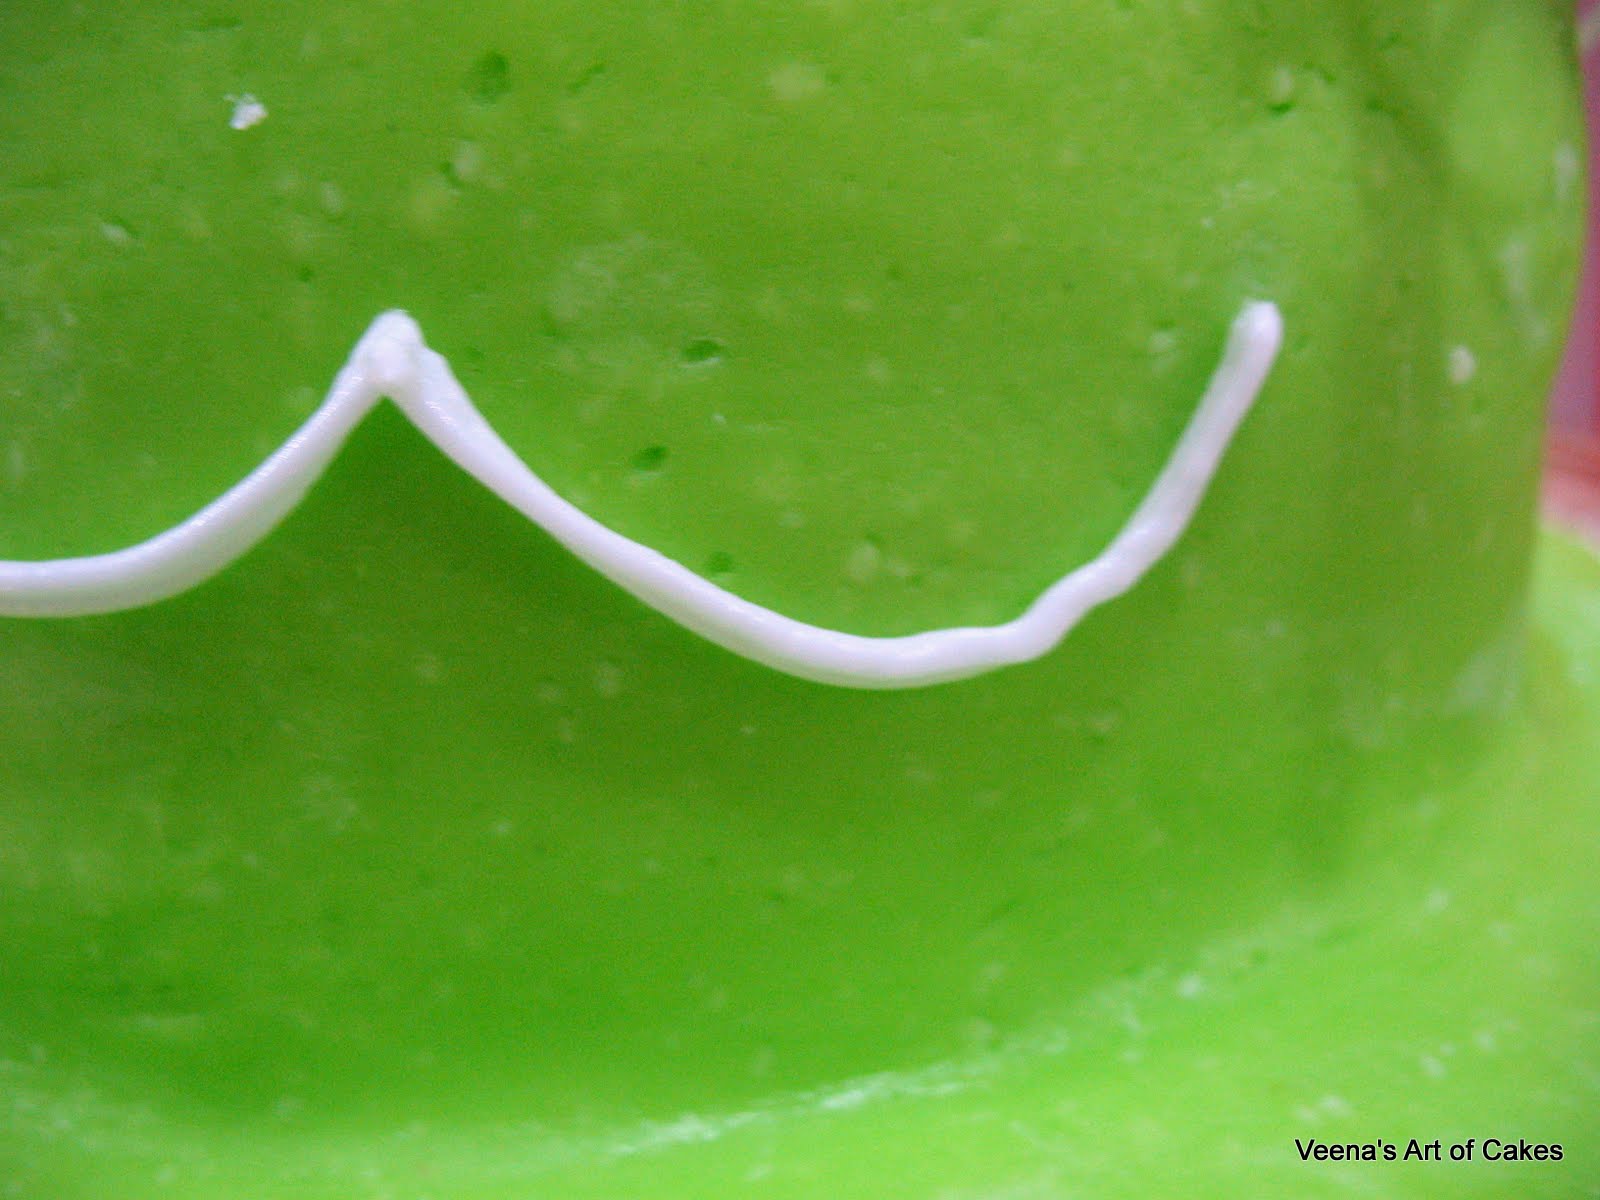
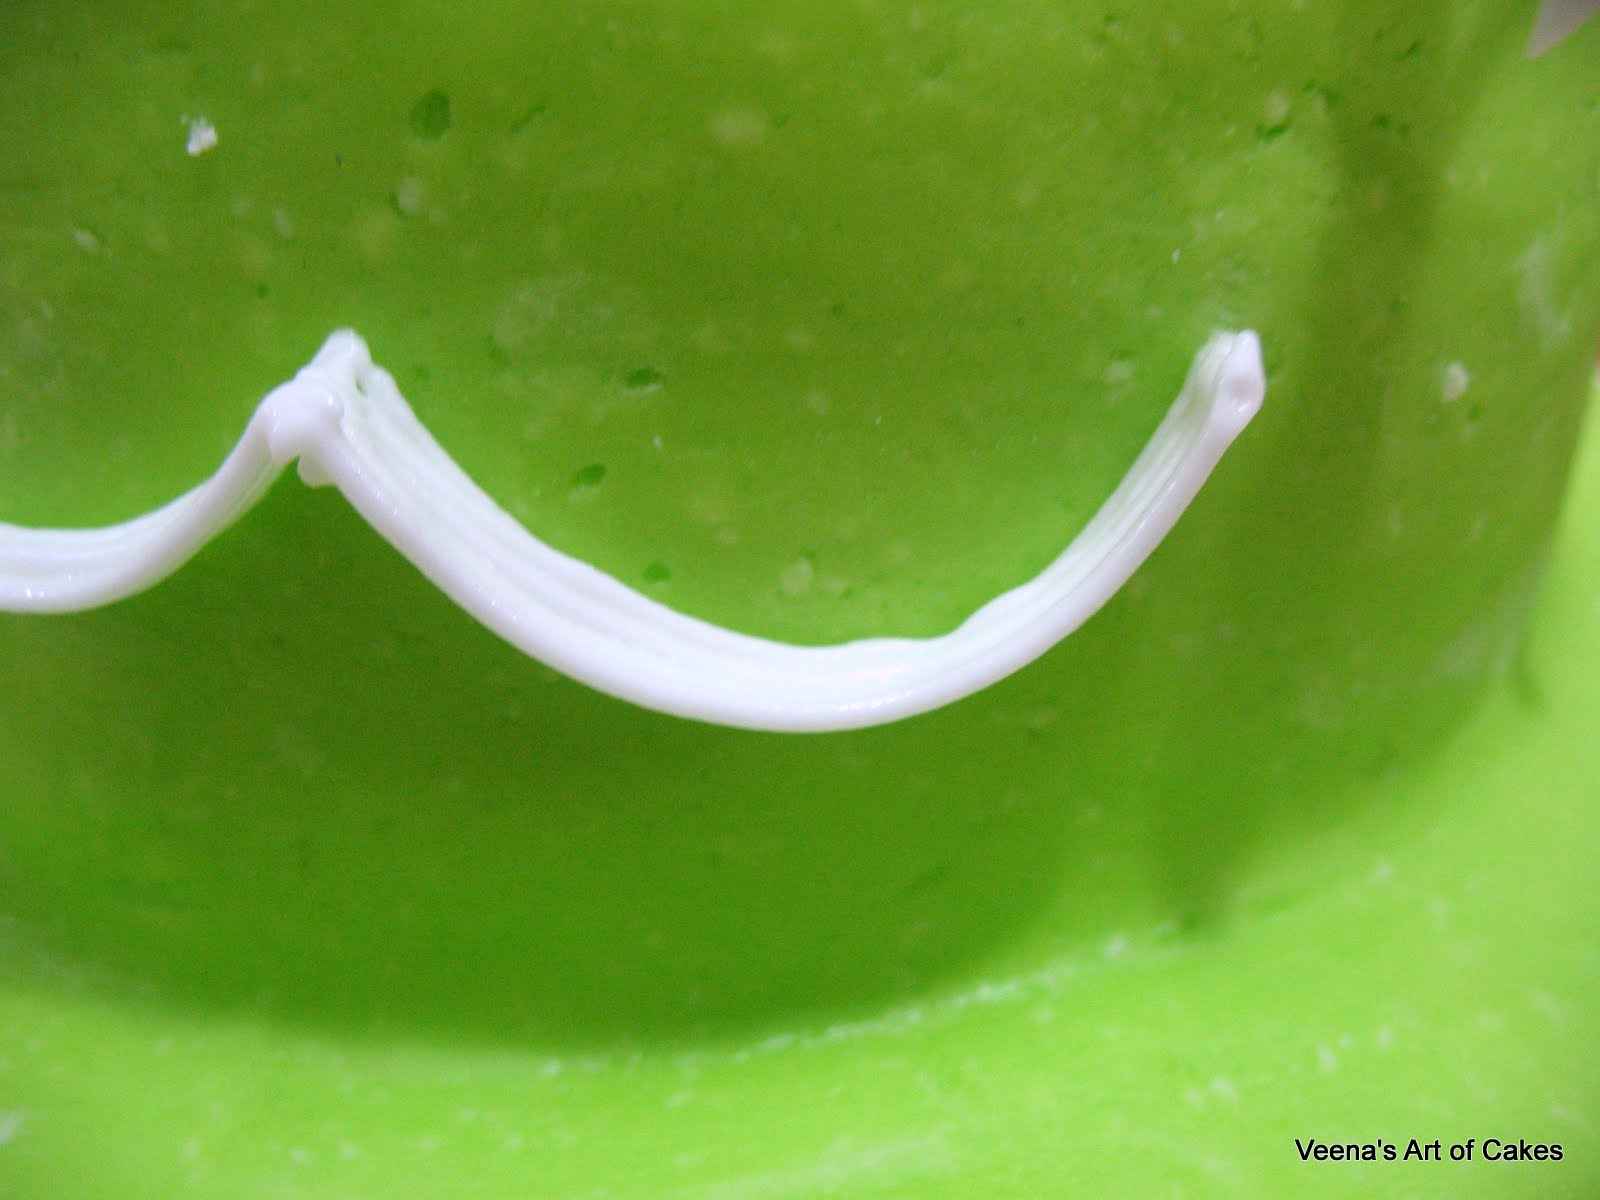
This is my first scallop.
Make sure the first row touches the cake for support or it will collapse.
You could use a damp or dry brush for this. A damp brush will moisten and blend the lines. A dry brush will define the lines.
This bridge has to be thoroughly dry or it will not hold the weight of the strings.

Thinner than the bridge work; so it will come out of the tip 1; but also hold itself and not collapse into the cake.
If the string falls into the cake it means the icing is too wet.
If the piping curls when you press on the bag it means the icing is too stiff.
In the beginning, getting the right consistency looks like a challenge but a few practices and you will get the hang of it.
Start piping strings. I'm using a Wilton No 1.


Well, I do hope you learned something from this post.
Thanks for stopping by.

I was just gazing at this incredible cake all time.The detailing of the design is unique and incredible.Now that's creative!The piping design is Phenomenal..Practice really pays.
ReplyDelete