
I honestly thought that since I made mini cakes for Hanukah, Cookies for both Hanukah and Christmas I'd get away with a simple Christmas cake. I planned to make a simple cake with just a red ribbon and some holly leaves.
To my surprise when I asked my son what flavor he wants for his Christmas cake, he goes like this -
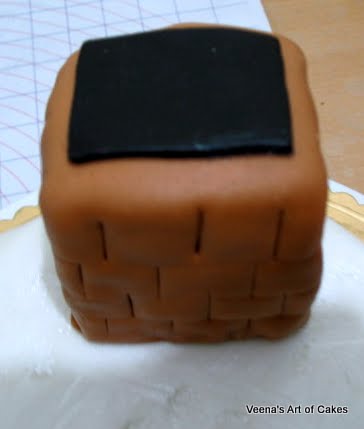
Mama, I want my Christmas cake to be all white with lots and lots of snow, a snowman with his magic hat and don't forget my Santa on the chimney and lots and lots of Christmas trees!!!!!!!!!!
Aaaaahhhhh! that was exactly my expression.
Anyway, I wasn't about to disappoint him so started on his Christmas cake.
Here are a few pictures in the making. I have already posted the tutorial for the gum paste Santa earlier.
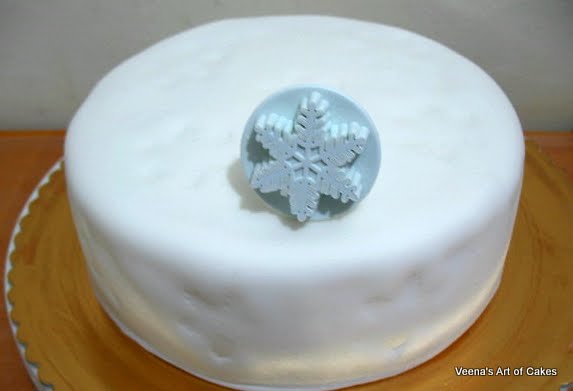
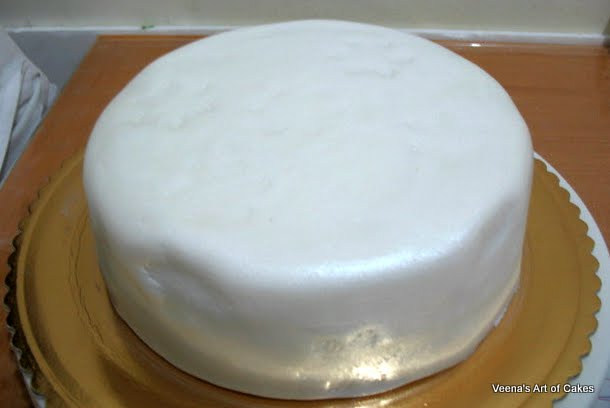
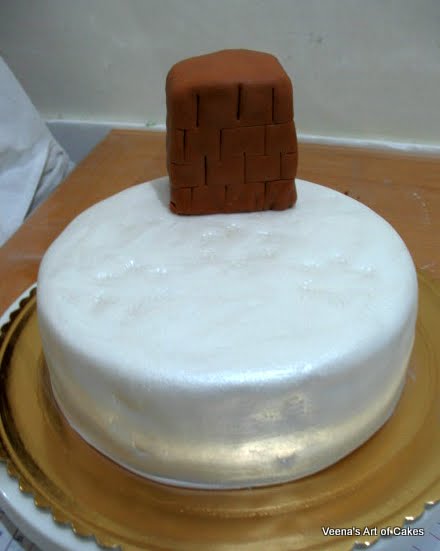
I started with a round cake covered in white fondant for the base. This is an 8" round cake.

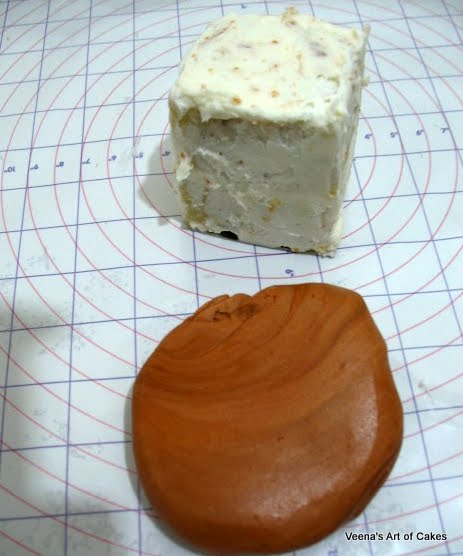
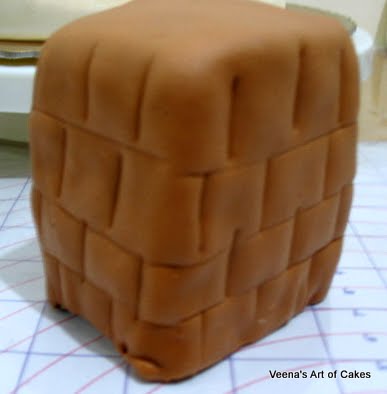
It's fairly simple. Roll the pieces as shown in the picture below. Note the numbers show you what to do next.

I used three shades of green just to add more character. You could just use one. Make a cone and cut as I show in the picture below.
Use lollipop sticks to secure them to the cake as well as to ensure they do not bend over... The lollipop stick should cover the entire length of the tree and go into the cake.

Add any more details you want.
I added some gifts and scattered some confectioners sugar to simulate snow.
Ideally a border of royal icing simulating melted snow would be perfect on this cake but to me my Christmas Cake without the Christmas leaves and berries would be incomplete so I made that as a border instead.
I would have loved to do Santa's bag as well but I thought the cake already looked quite full. It's just and 8" round and I hate crowded cakes.
Anyway, here is my finished cake. I hope you like it.
Merry Christmas to everyone. I hope you enjoyed this post.
Thanks for stopping by.
Veena Azmanov
Veena's Art of Cakes
Unforgettable Cakes for memorable occasions
Website - www.veenaartofcakes.com
Blog - http://veenaartofcakes.blogspot.com/
You tube channel - http://www.youtube.com/user/veenamiranda?feature=mhee
Wow, what a beautiful cake... Thanks for the tutorial. Love the Santa. This is the best eidble Santa I've seen so far.
ReplyDeleteRyan