My New years resolution for 2012 is to practice more of my sugar flowers and refine my piping skills. So you probably going to find a lot of post here on those too for this year.

Now, I do my Daisies two different ways.. Depending on the look I want to achieve.
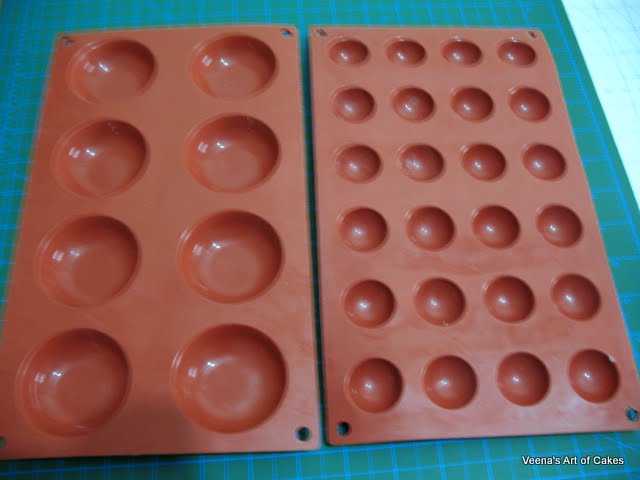
Flowers Formers
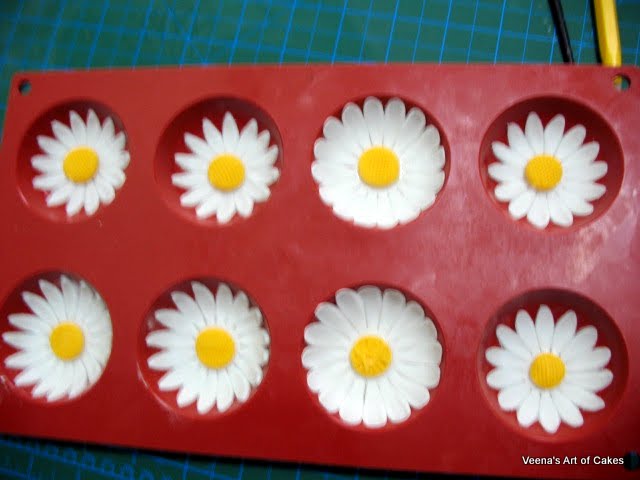
I usually use these silicon baking pans for some of my flowers.. I really like them because I can do many at a time and they aren't expensive...

Method One..
Now I will not tell you what you need because I have made a lot of gum-paste flowers without the right tools before I became a cake decorator. I'm using the basic gum-paste decorating tools as you can see in the picture below..


Roll your fondant out as thin as you can.. usually to 1/8 of an inch.. If you have those rolling pin guides then it is the purple guide. Yes, I do have those too......!


Take your daisy cutter, place it on the gum-paste, press it down with your fingers, then jiggle it a bit so you get sharp edges. But instead of just taking it off; pick it up with the gum-paste inside like shown below and neaten the edges with your fingers or a dry brush.


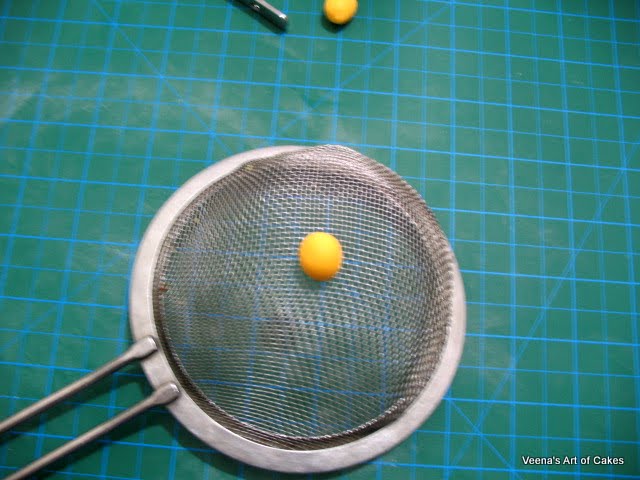
Press down to flatten it so it takes the impression of the strainer.


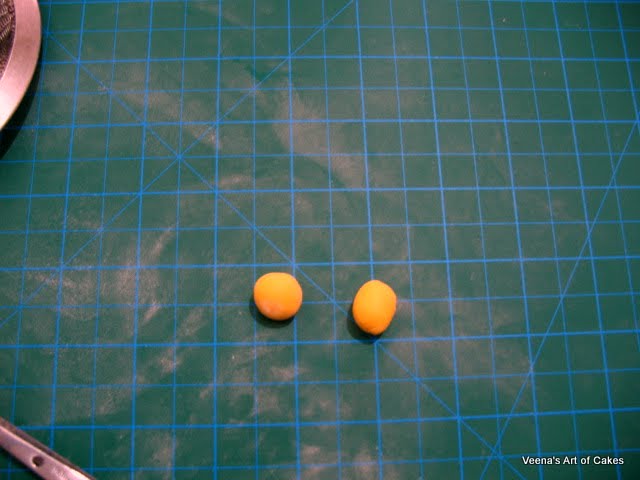
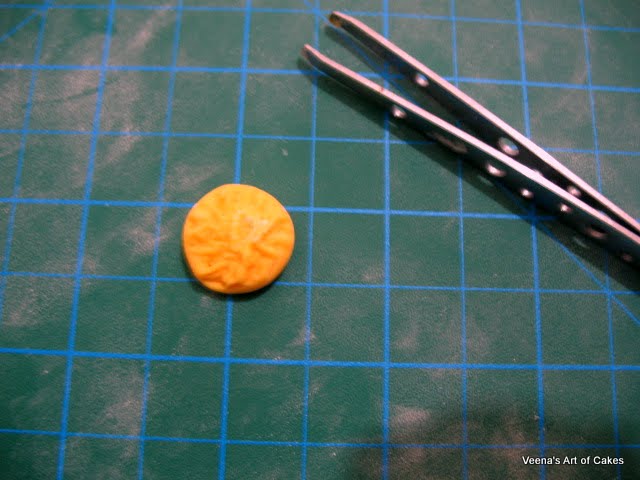
Take a pea size ball and flatten it. Use a tweezers and pinch it all over to create some texture...


Method Two
Another way to do the daisy flowers.
Roll your gum-paste to 1/8 inch and cut out your petal as before.

Use cornstarch to make sure your petals don't stick to the tools.

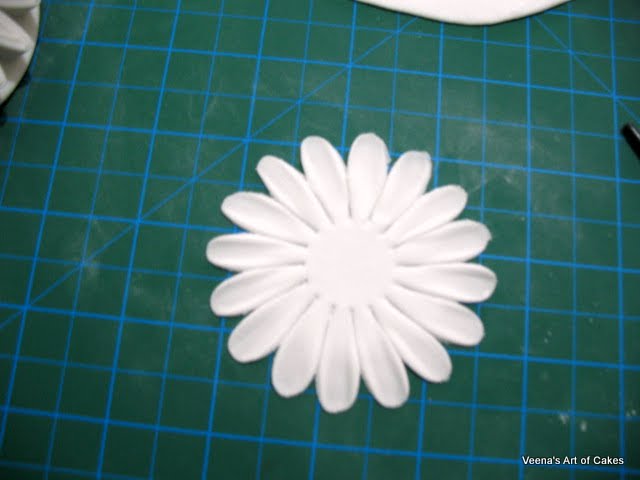
Here you can see the difference between the two.
One whose petals have been softened and the other is just cut out...

Here again if you want you can stack two together to get a fuller look.
But I prefer just one single petal.
Go ahead and do the centers the same way as shown above.

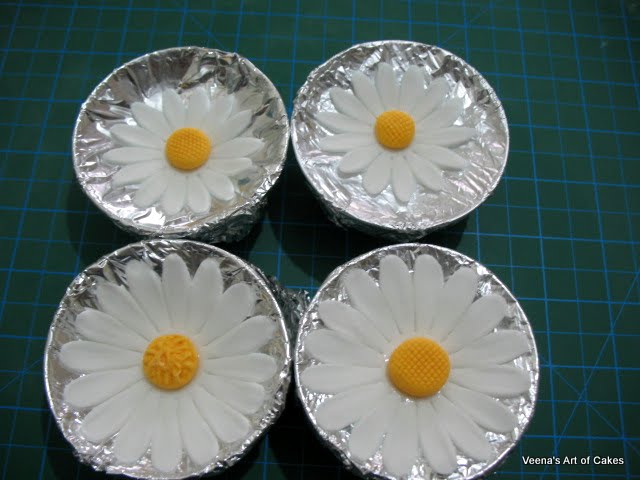
Here are the four that I did with the 2nd Method. Two large and two medium.

And here you can see all the flowers with both methods.
Method One has a more fuller look while;
Method two has a more slimmer look.
And here they are all dried up.. and ready to be dusted with some petal dust.
(I know the picture is not very clear, sorry.)
You could either use a green petal dust on the outside of the yellow centers.
In this case I needed to use them on a white wedding cake so I just lusted them with a bit of white pearl luster dust on the white of the flowers, very lightly.
Here is a wedding cake and two other designs I did recently. As you can see the daisy is a very simple and easy flower to make but it has the potential to brighten any cake be it a weeding cake or a mothers day cake.
This was an anniversary cake that happen to be also on mothers day.


Here are three more wedding cake ideas for you..


Thanks for stopping by.
Until next time,
Happy Cake decorating.

If you enjoyed this post please consider subscribing to my blog and sharing it with your friends.
You indeed got a good sense for balance, with the right mix of colors and textures.All the daisy cakes are looking gorgeous and cheerful.Best wishes..
ReplyDeleteThanks for taking the time to place tutorials. Regards from Namibia
ReplyDeleteThank you for sharing Love your style and writing
ReplyDeleteAngel , Sydney
Thank you very much for the detailed tutorial. I have just come across your blog and look forward to exploring it!
ReplyDelete