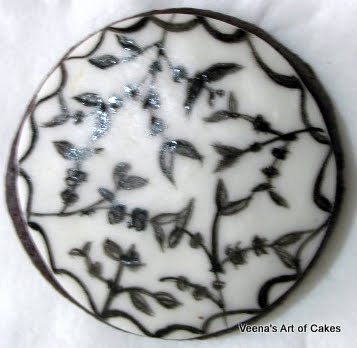
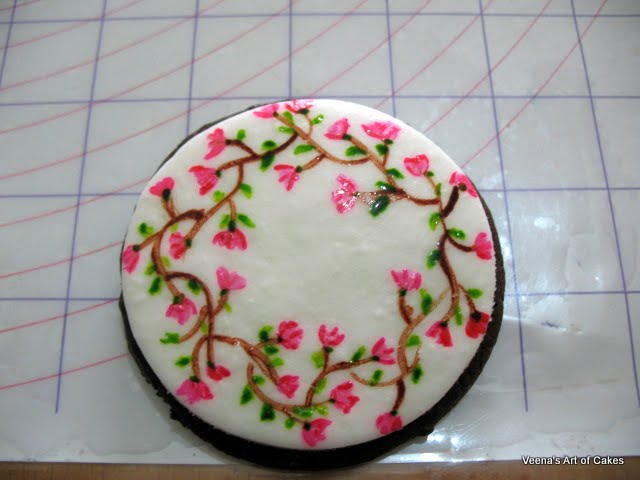
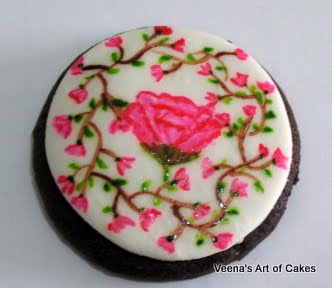
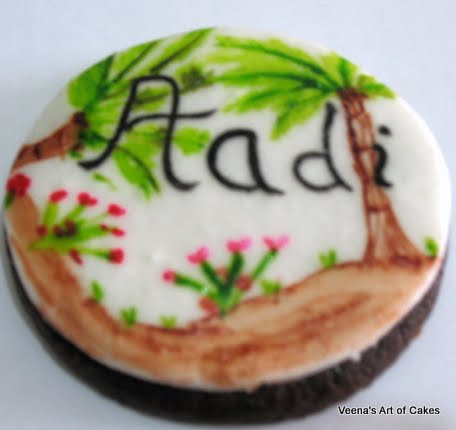
So finally I decided instead of feeling envy, I was going to give cookie painting a try. I made some Chocolate Espresso cookies - I will share that recipe with you next week, I promise. It's yummy.
Anyway, back to my cookies. Here are my finished experiments. What you think?

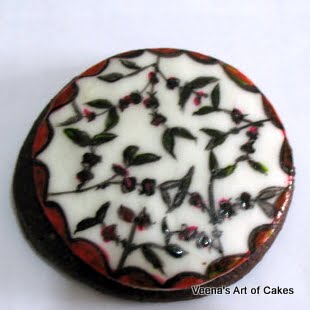
But I did not like the empty center so filled it with a rose.
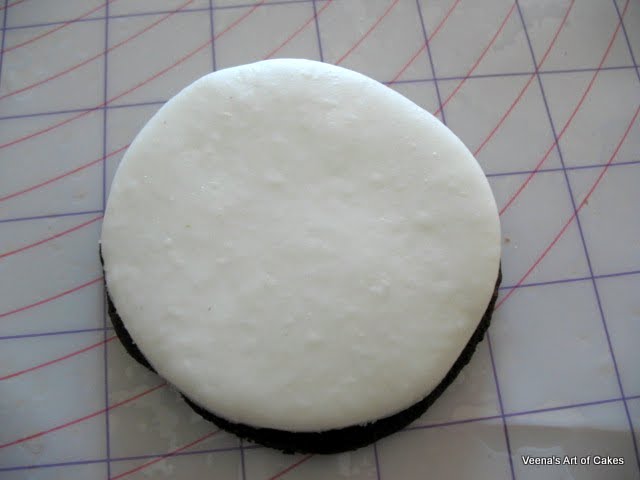
Now I was feeling a bit more confident, so thought I'd give you a few more pictures in the making.
I started off with my blank canvas. You can use royal icing, or fondant.
Here I am using my rolled royal icing. I'm impatient and often don't have time to wait for the royal icing to dry. So I make rolled royal icing just like some people make rolled buttercream.
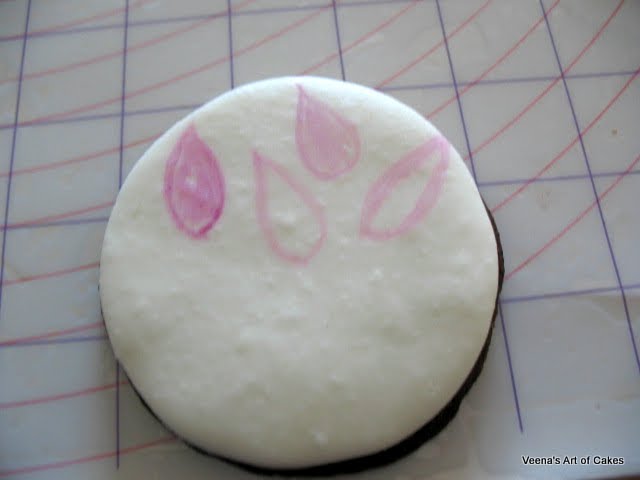
Using a very thin brush - This one is a 02.. You get thinner ones too. Honestly, I don't know much about brushes, so just telling you what I used.
I place one drop of gel color in my pallet and one drop of water. Mix it up.
One important thing I have realized is that you need to make sure you do not take too much color, light or dark on your brush.
Dip you brush in the pain, remove the excess and then go to the cookie.
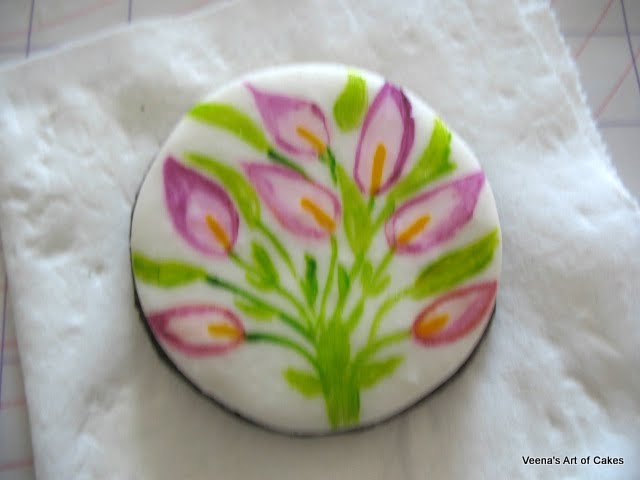
Here, I'm making a bouquet of Calla Lillis. Notice how light my colors are.
You always start with the light colors and then move on to the dark colors.
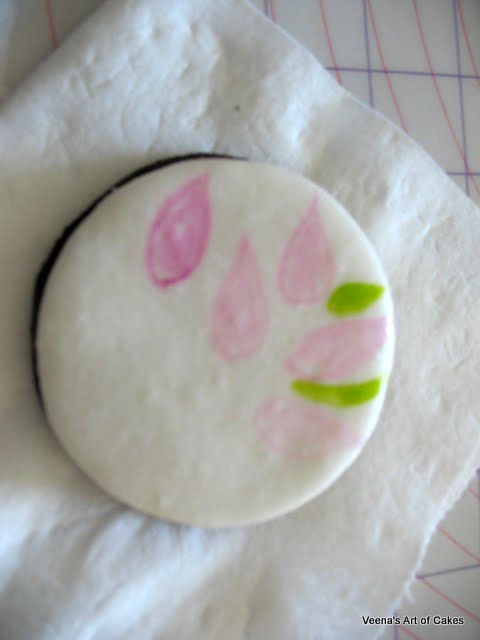
Then I went ahead and continues to add more Lillis and leaves, then the stems.
Next I added a few filler flowers to add more colors.
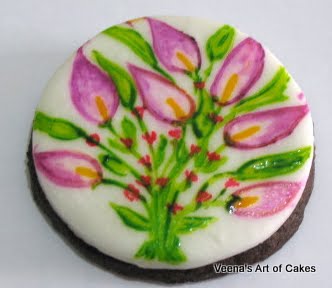
And that was it. I definitely intend to experiment with this more and perhaps I'll share more tips with you next time.
Have a great weekend.

wow, you really make it look so easy. I don't believe that you don't like to paint. This looks like an artist job.
ReplyDeleteI too envy such work and may be with you encouragment I will try.
Thanks for sharing.
Tania