So here again I'm doing a cake that does not rely on a special pan.
Now I'm making a number 12 cake but you could use the same techniques for almost all the numbers.

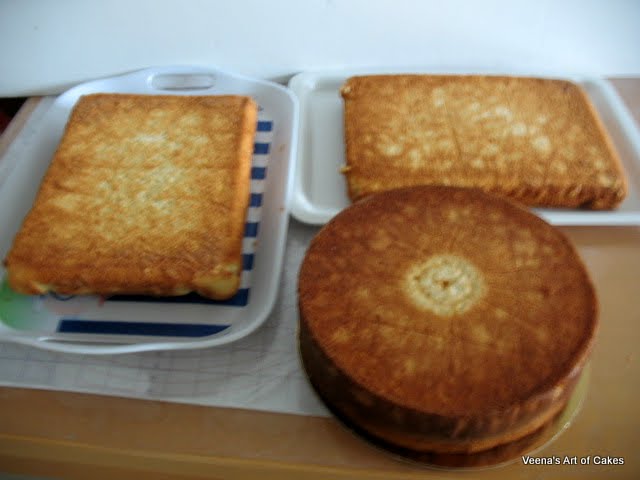
I baked two sheet cakes, and one single 10" round cake because I'm making two numbers.
If you were making a Number ONE you would need just a one sheet Cake.
If you were making a Number Two you would need a round cake and a square cake.
So lets begin.
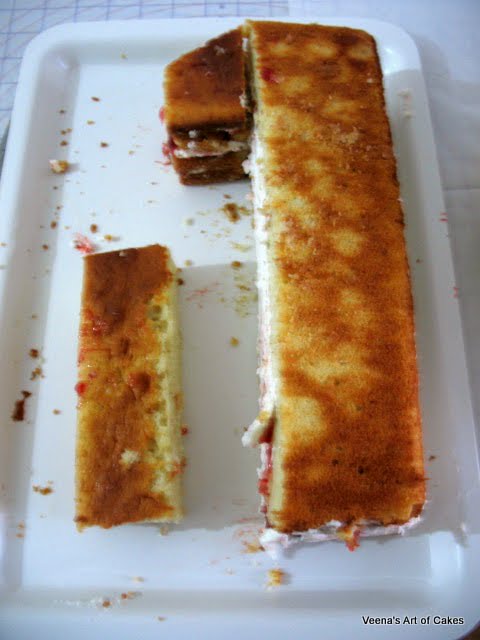
Here are my cakes. Two single layer sheet cakes and One 10x3" high round cake.
Here, I cut my sheet cake into 3 lengthways, stacked two layers together.
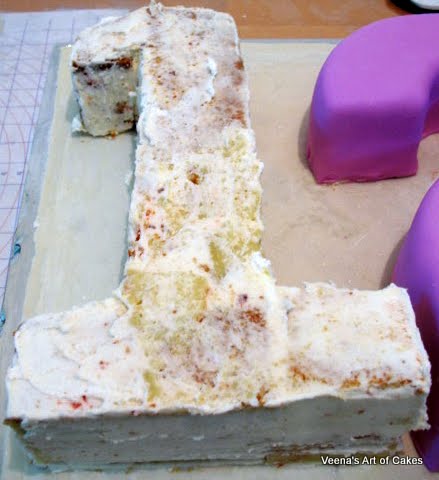
This is the first sheet cake. Layered in Jam and buttercream. Go ahead and crumb coat it too.This will make my Number One cake.
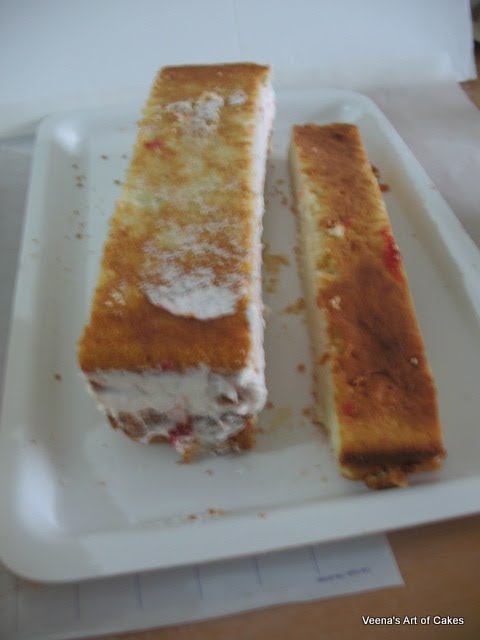
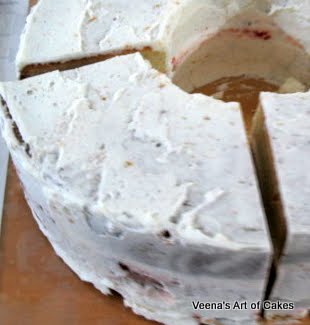
Here you can see I have again cut the sheet cake in three layers lengthways and then stacked two together which will be the base for my number One. The third layer I have cut in half and stacked together that will be used for the base of number Two

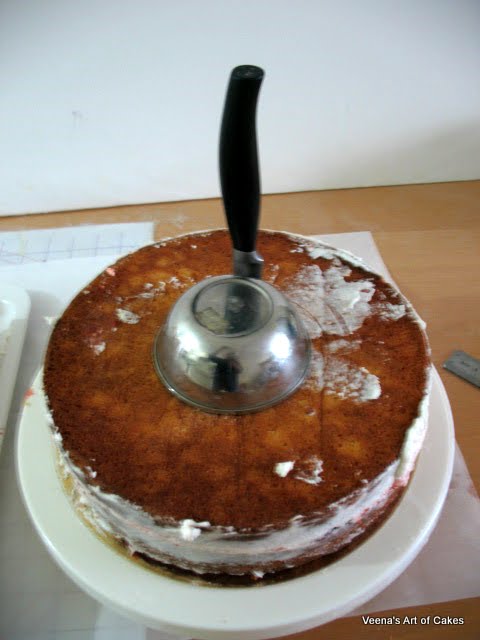
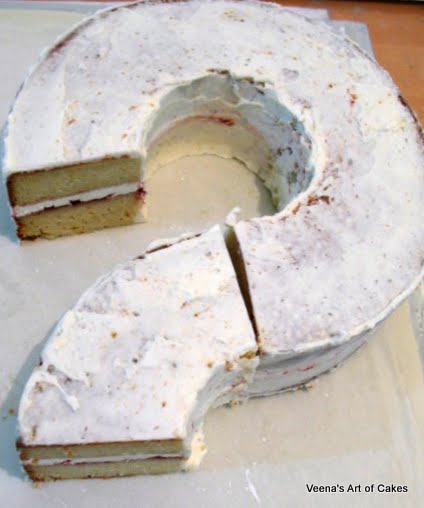
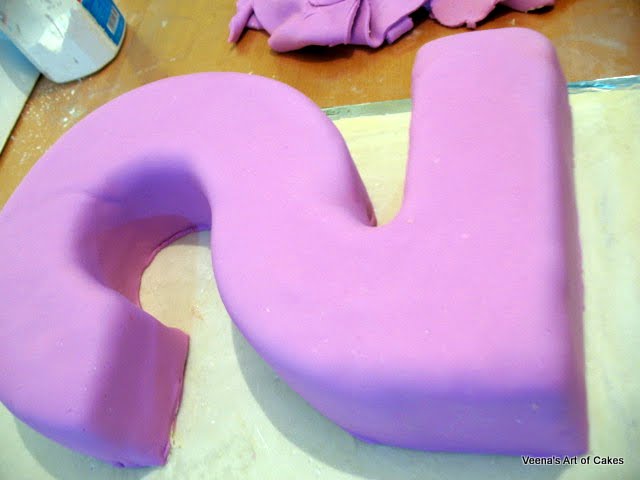
Now lets work with the Number Two First. That's how I started.
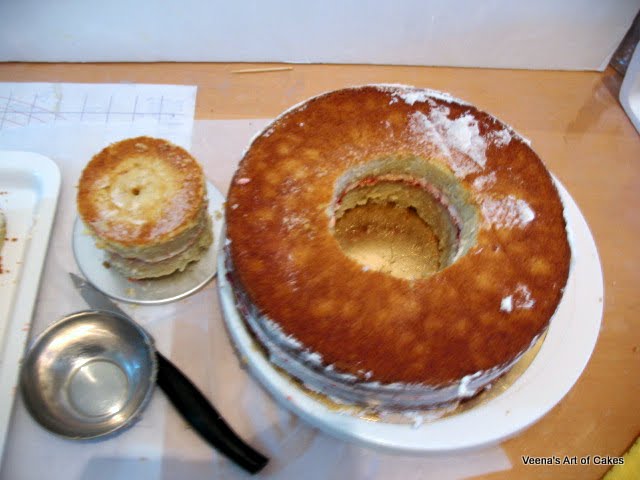
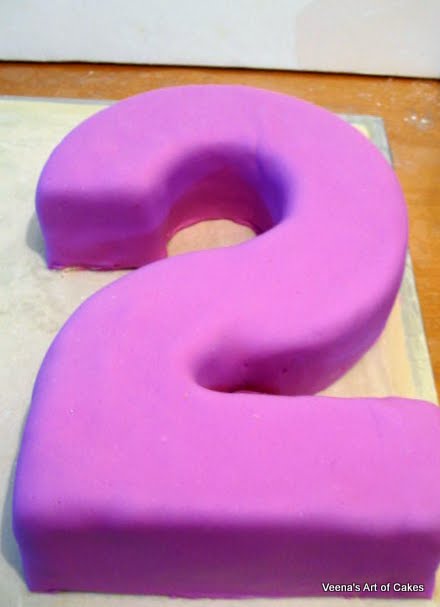
You can use a large cookie cutter for a guide, I'm using a round bowl to cut out the center of the number 2.


For me its just easier to cover the whole as one cake... but it could be a bit tricky specially in the curves and corners, so if you are not use to fondant as I am; you might like to do it in smaller parts.
If you decide to do as me..
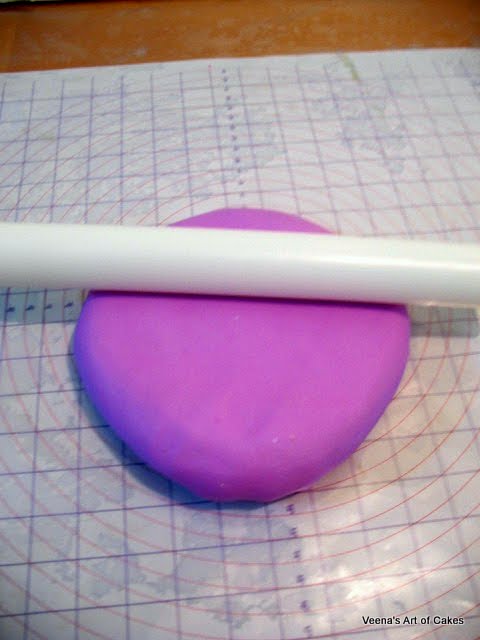
Here I am rolling a large sheet. My cake is really large so I need a big piece of fondant.
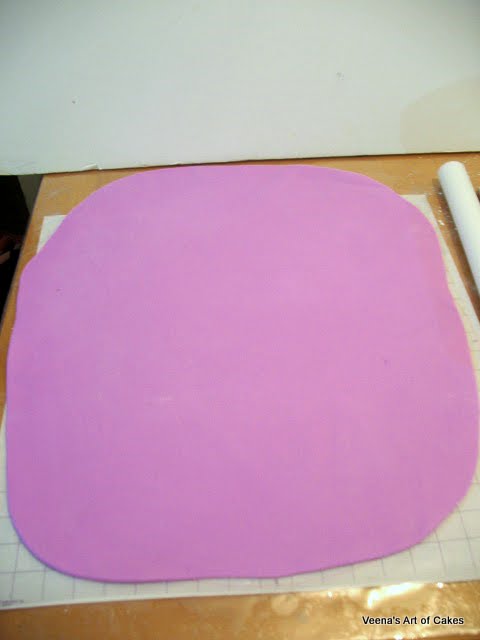
Place it on the your cake. Working quickly but gently ease the fondant in all the curves first. Then start shaping it to the cake.

Remember this sheet cake picture from above.. This is the first sheet cake.

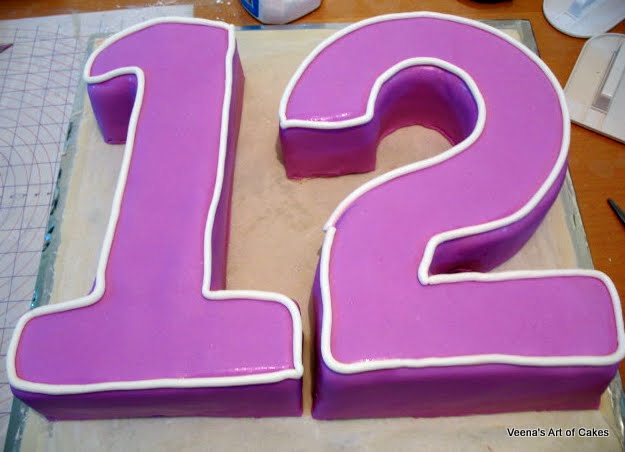
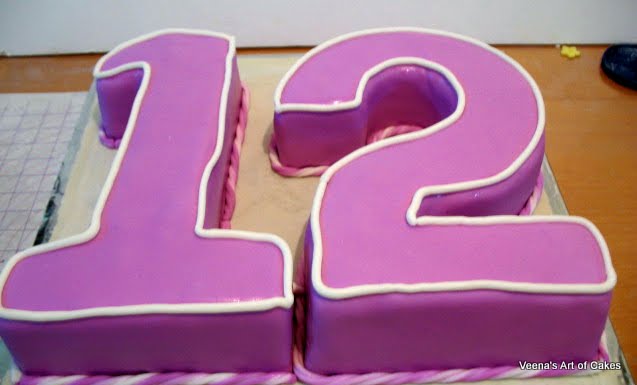
This was made a Bat Mitzvah and the young lady wanted a Large number 12 in bright violet with white stars all over and snow flakes around. so here is what I did.
A white border in white... I used my gum paste extruder for this


Until next time, Happy cake decorating.
Veena
If you liked this post please consider subscribing to my blog and sharing it with your friends.
Veena Azmanov
Veena's Art of Cakes
Unforgettable Cakes for memorable occasions
Website - www.veenaartofcakes.com
Blog - http://veenaartofcakes.blogspot.com/
You tube channel - http://www.youtube.com/user/veenamiranda?feature=mhee
Dear Veena, I am so amazed at how you can free hand your cakes, thanks for sharing. I have to do a #2 cake and like you I don't like to buy pans that I will only use a few times.I am so glad I became a member and a fan. Thank you again.
ReplyDeleteFrom,
Arnita,in Philadelphia
Hi Veena, Thanks so much for all the tutorials. I need your help with making a number 3 cake for a client. And I am really tired of spending on special shaped pans. Most of the pans I have never get used because the next client wants something different. I saw in your gallery that you made a number 30. Can you please give me some tips? Thanks for sharing your work.
ReplyDeleteHi Roxanne,
DeleteFor a number three you would cut the triangle the same way as I did in the number 2 cake. But position the two circle differently. Also use one of the spare cut out pieces finish the number 3 design. It is a bit difficult to explain like this. I do intend to make a post of the other numbers soon but not with cake. Perhaps card paper. I hope this helps you for now.
Thanks for your comment.
So glad I found this...My Jesse is turning 2 on Sunday. Wish me luck!
ReplyDeleteThank you for this tutorial!! Will try this for my son's upcoming birthday. For this size cake cut into the '2' only, can you tell me about how many persons does this cake serve? I'm having a small event but wondering whether to do a small secondary cake also.
ReplyDeleteSorry for the delay in replying - the cakes above are 2 11 x 13 sheet cake and a 10" round cake..
DeleteThe sheet cakes should serve 50 and the round usually serves 38 but due to all the carving I'd say you will loose about 10 servings..
My order was for 70. But I prefer to error on the side of more than less.
Hope this helps and hope I'm not late in replying..
Happy birthday to your son.
Veena
So glad I found this. I just received a request for a #1 cake for a first birthday and I don't want to buy a specialty pan. I'll be using this as my guide. Thank you for taking the time out to do this tutorial.
ReplyDeleteHello,but then what is d exact size if the 2 . This post is perfect for those of us little business as it saves money on pans
ReplyDeletewonderful blog n cakes....very talented...great work....Nice to meet u BTW.This is MAHA..
ReplyDeleteThanks for the great post! Made a #2 this past weekend and it was the hit of the party :)
ReplyDeleteVeena,you are a wonder. I am so new in cake making and you have been an inspiration. Thanks for sharing and thanks for being You.
ReplyDeleteNkiru......Nigeria.
Veena following ur steps to make a number 2 cake was very helpful and made my grandson eyes light up when he saw his cake thank u for sharing
ReplyDelete